I bought my son a Raspberry Pi4 as a second gift for xmas and it has stayed in the box until now so I am going to re-purpose it as a web-server for myself to use as a wiki and anything else I want to play around with.
The process is really well documented on https://ubuntu.com/download/raspberry-pi but here is my experience in installing it. I will then document the process of installing a wiki onto it at a later date.
The first step to installing Ubuntu Server onto a Rasperry Pi is go to the following link and download the correct version of Ubuntu Server for your Pi Hardware:
https://ubuntu.com/download/raspberry-pi
For this how-to, I chose the 64-bit version of Ubuntu 20.04 LTS as it is the latest version and is compatible with my PI. I did this by clicking on the Download 64-bit in the Ubuntu 20.04 LTS section.This downloaded ubuntu-20.04-preinstalled-server-arm64+raspi.img.xz to my downloads folder.I then went to the following link and followed the tutorial on how to install Ubuntu Server on a Raspberry PI:https://ubuntu.com/tutorials/how-to-install-ubuntu-on-your-raspberry-pi#1-overviewThe first step is to make sure you have all of the equipment that you will need for the install:
For this how-to, I chose the 64-bit version of Ubuntu 20.04 LTS as it is the latest version and is compatible with my PI. I did this by clicking on the Download 64-bit in the Ubuntu 20.04 LTS section.
What you’ll need
- A MicroSD card (4GB minimum, 8GB recommended)A computer with a microSD card driveA Raspberry Pi 2, 3 or 4A micro-USB power cable (USB-C for the Pi 4)A Wi-Fi network or an ethernet cable with an internet connection
And optionally:
- A monitor with an HDMI interface an HDMI cable for the Pi 2 & 3 and a micro HDMI cable for the Pi 4A USB keyboard
The next step is to install the image downloaded earlier onto your SD card. The full-page can be found at https://ubuntu.com/tutorials/how-to-install-ubuntu-on-your-raspberry-pi#2-prepare-the-sd-card.My PC is running Windows 10 so I followed the Windows instructions but there are instructions for Ubuntu and MacOS as well as Windows if needed. I clicked on the Raspberry Pi Imager for Windows link and it downloaded the imager.exe to my PC in the downloads folder.
Once installer is installed on your PC it is a simple process of opening the program, choosing the OS you want to install, choosing the SD card and clicking Write to write the image to the SD Card:
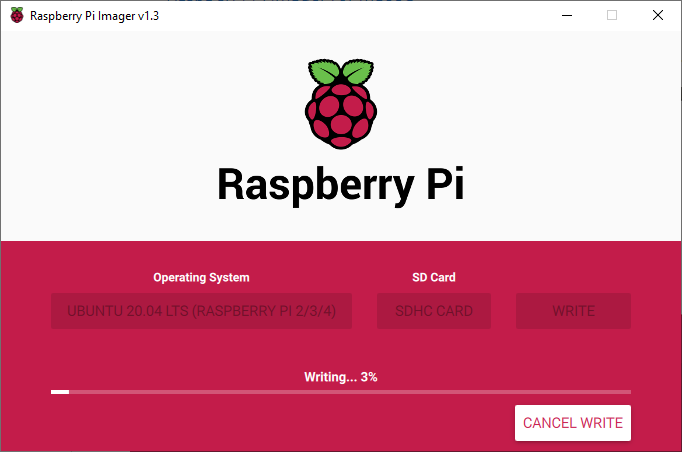
Once the image is successfully written to the SD card you will see the following screen:
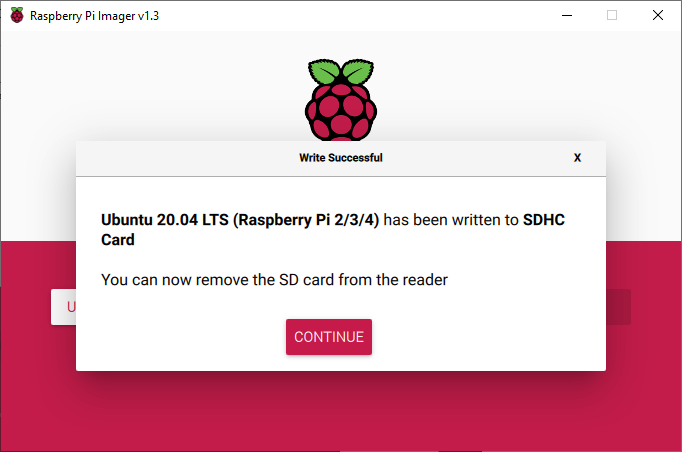
Click on CONTINUE and then remove the SD card from the PC (the app ejects the disk for you so no need to eject the drive before removal) and install it into the PI and boot it up!
The Pi will boot to the login screen:

Log in using the default user and password of ubuntu.
On the first log in you will be asked to change the password for the ubuntu by adding the current password (ubuntu) and then a new password twice.
Once the password has been changed the system will log into the logon prompt:
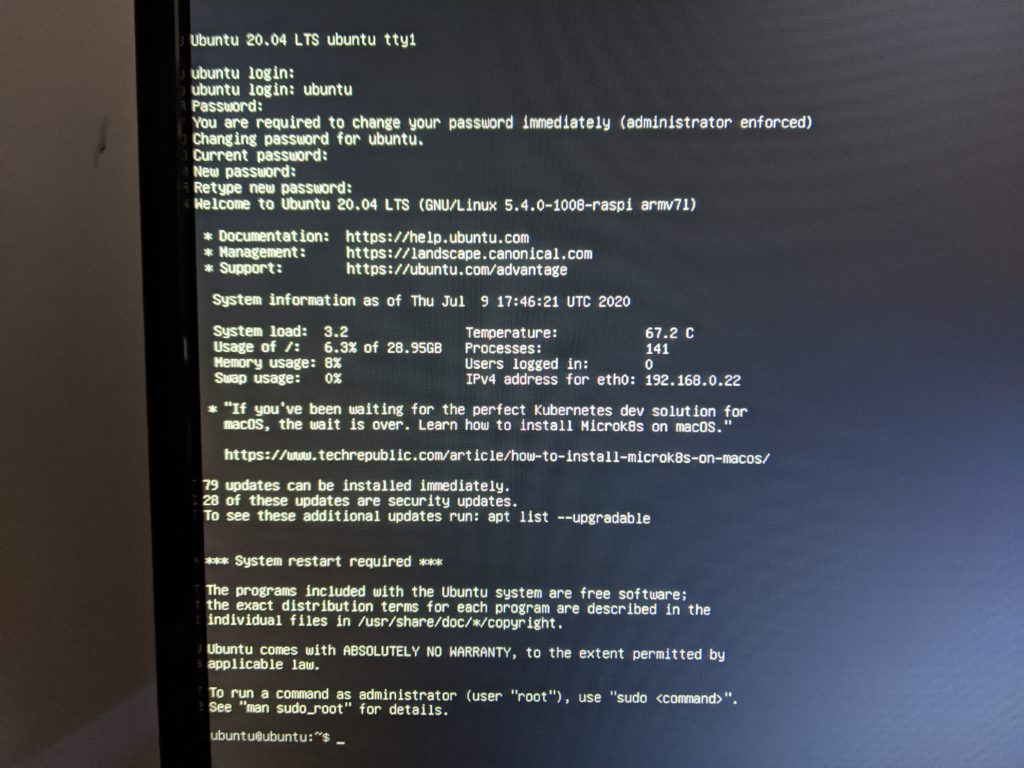
Next check that the PI has an IP address by typing:
ip addr show
This will show the current IP address of the server:
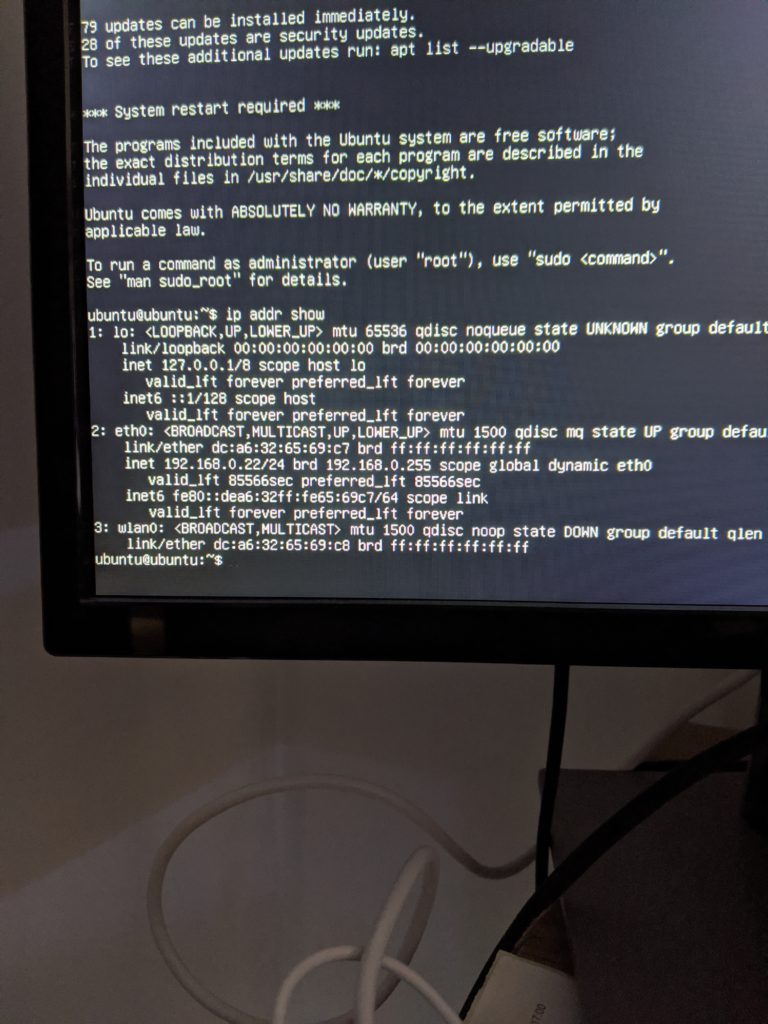
If you have an ip address it is a good idea to upgrade the server before doing anything else to make it as secure as possible.
sudo up to root by running:
sudo su
Update by running the following command:
apt-get update && apt-get upgrade -y
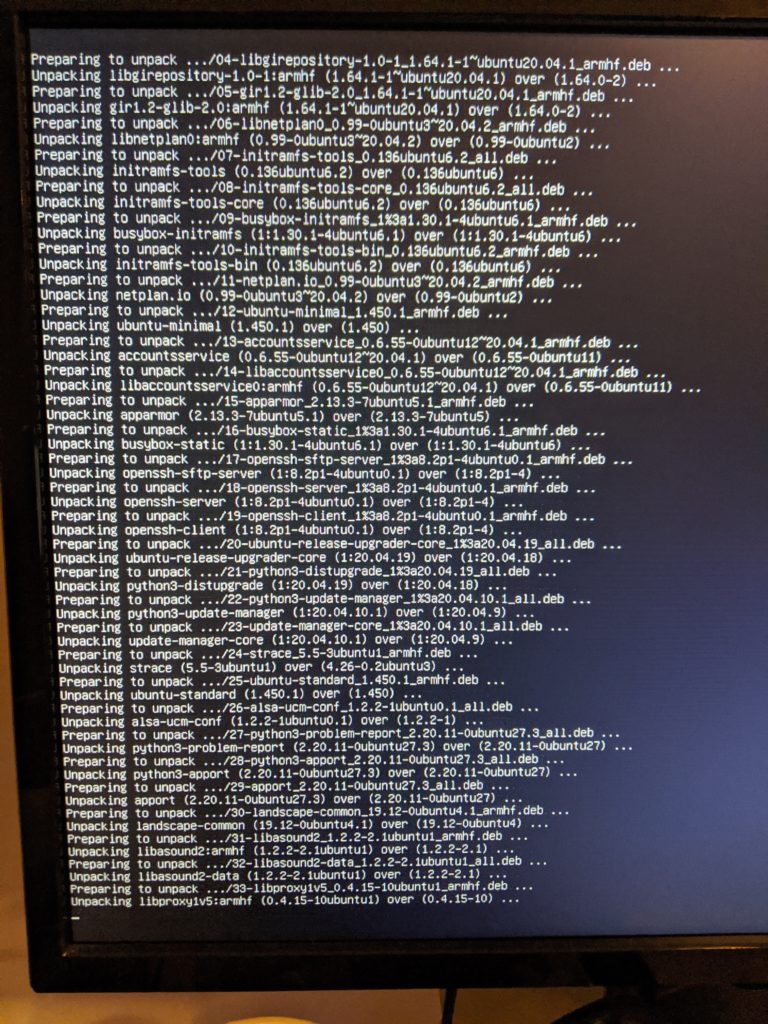
This will install all of the latest upgrades:
Once the updates have finished the server will go back to the command prompt:
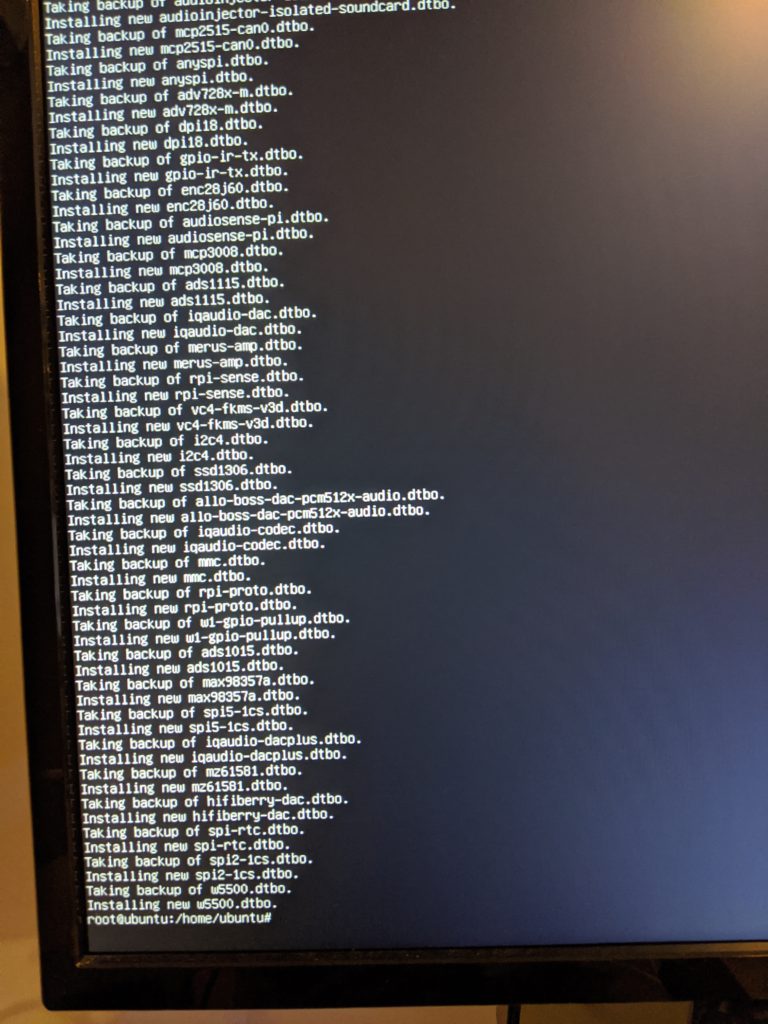
Reboot the server once the updates have finished to make sure that all the updates are installed.
It is a good idea to fix the current IP for this PI in dhcp so that it gets the same IP address all the time then it is all ready for the next project.
Look out for more how-too’s as I play with the PI more.
