This post gives a walkthrough of How too install OwnCloud on Ubuntu 20.04 Server which elaborates on Owncloud’s own documentation on their website.
ownCloud is a file server that enables secure storage, collaboration and sharing. It is convenient to store files in the cloud, so they are available on any device and can be shared with a few clicks. There are a lot of popular providers like Google, Apple, Facebook, Twitter and Dropbox.
Install LAMP stack on your Ubuntu 20.04 machine:
BEFORE this process is run the server must have a fully functioning LAMP stack installed and configured.
A LAMP Stack consists of the following components:
- Linux: The operating system.
- Apache: The web server.
- MySQL: The database
- PHP: The programming language.
The installation of the LAMP stack is beyond the scope of this article but a good easy to follow step by step guide of how to install LAMP Instructions can found HERE.
Install OwnCloud stack on your Ubuntu 20.04 machine:
Create a new database for Owncloud to use
Open the MySql shell by running the following:
sudo mysql -u root -pThis will take you to the mysql command line:

Run the following commands to create the database:
CREATE DATABASE ownclouddb;
CREATE USER 'ownclouduser'@'localhost' IDENTIFIED BY 'Pa55word!';
GRANT ALL ON ownclouddb.* TO 'ownclouduser'@'localhost';
FLUSH PRIVILEGES;
exit
Install PHP and pre-requisite modules
$ sudo apt install -y \
  libapache2-mod-php \
  php-imagick php-common php-curl \
  php-gd php-imap php-intl \
  php-json php-mbstring php-mysql \
  php-ssh2 php-xml php-zip \
  php-apcu php-redis redis-server \
  wget
Install the recommended packages:
sudo apt install -y \
  ssh bzip2 rsync curl jq \
  inetutils-ping smbclient\
  coreutils php-ldap
Download the latest version of Owncloud:
$ wget https://download.owncloud.org/community/owncloud-complete-20200731.zip
Extract the folder to /var/www/html/owncloud:
sudo unzip owncloud-complete-20200731.zip -d /var/www/html/
The file will be unzipped:

Change the folder permissions as per below:
sudo chown -R www-data:www-data /var/www/html/owncloud/
sudo chown -R 755 /var/www/html/owncloud/
Create a new virtual Apache web server for Owncloud:
sudo ln -s /etc/apache2/sites-available/owncloud.conf /etc/apache2/sites-enabled/owncloud.conf
sudo vim /etc/apache2/sites-available/owncloud.conf
Add the following config into the owncloud.conf changing details where necessary:
<VirtualHost *:80>
ServerAdmin admin@yourdomain.com
DocumentRoot /var/www/html/owncloud/
ServerName your-domain.com
ServerAlias www.your-domain.com
<Directory /var/www/html/owncloud/>
Options FollowSymLinks
AllowOverride All
Order allow,deny
allow from all
</Directory>
ErrorLog /var/log/apache2/your-domain.com-error_log
CustomLog /var/log/apache2/your-domain.com-access_log common
</VirtualHost>
Run the following to restart Apache2
sudo a2ensite owncloud.conf
sudo a2enmod rewrite
sudo systemctl restart apache2
Open a browser and connect to http://serverip/owncloud
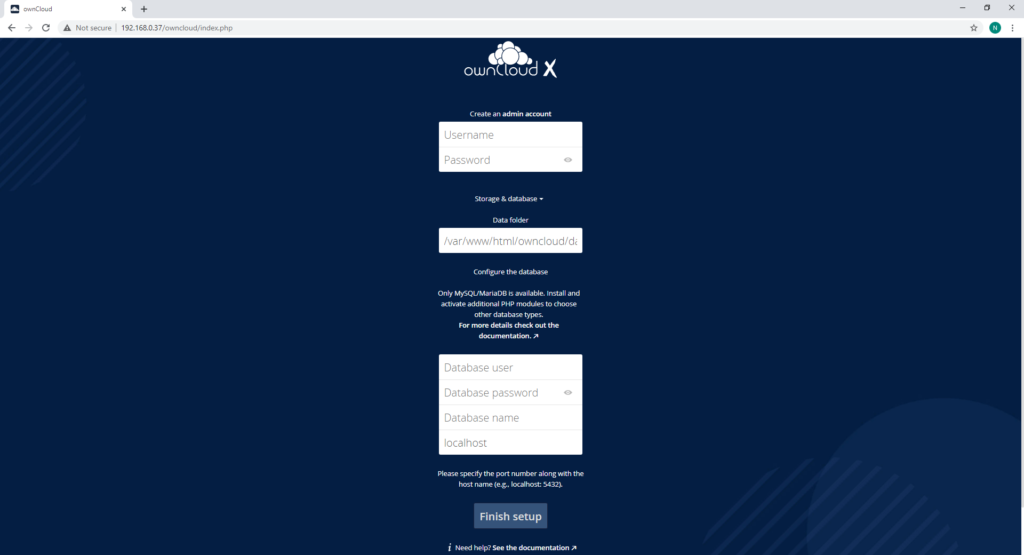
Create a user an password:

Add the details of the database created before:

Click on Finish Setup to save the details:
You may get the following error:
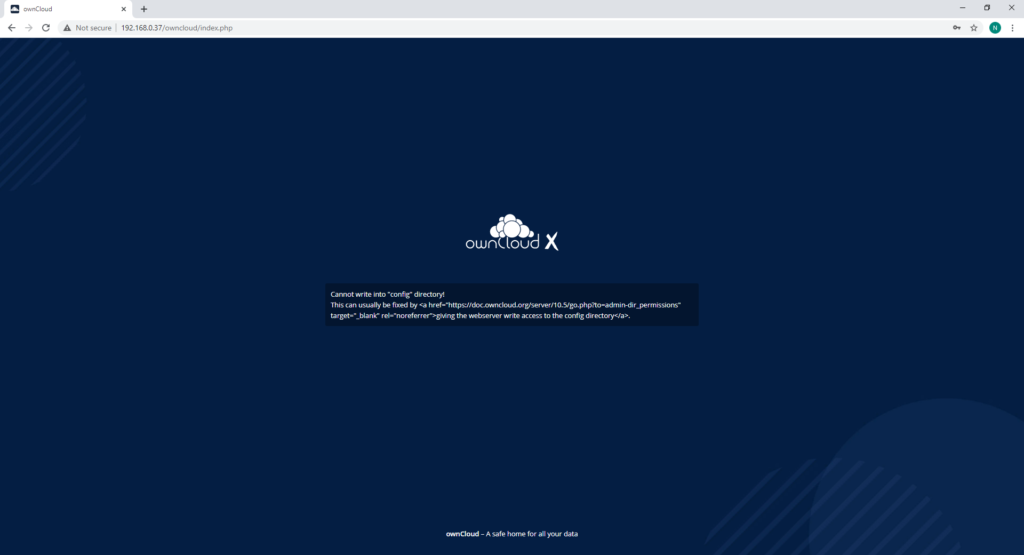
There is a script to fix this issue HERE.
Create two missing folders:
$ sudo mkdir /var/www/html/owncloud/themes/
$ sudo mkdir /var/www/html/owncloud/apps-external
Create the script:
$ sudo vim /tmp/fixoc.shAdd the following and save:
#!/bin/bash
ocpath='/var/www/html/owncloud'
htuser='www-data'
htgroup='www-data'
rootuser='root'

printf "Creating possible missing Directories\n"
mkdir -p $ocpath/data
mkdir -p $ocpath/assets
mkdir -p $ocpath/updater

printf "chmod Files and Directories\n"
find ${ocpath}/ -type f -print0 | xargs -0 chmod 0640
find ${ocpath}/ -type d -print0 | xargs -0 chmod 0750

printf "chown Directories\n"
chown -R ${rootuser}:${htgroup} ${ocpath}/
chown -R ${htuser}:${htgroup} ${ocpath}/apps/
chown -R ${htuser}:${htgroup} ${ocpath}/assets/
chown -R ${htuser}:${htgroup} ${ocpath}/config/
chown -R ${htuser}:${htgroup} ${ocpath}/data/
chown -R ${htuser}:${htgroup} ${ocpath}/themes/
chown -R ${htuser}:${htgroup} ${ocpath}/updater/
chown -R ${htuser}:${htgroup} ${ocpath}/apps-external/

chmod +x ${ocpath}/occ

printf "chmod/chown .htaccess\n"
if [ -f ${ocpath}/.htaccess ]
 then
  chmod 0644 ${ocpath}/.htaccess
  chown ${rootuser}:${htgroup} ${ocpath}/.htaccess
fi
if [ -f ${ocpath}/data/.htaccess ]
 then
  chmod 0644 ${ocpath}/data/.htaccess
  chown ${rootuser}:${htgroup} ${ocpath}/data/.htaccess
fi
run the script:
$ sudo bash /tmp/fixoc.shYou will then have to run the installation again.
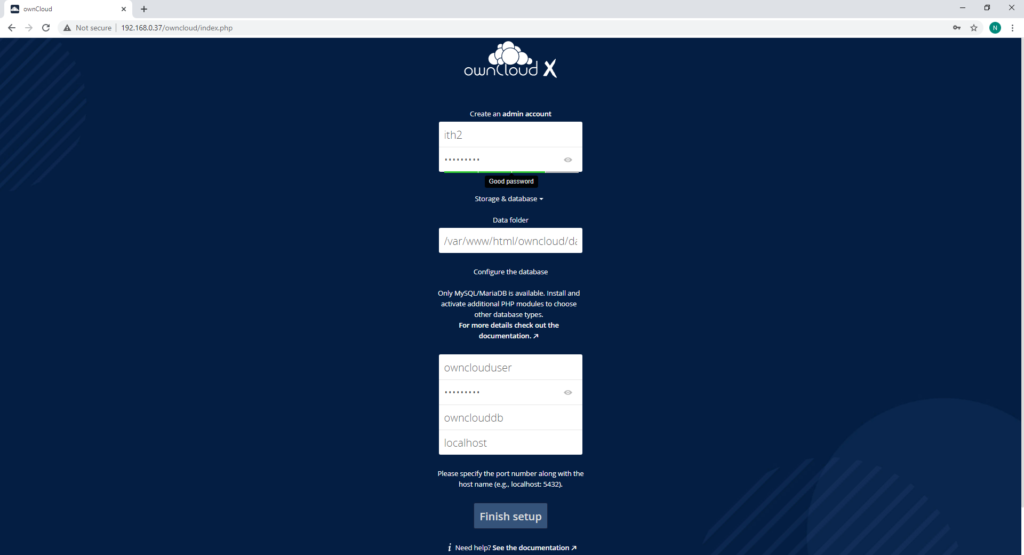
Setup will now finish:
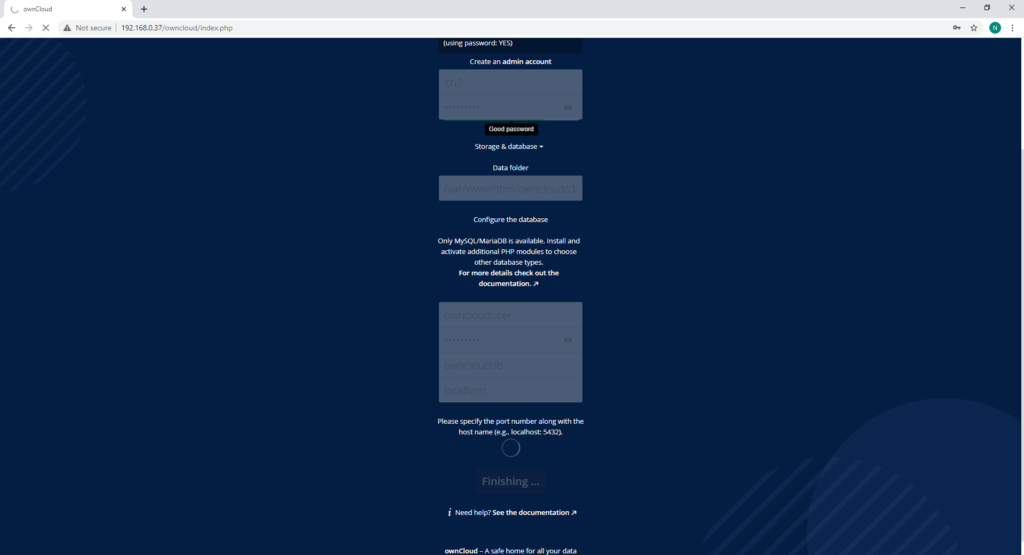
Once finished you will be at the login screen:
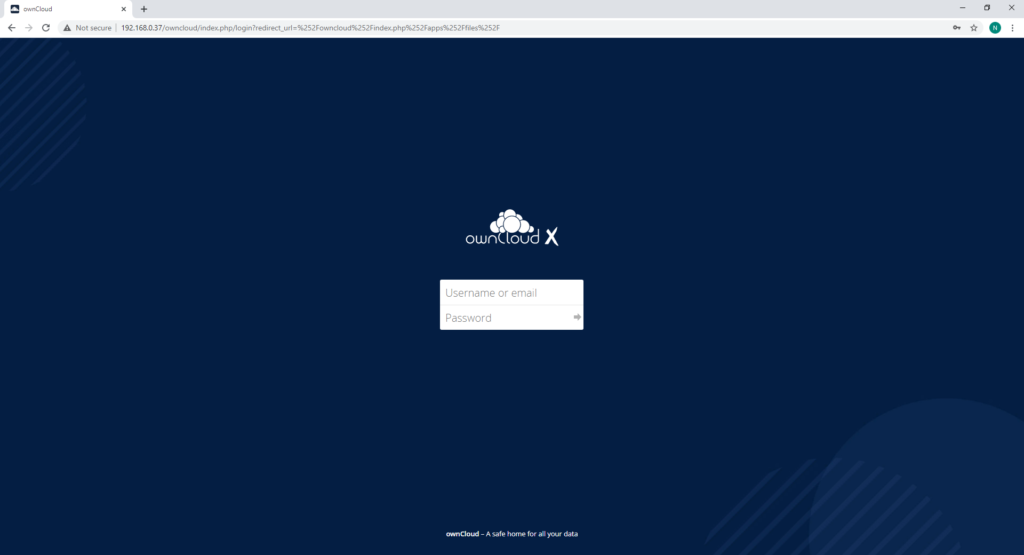
Login and clear the page about downloading the desktop client and you will be in the main page:
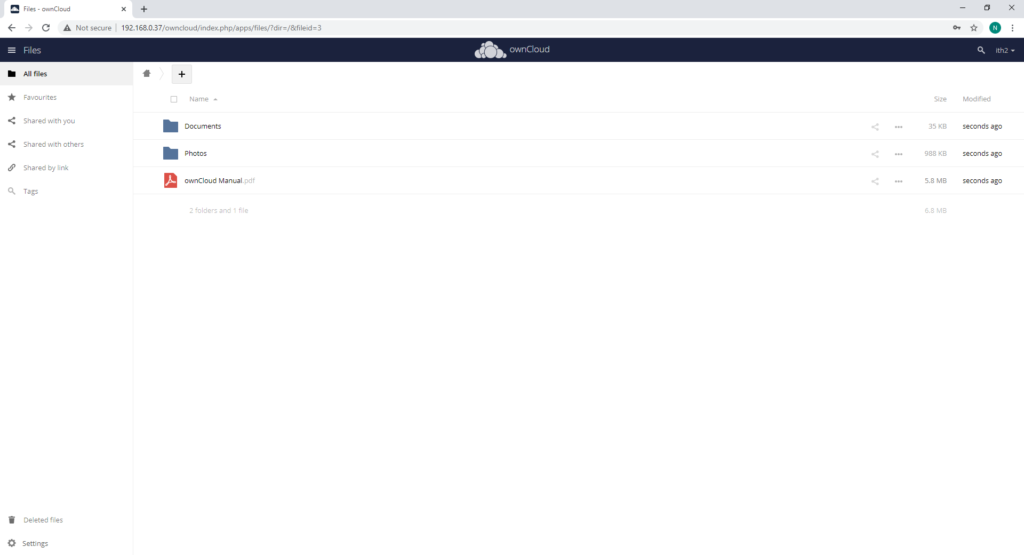
Owncloud is now installed and ready to configure.
For more OwnCloud posts take a look HERE.
For more Ubuntu posts go to our Ubuntu Category.
