If your PC is running Windows 10 PRO and your Zentyal Server is configured as a DC then the Windows PC can be added to the Domain to add the benefits of centralized login and management using AD users.
If you need to install a Zentyal Server then follow THIS guide. To configure a Zentyal server after installation go HERE.
For more information on Active Directory (AD) there is an excellent article on the Microsoft Site.
Before you try and add the PC to the domian you will need to make sure that the PC is using the Zentyal DC as its DNS server.
Make Sure PC is using Zentyal Server as the DNS server:
To do this open settings and click Network and Internet:

Click the Properties button under Ethernet adapter name:

Click the Edit button:

Make sure that the DC IP is set as the Preffered DNS. If it is not change it to be:

Click Save and close the Setting Window.
Another quick Check is to make sure that DNS is working is to ping the doman name and make sure that it responds from the correct IP address:

Add PC to Zentyal AD Domain:
The easiest way to add the PC to the domain is to:
Type sysdm.cpl into the search bar:

Click on the sysdm.cpl Icon:

This will open the System Properties Window:

Click the Change button which will open the Computer Name/Domain Changes window:

Click the Select the Domain Option:

Now add the domain name to the Domain field:

Click OK.
Add the Admin user details in the window that opens:

You will get another window open to say that the PC has been added to the domain:

Click OK to close this window.
Click OK to restart the PC:

Click Close to close the System Properties:

Click Restart Now to restart the PC:

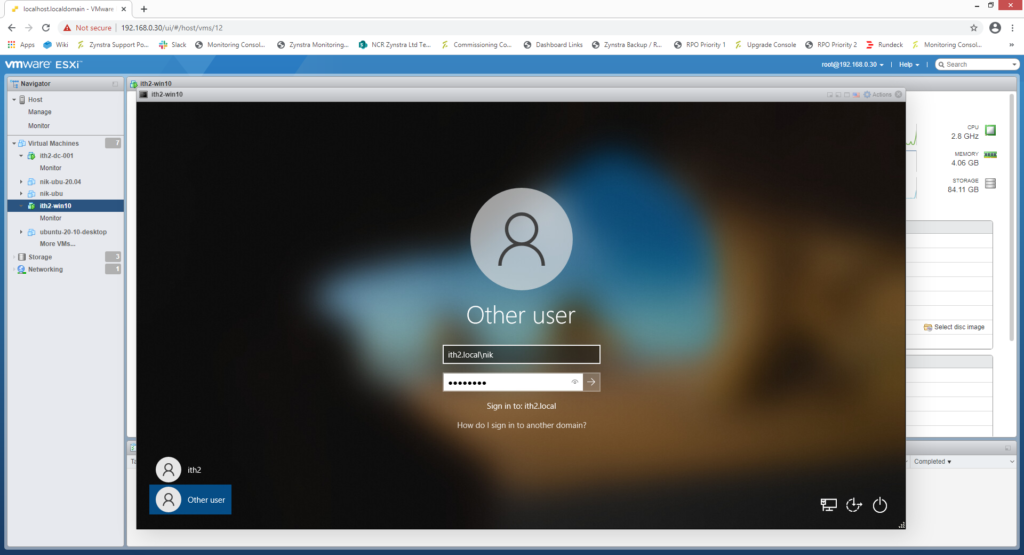
When the PC has rebooted log in using a domain user account and select the correct domain to log into:

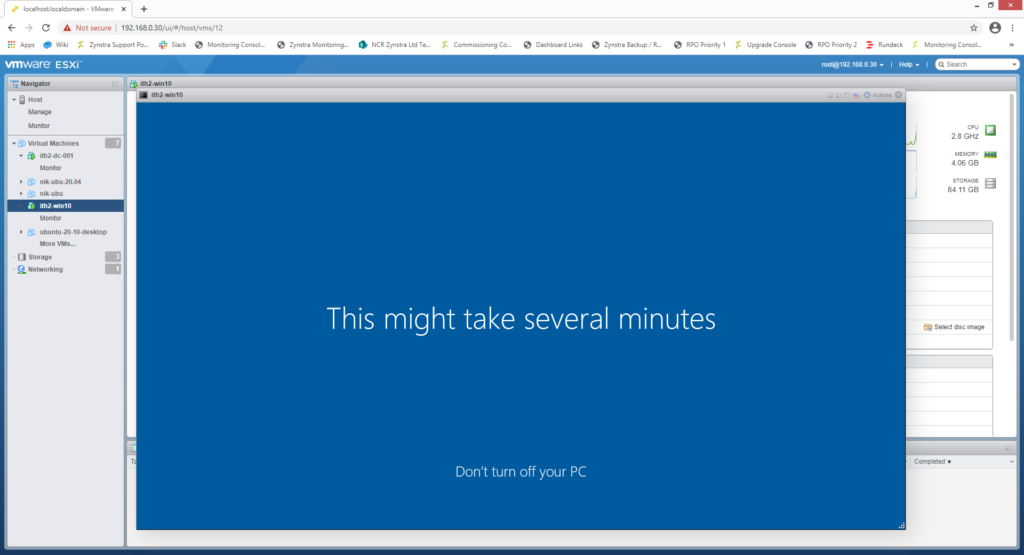
The new domain user profile will be crearted:

Once windows has created the new user (this used to take seconds not sure why it takes so long now) you will be taken to the users desktop.
You are now ready to use the PC using the domain user. The PC is now a member of the domain and can be controlled by AD and centrally managed! Yay!
