Bookstack is a wiki that organises categories into virtual librarys so that you have the top level of a shelf, then on that shelf you have books and in those books you have chapters and pages. I like this visual way of organising documents as it is very visual and easy to follow.
First of all you will need to create a new shelf. To do this click on the Shelves Button:

As this is a new installation there will not be any shelves created so click on CREATE ONE NOW:

Fill in the Shelfs name and description

As we have no books at the moment we can ignore the Books on this shelf option:

If you want to add a cover image to the shelf then expand the Cover image section and either drag the image into the section or click on the SELECT IMAGE button to search for the Image:

The new Image will be displayed:

Add Tags if needed:

To add more tags click on Add another tag:

Once finished click on SAVE SHELF:

The new Shelf will now be shown on the Shelves screen:

The next step is to add a new book. This can be done by clicking on the Create New Book Link:

Fill in the details of the new book as you did above for the new Shelf:

Once all the details are adduced click on SAVE BOOK:

You will now be taken to the chapter setup page:

Click on Create Add a new chapter to add a new chapter:

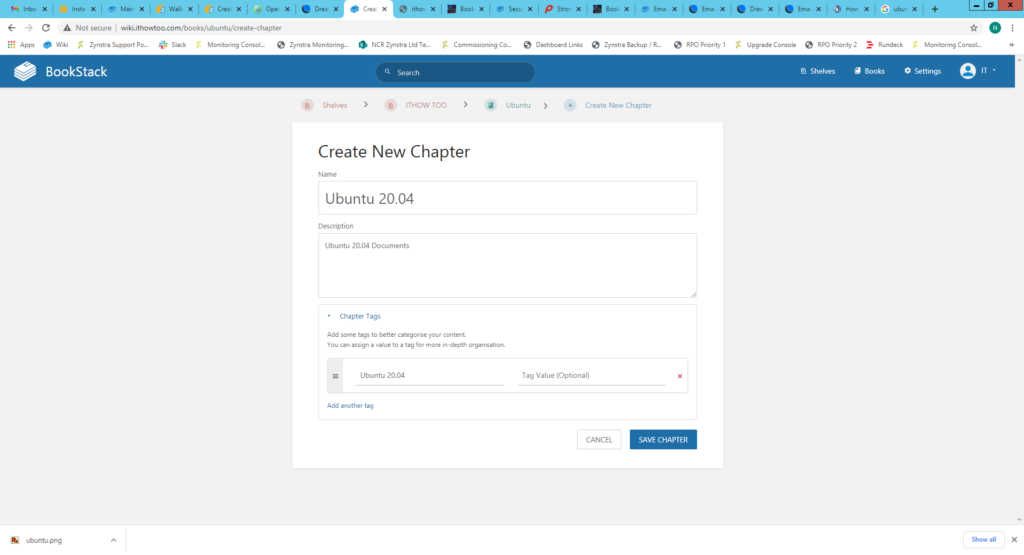
Add the chapter details:

Once all the details are added click the SAVE CHAPTER button:

You will then be taken to the new page creation page.
Create a new page by clicking the Create new page link:

Add the title to the new page in the title field:

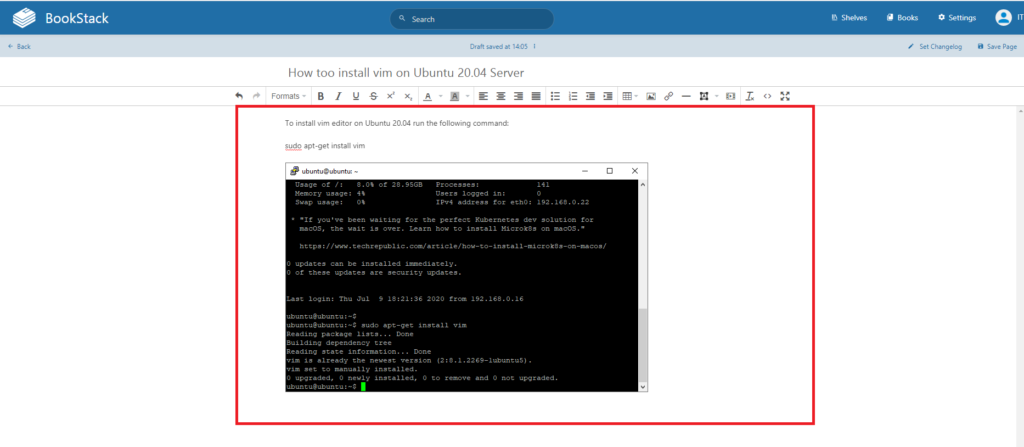
Add the contents of the document in the document field:

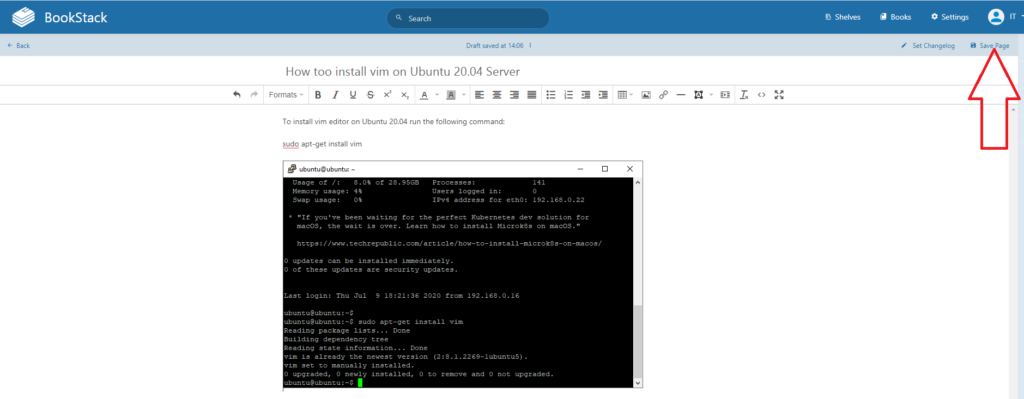
Once the contents of the document is complete click on Save Page:

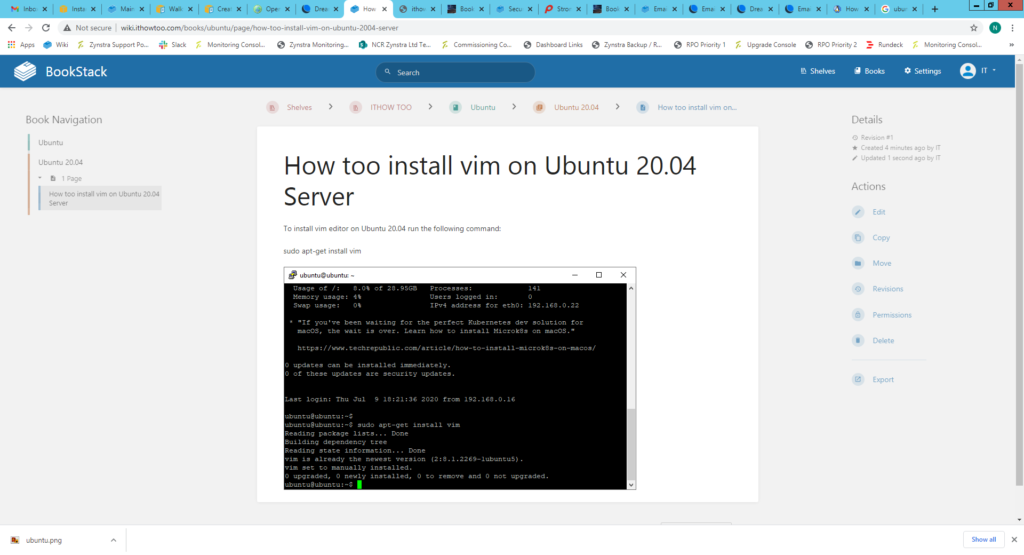
This will take you to the view of the page:

You can now add more Shelves, books or pages as required in the same way as before.
For more Books stack how too’s click HERE.
For the official Bookstack documents page click HERE.
