Configuring Git to sync with GitHub using ssh on Ubuntu 20.04
Git is the industry standard distributed version control system and GitHub is “the largest and most advanced development platform in the world”. Git comes bundled with Ubuntu 20.04 Desktop so there is no need to install it. To connect to GitHub you will need a GitHub account which can be created from the GitHub website, and then you will need to create and populate a repository:

Once you have a gitHub Repo with some files in it we can begin to setup Git on the Ubuntu 20.04 Machine.
Create SSH Key:
The first thing that I do is create a git folder in my profile to act as a starting point for all of my projects and have one place to look for all of my projects going forwards. To do this open a terminal by pressing the ctrl + alt + t keys:

In the terminal make a new folder called git by typing:
sudo mkdir gitThis will create a folder called git in ~/username/:

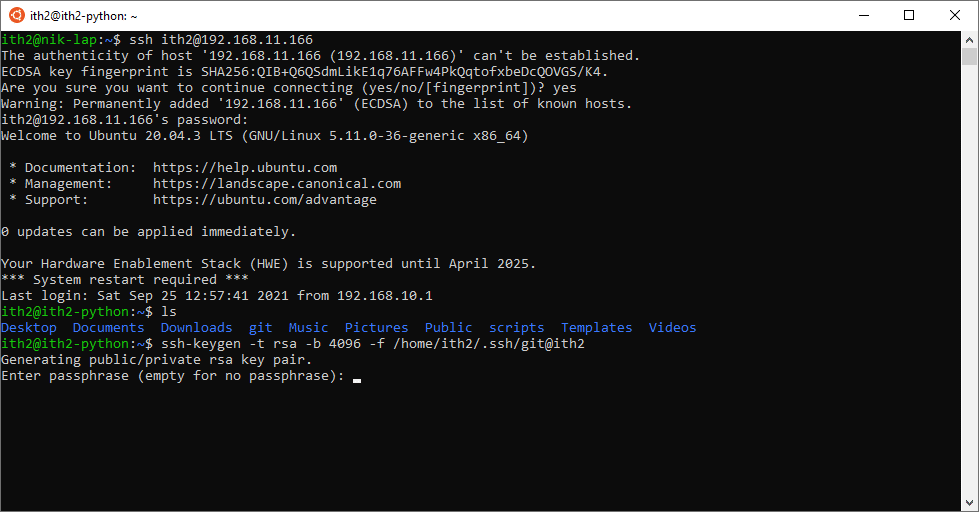
The next thing that we need to do is create an ssh key to use to authenticate with github. This is done by running the command below:
ssh-keygen -t rsa -b 4096 -f /home/username/.ssh/clientnameAdd a key password when asked and press enter:
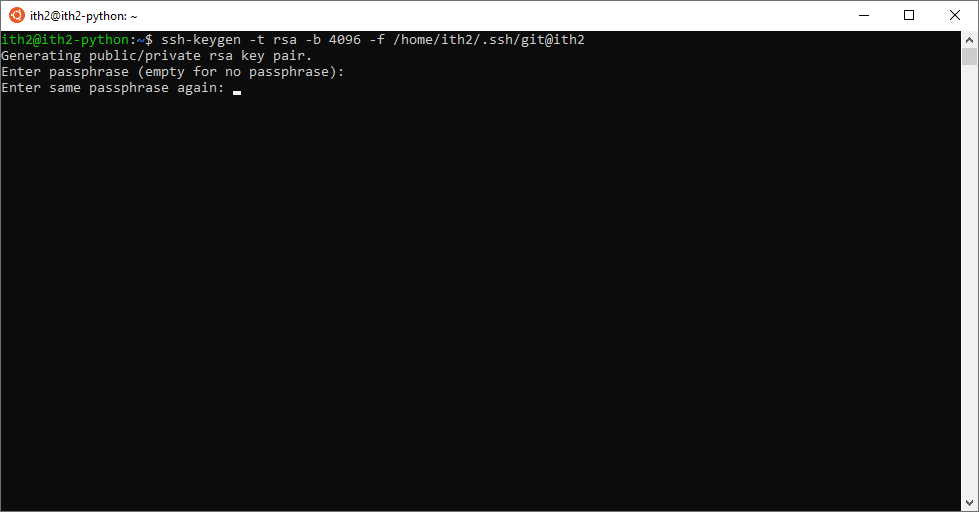
Repeat the password and press enter:
The ssh key will then be created:
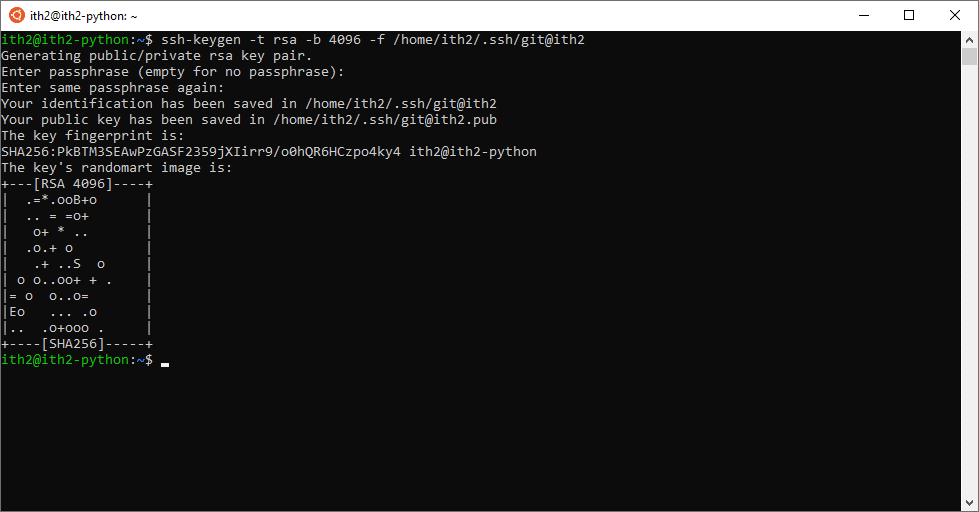
Once the cert has been created it will need to be copied so that it can be added to github to allow access. This can be done by running the following command:
cat ~/.ssh/clientname
This will display the public key:
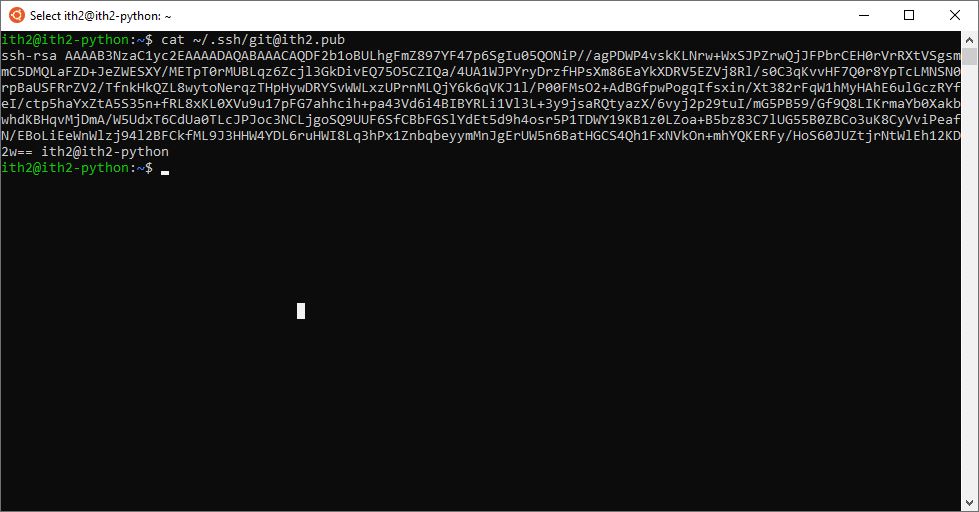
Select all of the text from ssh-rsa until the end of the pc name:
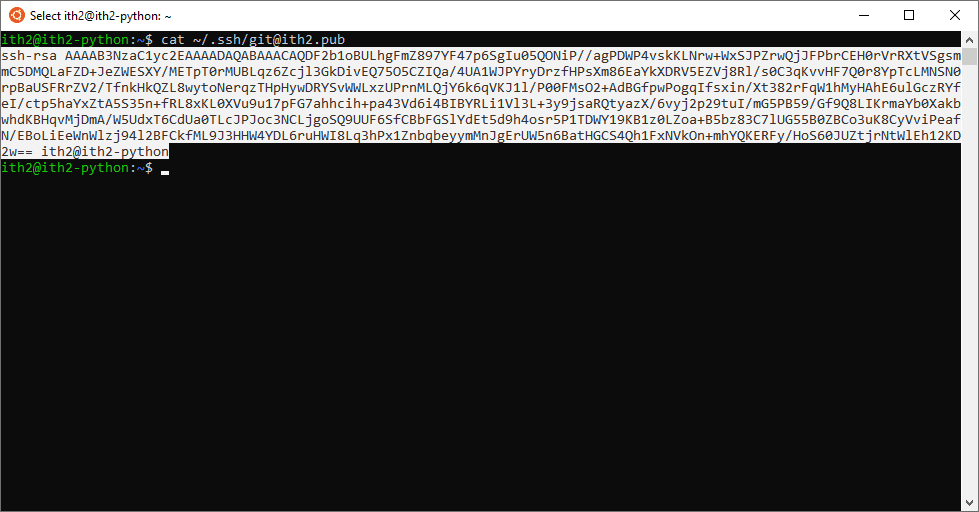
Copy the key and then log into github:

Click on the user icon at the top right corner of the screen:

Select Settings:

Click on SSH and GPG keys on the left menu and then the New SSH key button:
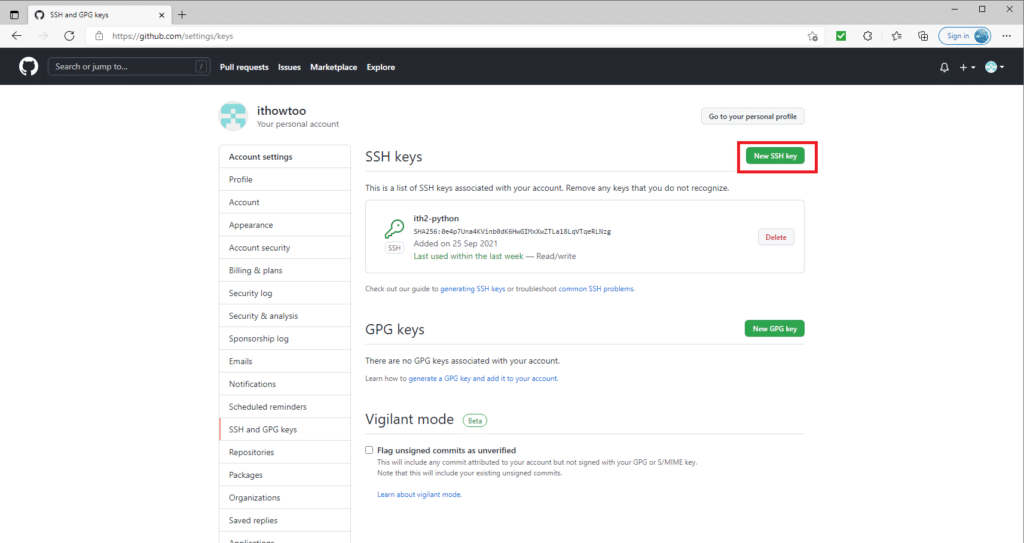
Add a name for the key in the Title field:

Paste the key created before into the Key field (don’t worry the key created for this post will be deleted once the post is complete!):

Click Add SSH key to save the key. You will now see it in the keys list:
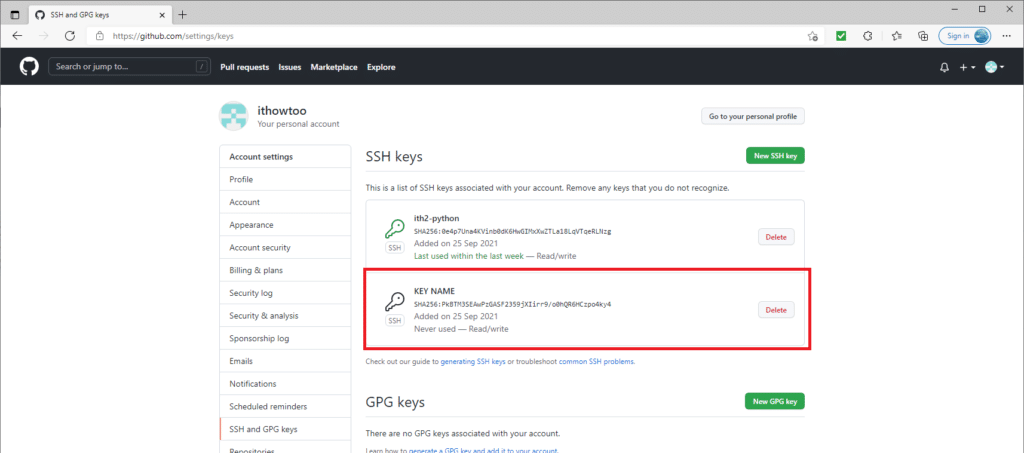
If you want to remove access to the machine later on click on Delete and the key will be removed which will delete the key and therefore the machines access.
Now that the key has been added we can setup ssh access from git on the local machine to github.
Adding key to SSH-Agent:
In order for git to connect to github we need to configure ssh-agent to use our key that we created before.
First we need to start the ssh-agent in the background by runnung:
eval "$(ssh-agent -s)"This will show something similar to:

The following command will add the key to the SSH-Agent:
ssh-add ~/.ssh/clientnameTo test that this is now working run:
ssh git@github.com
I also like to add the key to ~/.ssh/config too so that the cert will be used automatically going forwards. This can be done my adding the following to the ~/.ssh/config:
   Host github
      HostName github.com
      User git
      IdentityFile "~/.ssh/cert-name"
Initial cloning of the github repository
Now that ssh authentication has been setup we can not clone the github repository to the machine. To do this first go to your git folder:

Check that the folder is not already a git repository by running:
git status
We now need to get the link to the repository from github by going to the repository root and clicking the Code button to reveal the link:

Copy the link to the clipboard and then go back to the Ubuntu machine and run the following command:
git clone [ REPO URL ]For example:
git clone git@github.com:ithowtoo/ithowtoo-ubuntu_20.04_install_script.gitThis will then clone the github repository to the local machine:

Do an ls to show that the new repo has been created:

Change into the new folder and do another ls to show that the documents from github are now in the local repository:

Now run a git status to show the status of the repo. You should see that everything is up to date:

Git is now setup and ready to use.
