Log into the web interface in the VirtualBox VM that was created using the article HERE:

Use the user and password that were created when installing the server:

Configure Zentyal 6.2 Server:
You will now be on the initial Setup Page:

Click on the Continue button:

Choose the Zentyal packages to install and then click the Install button at the bottom of the page:


Click Continue to install the packages:

Wait while the packages install:

When the packages are installed click next to configure networking:

Select the method of setting the IP address for this example I have chosen static as I do not want my ip address provided by DHCP. Once the settings have been filled in click on Next:

Choose the installation type and the domain name. As I have no previous domain to add the server to I chose the Standalone server to create a new domain. Click Finish.

Click OK to start the configuration of the server:

Wait for the setup to finish:

The installation of the server is now finished. Click GO TO THE DASHBOARD to close the Installation Wizard:

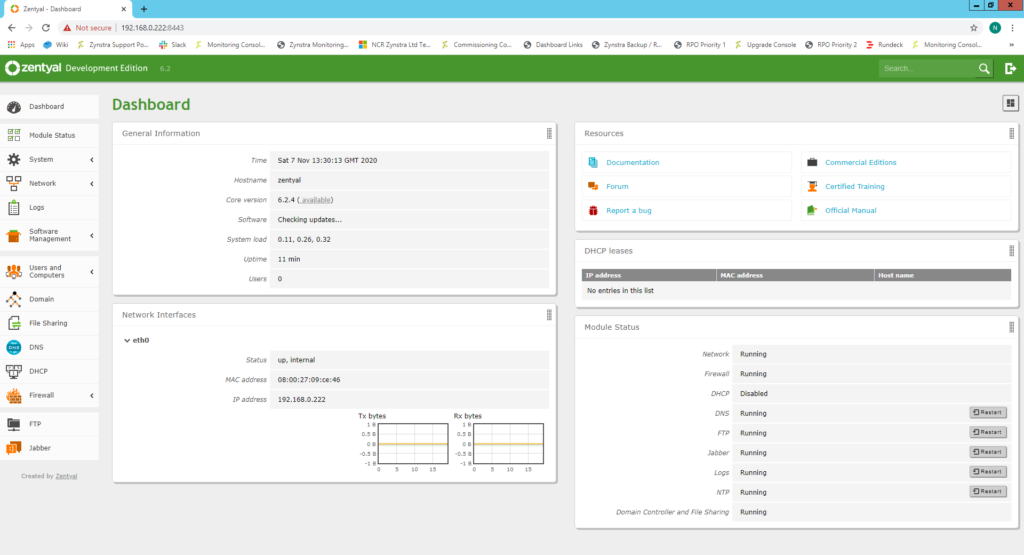
You will now see the Zentyal Dashboard. You can use the dashboard through the console or connect to “https://ip_address:8443 (where server_ip is the ip address set during setup), from a browser which is my preferred method as there is no need to physically connect to the server to do configuration:
Console:

Browser:

You are now ready to configure your server.
