This morning at work I have been migrating our docker compose containers that currently run on an Ubuntu 22.04 Server VM onto individual Proxmox LXC containers running Ubuntu 22.04 so I thought that I would document it here so that I have a record of what I did and pass on the information as the containers seem to work way better running on LXC containers and they use way less resources than the Ubuntu 22.04 VM.
While I was playing around with the LXC containers I discovered that if you use a template you can speed up container roll out and it will also make it really easy to use Ansible to automate the roll out of new and existing containers going forwards which is a massive plus for me 🙂
Download the LXC Template
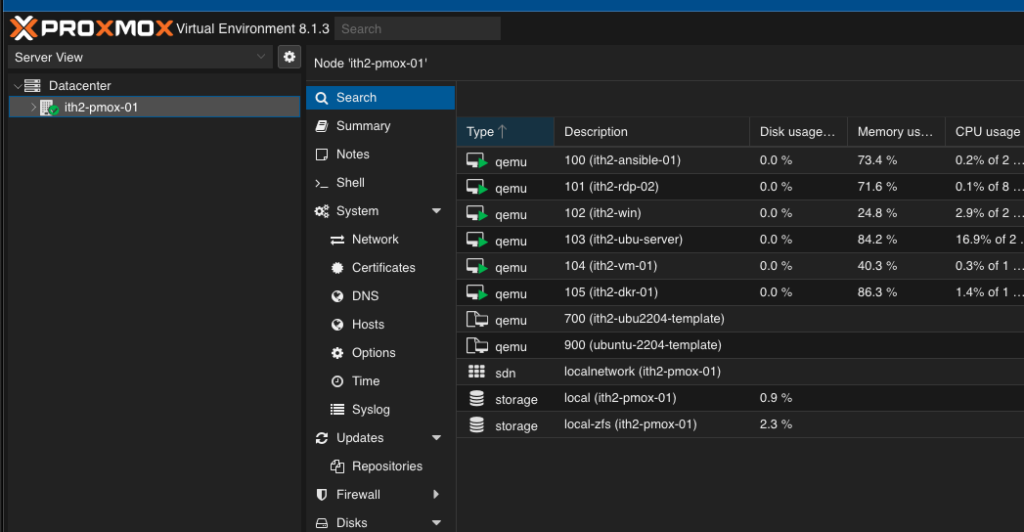
Before we can create the template we first need to have an Ubuntu 22.04 Proxmox LXC image downloaded on your server to boot from. To do this log into the Proxmox gui and click on the Proxmox server name:
Click on Shell to open up the server command line:
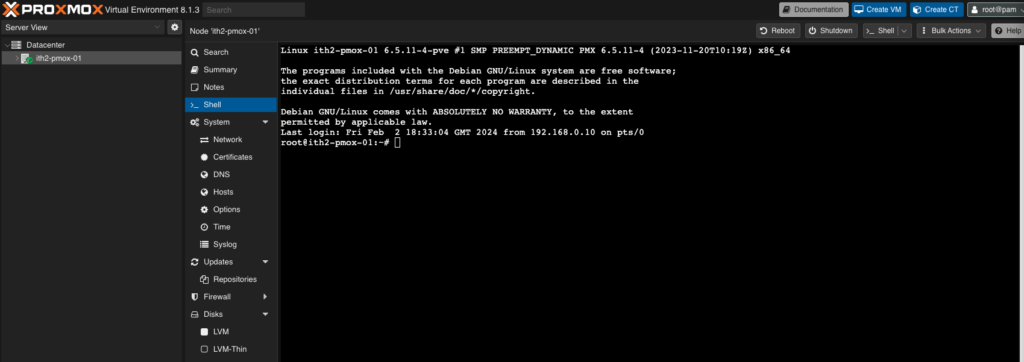
We are going to use the pveam command line tool to fetch our image but first we need to update pveam to the latest version by running the following command:
pveam updateThis will show the following when run successfully:

Next run the following command to see all the images that are available to download:
pveam availableThis will show a long list of images that can be downloaded:
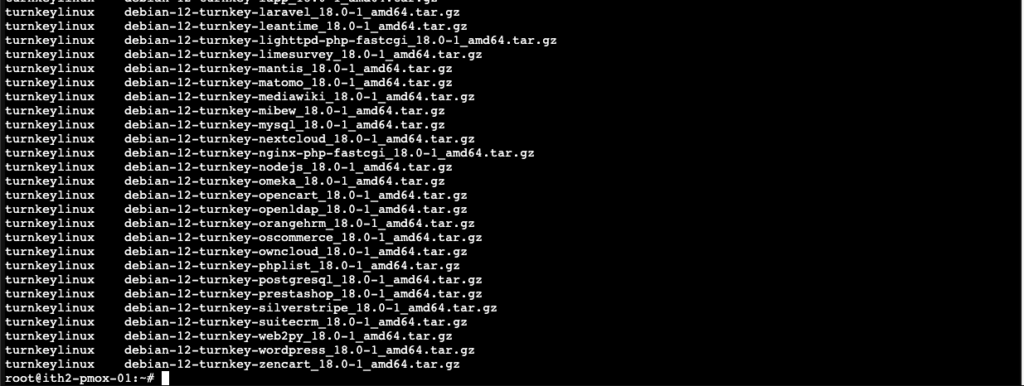
Scroll up and find the Ubuntu images and copy the name of the 22.04 image:

Next run the following command to download the ubuntu image:
pveam download local ubuntu-22.04-standard_22.04-1_amd64.tar.zstWait for the image to download. It will not take very long as it is very small (129.82mb):

This will have copied the new image to /var/lib/vz/template/cache/ and it will now show up in the Local disk, CT Templates in the gui:

Create LXC VM
Before we can create a LXC container template we first need to create an LXC container using the Ubuntu 22.04 image that we have just downloaded using pveam.
To create the LXC Container click on the Create CT Button at the top right of the screen:

Fill in the desired CT ID:, name of the LXC Container, Type in desired password in the 2 password Fields and if you want to use an ssh key to connect to the VM add that too:
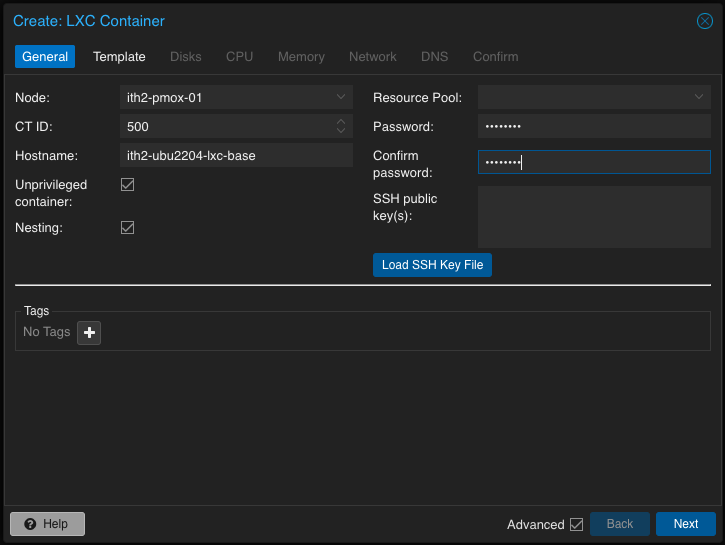
Click Next to save the changes and move to the next tab:
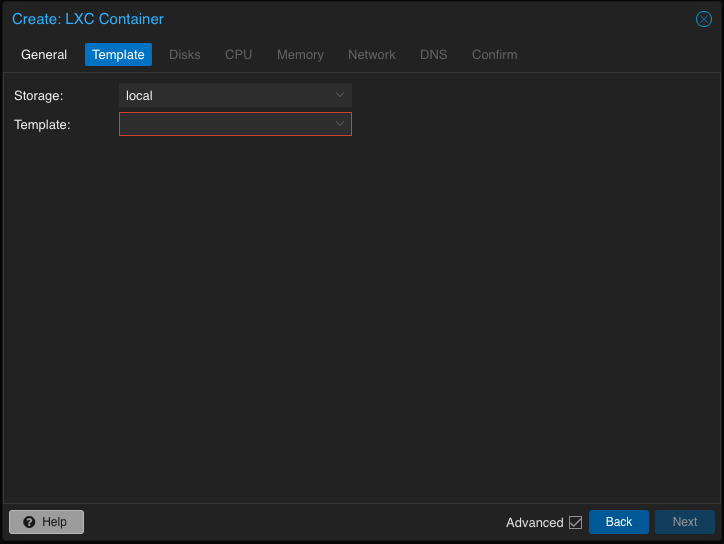
Click on the arrow and select the Ubuntu 22.04 image:
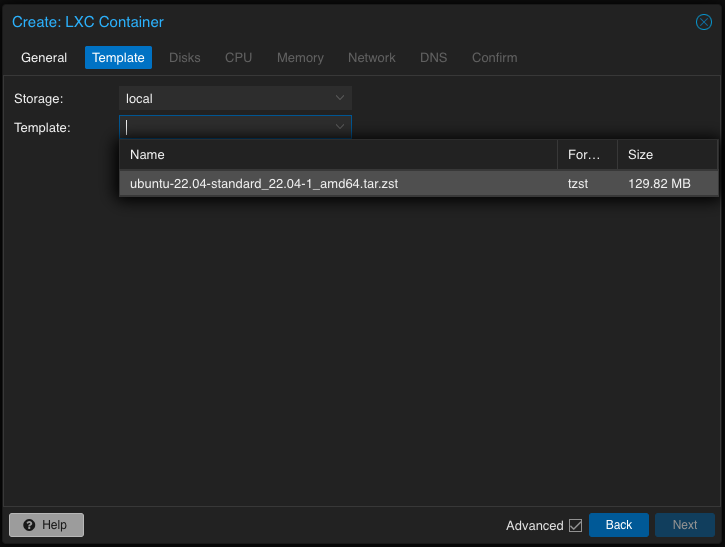
Click next to move to the disks tab:
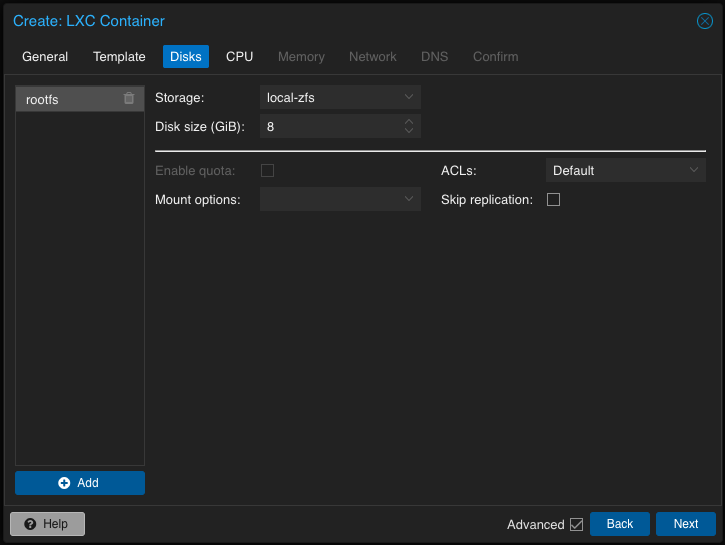
Change the disk size if needed or leave as default 8GB is that is enough and click Next:
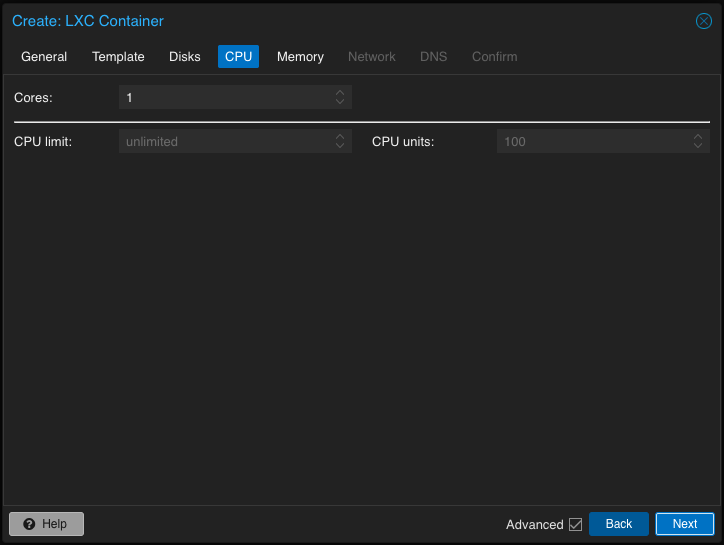
Click next if you are ok with giving the container the default 1 cpu core, or change to the required number and click next again:
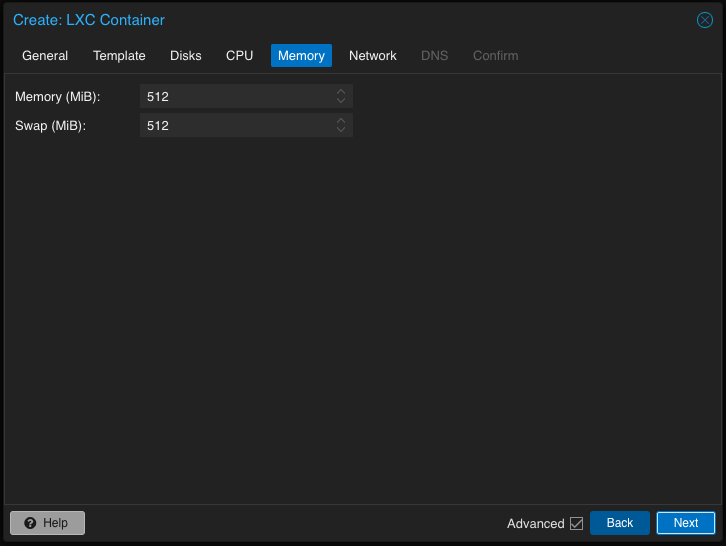
Click Next to accept the default 512mb ram or change to the desired memory amount and click next:
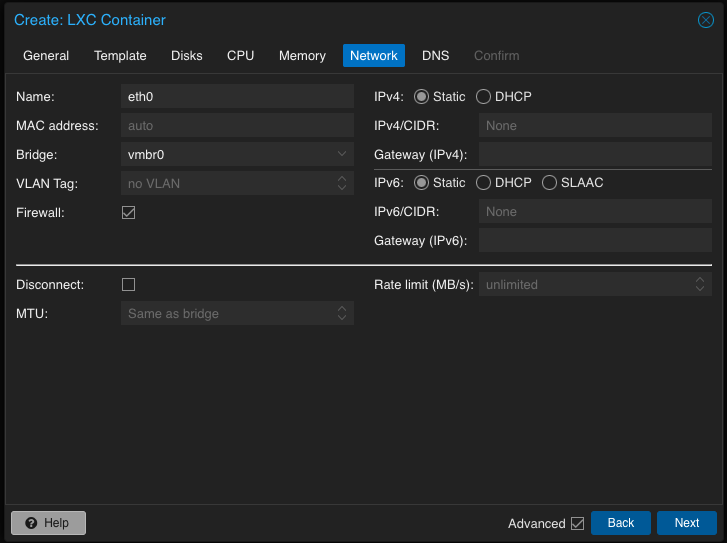
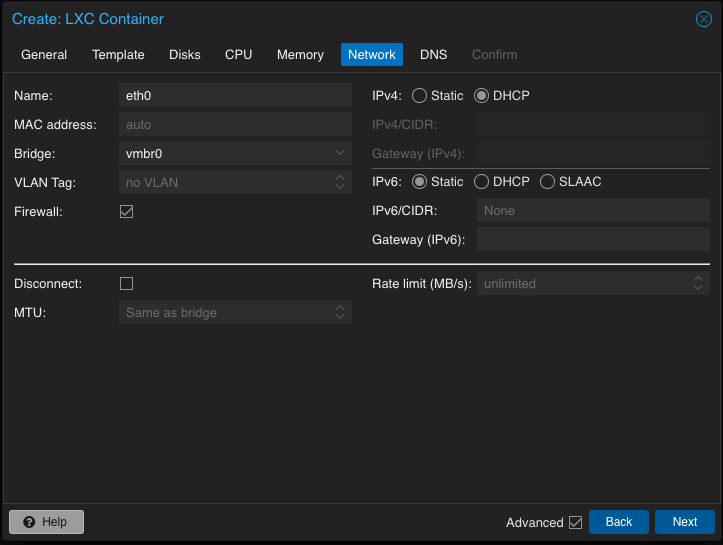
Change the IPv4 setting from Static to DHCP so that it will get an ip address automatically when it boots as will the cloned LXC container when they boot then click Next:
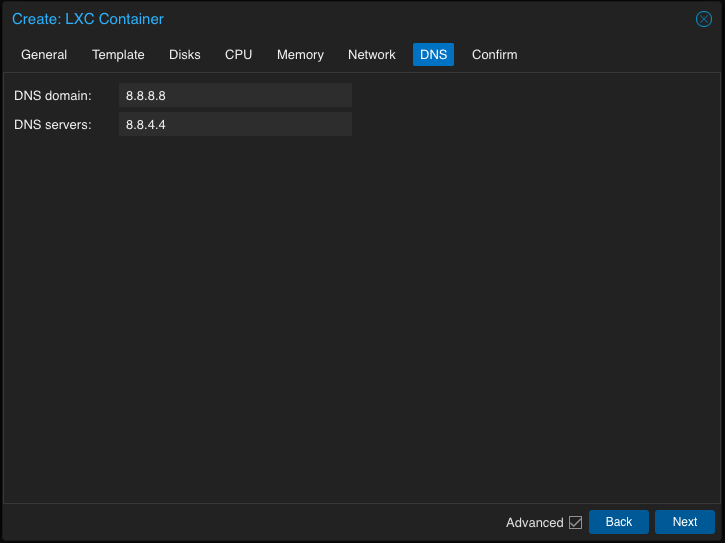
Add the desired dns server ip addresses to the fields and then click next:
Check that all the settings are correct and then click next to create the container:
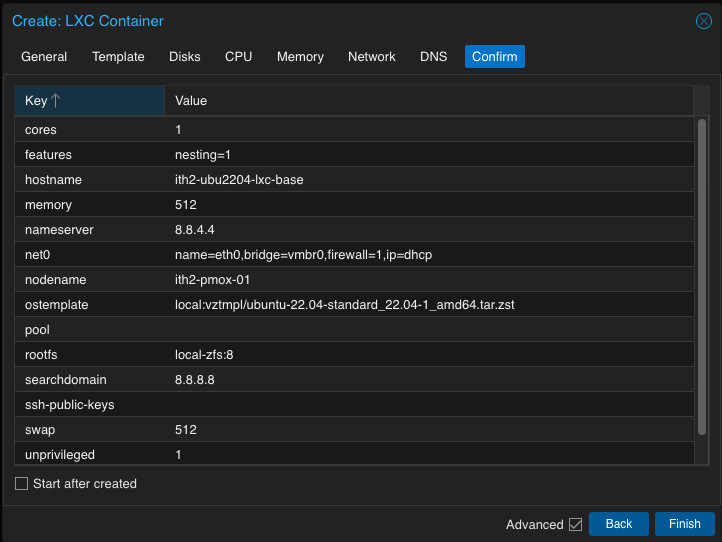
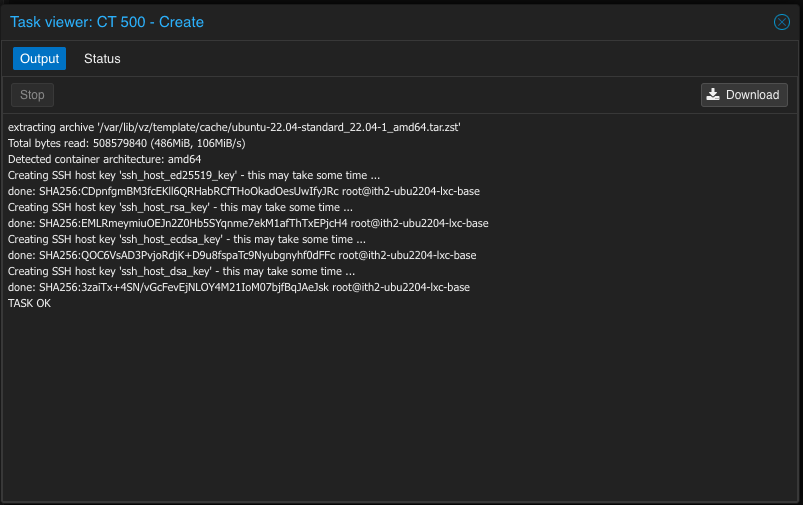
Proxmox will now create the container:
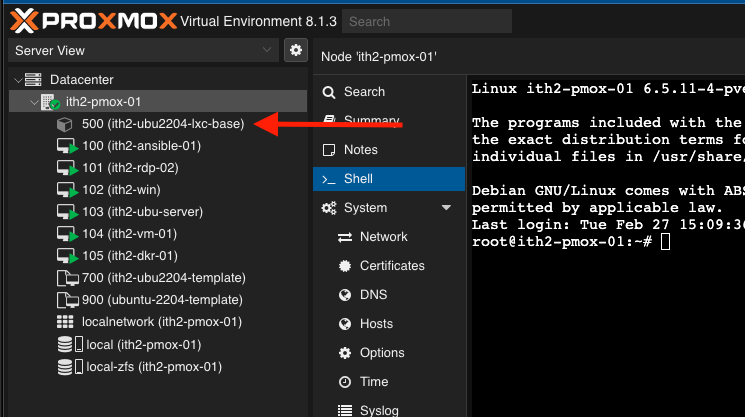
Close the window when finished and the new container will now be in the container/vm list:
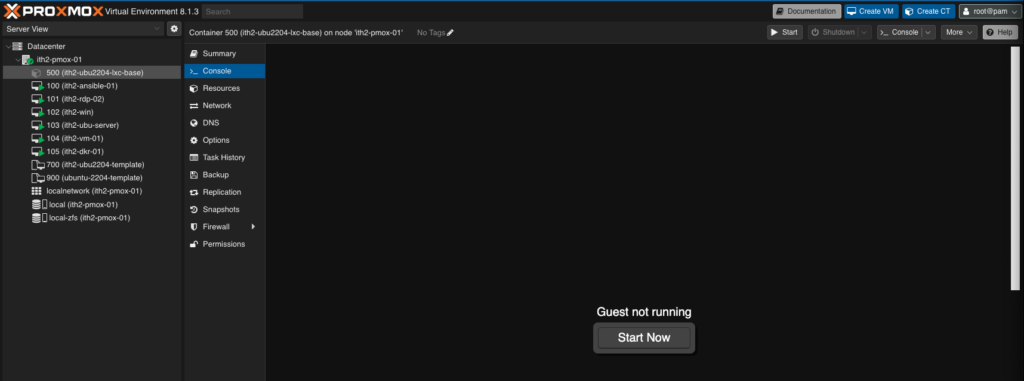
Click on the new Container name and select Console and click Start now to start the Container:
The container will now start (Almost immediately! Yah Containers!):

Log into the container with the user of root and the password setup during configuration:
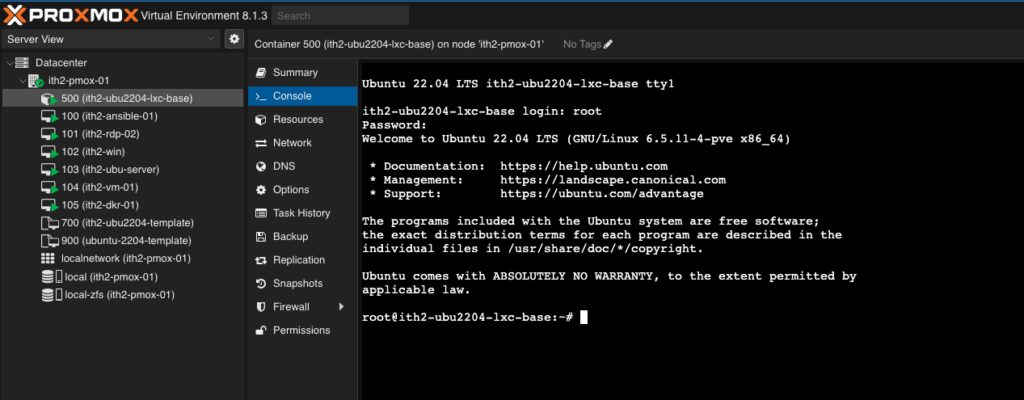
Configure the new container with whatever you need to install
One advntage of using LXC Containers over VM’s is that there is no need for the Proxmox Guest agent to be installed so that is one less thing that needs to be installed! Here is what I install for my base template:
Run the following command to update apt:
apt updateOnce that has finished run the following command to update Ubuntu:
apt upgrade -yI then install vim as it is my preferred text editor by running:
apt install vimType y and press enter to install vim:

Wait for vim to be installed.
Next I allow the root user to ssh using a password by running:
vim /etc/ssh/sshd_configFind the line that contains PermitRootLogin prohibit-password:
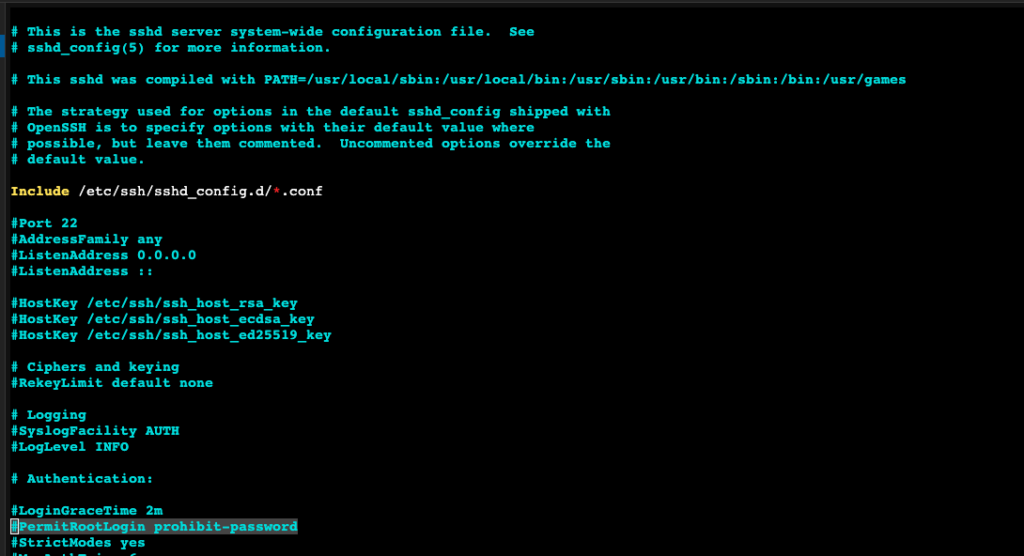
Change the line to PermitRootLogin yes
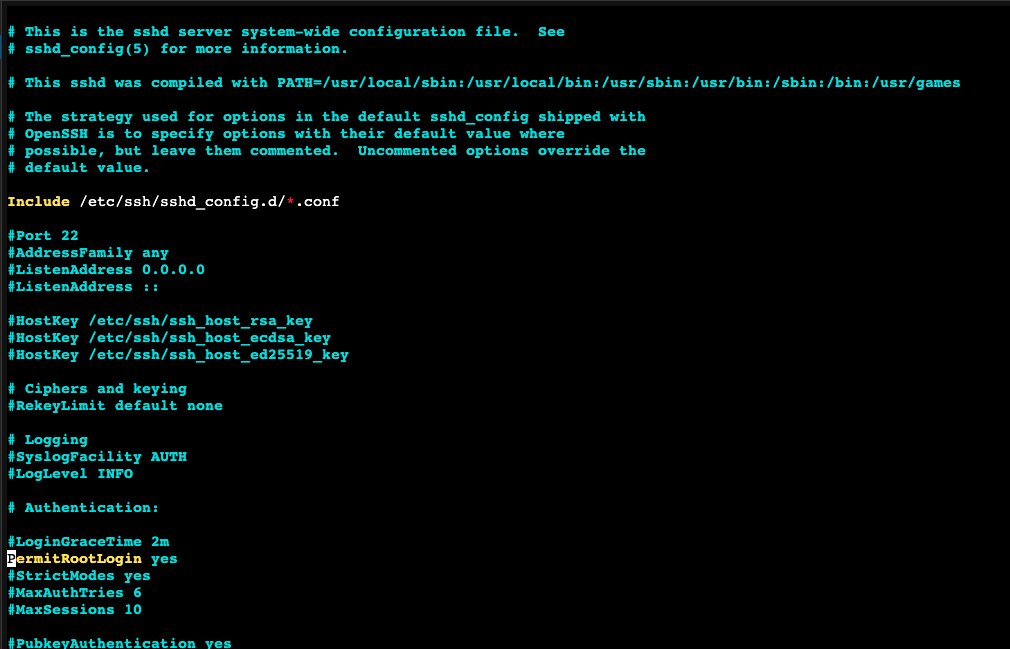
Save the file.
As most of my LXC containers will be used to run docker compose containers I install docker and docker compose using the instructions from THIS post.
That is all my Template has installed but feel free to add anything else you need on a standard container and then power off the VM. The easiest way to do this is to click the Shutdown button at the top of the console:

Click Yes to confirm shutdown:
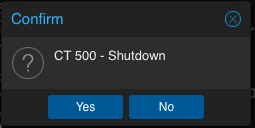
The container will now power off.
Convert the LXC container to a template
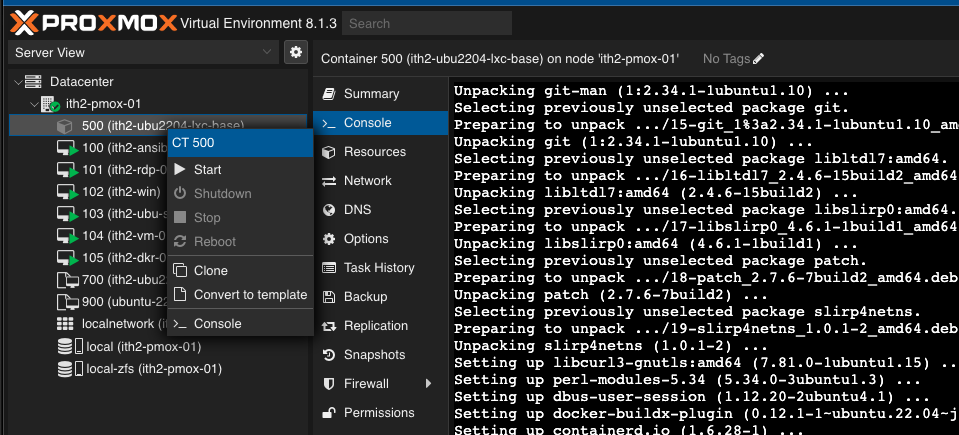
To convert you newly configured LXC container to a template to use to quickly create new containers from right click on the LXC container’s name in the left hand menu of the GUI:

Select Convert to template:
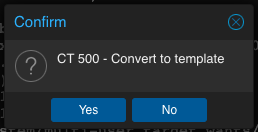
Click Yes to convert the LXC Container to a template:
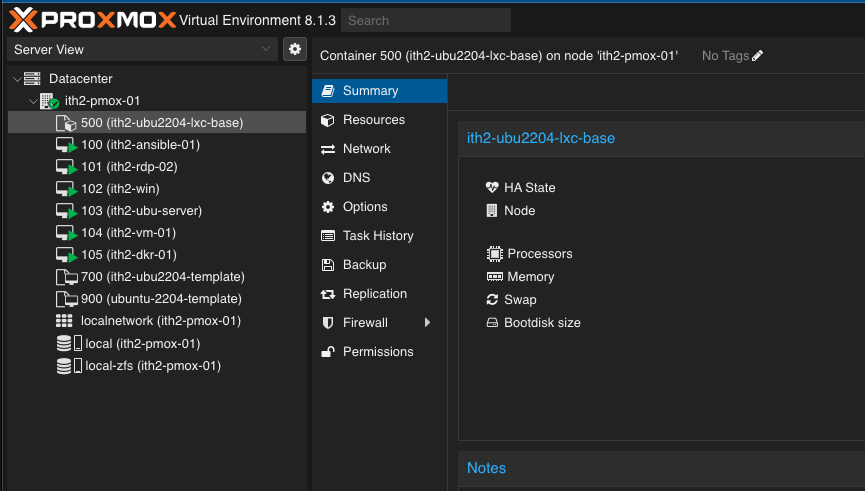
The image to the left of the name will now change to indicate that it is now a template:
That is the end of the Ubuntu 22.04 LXC Container setup tutorial. You now have a ready to use template.
