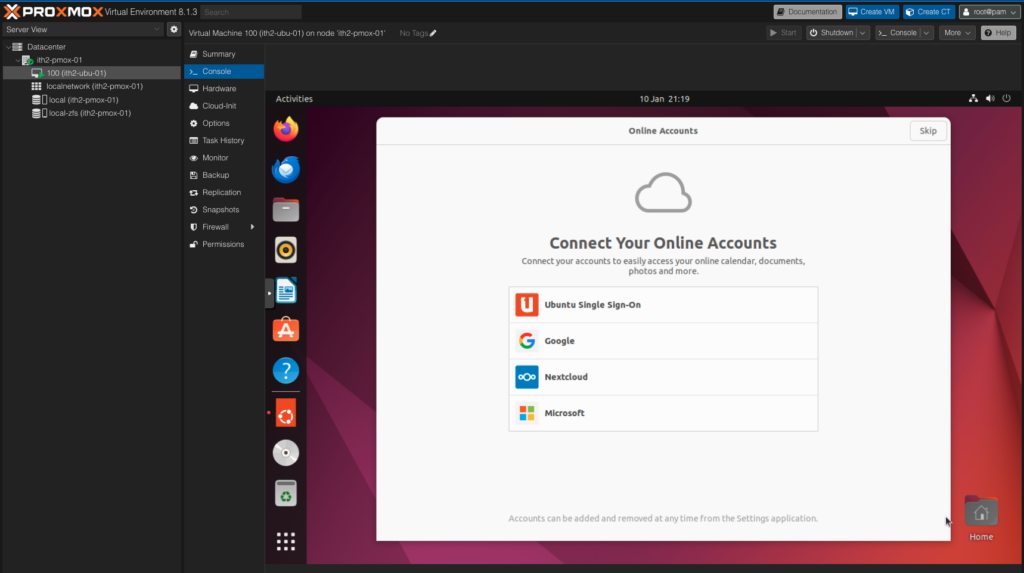
This post will walk you through Creating an Ubuntu 22.04 Desktop Proxmox VM. Before Starting this process make sure that you upload the Ubuntu 22.04 desktop ISO to your Proxmox server by following THIS post.
Create a New Ubuntu 22.04 Desktop VM
In order to create a VM on Proxmox, from the home page click on the Create VM on the top Right hand corner of the page:

This will open the Crete: Virtual Machine Wizard:
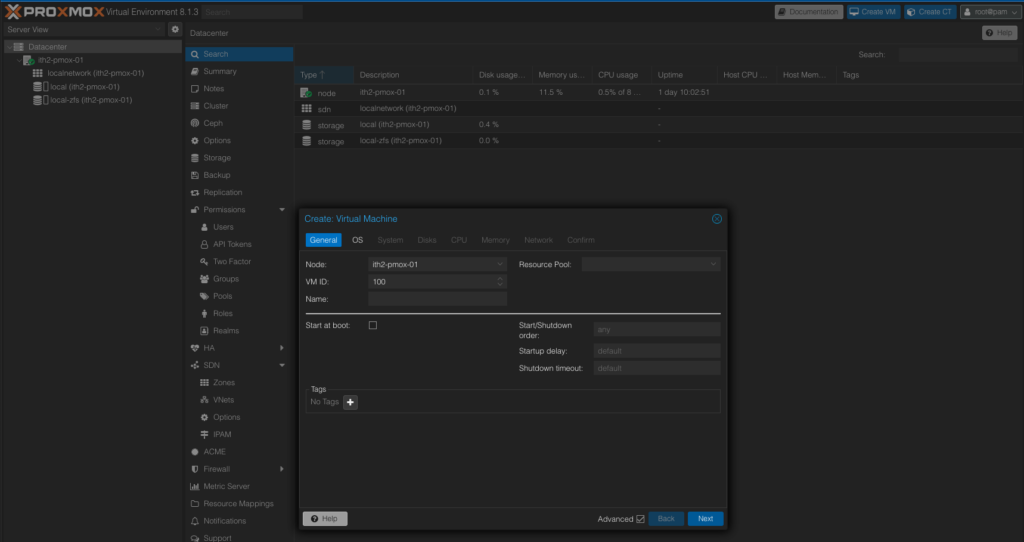
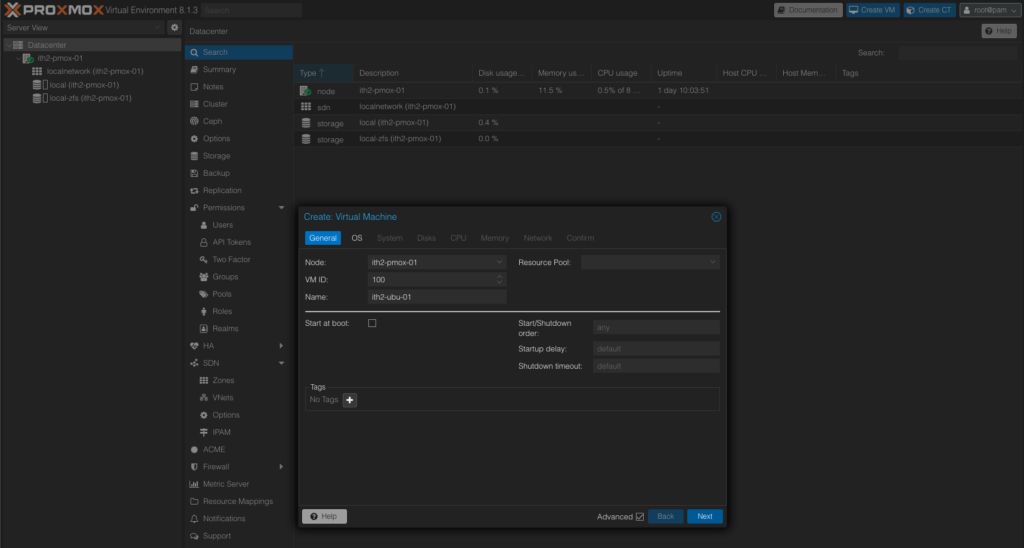
Type in a name for the VM and click OK:
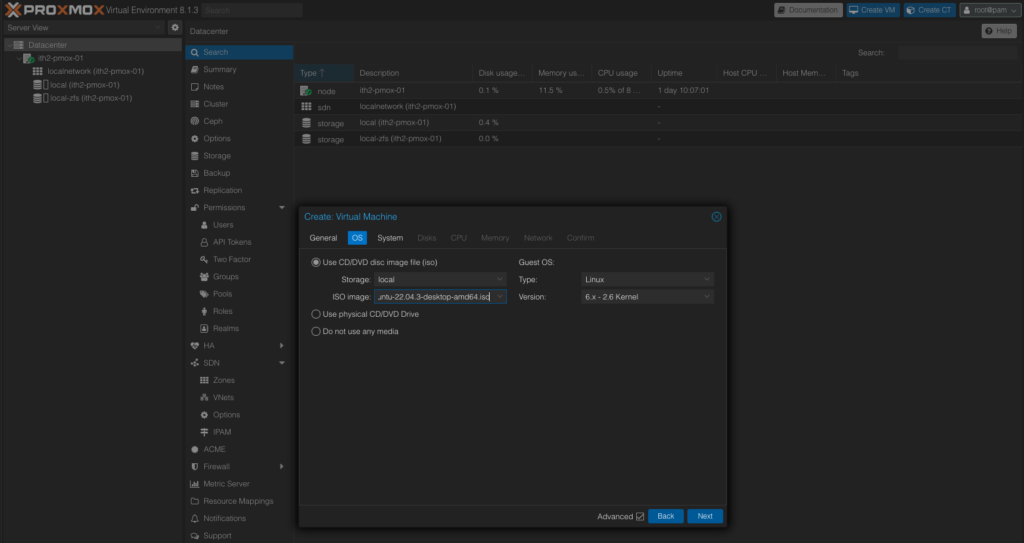
Click the dropdown menu next to ISO image:
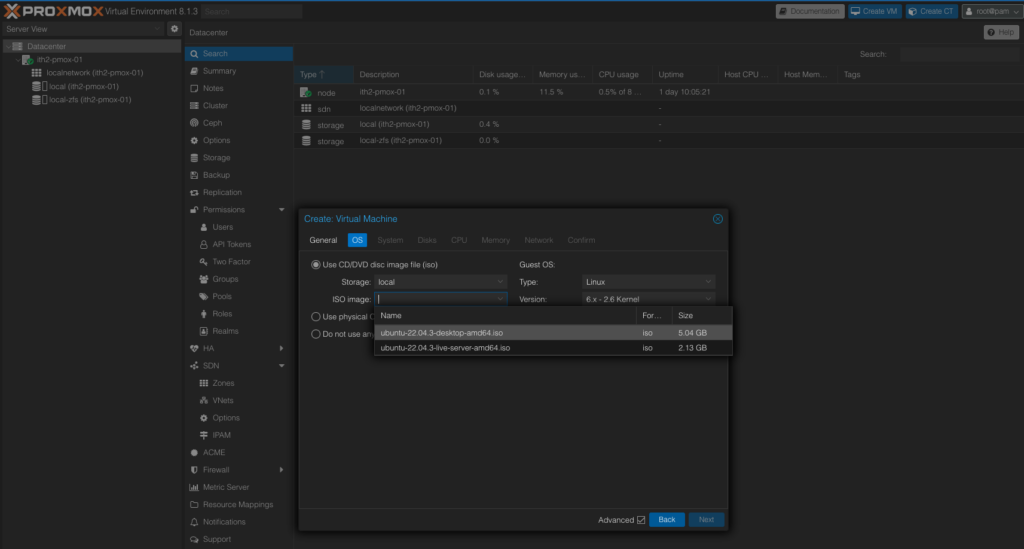
Select the ISO that you want to use and click Next:
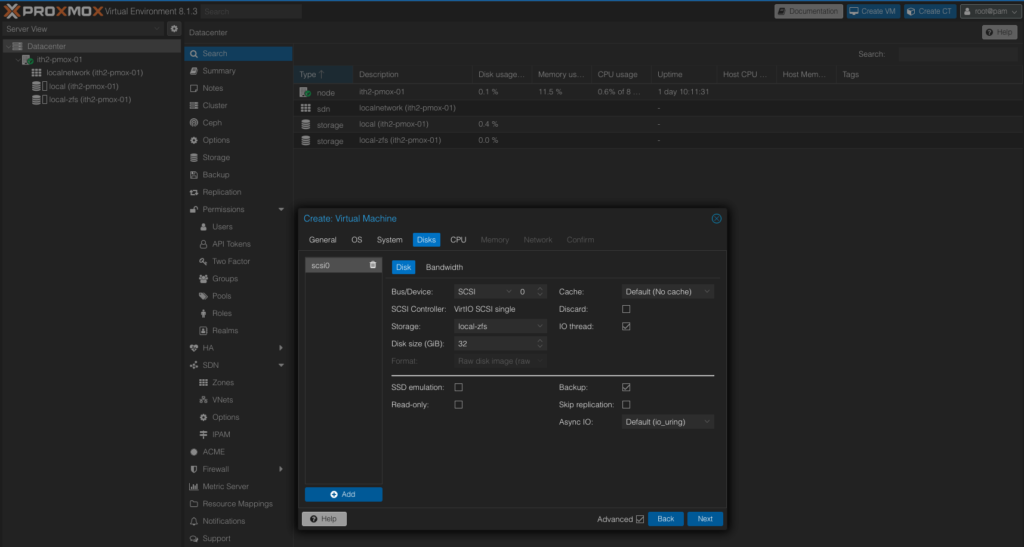
Click in the tick box next to Qemu Agent to run the Qemu Agent at start up (it will not be installed but as soon as it is it will start) and click Next: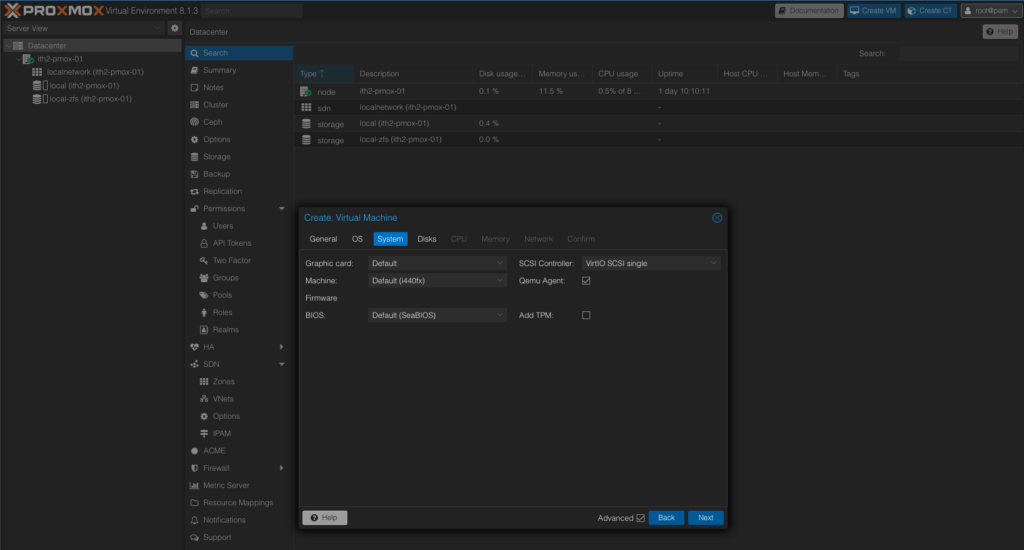 Change the size of the disk to the required size or leave alone and click Next if you want a 32gb disk:
Set the number of Sockets and cores as desired and click Next: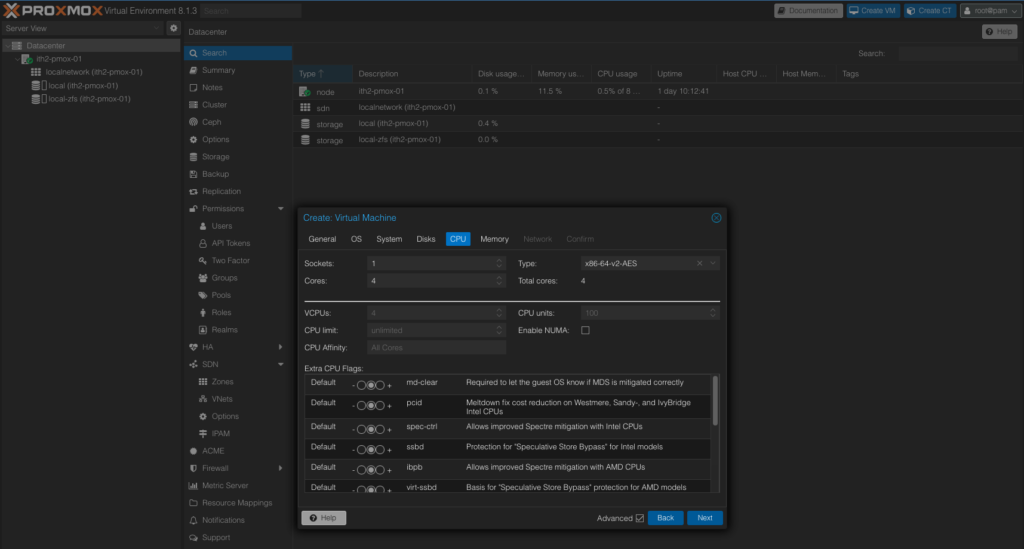
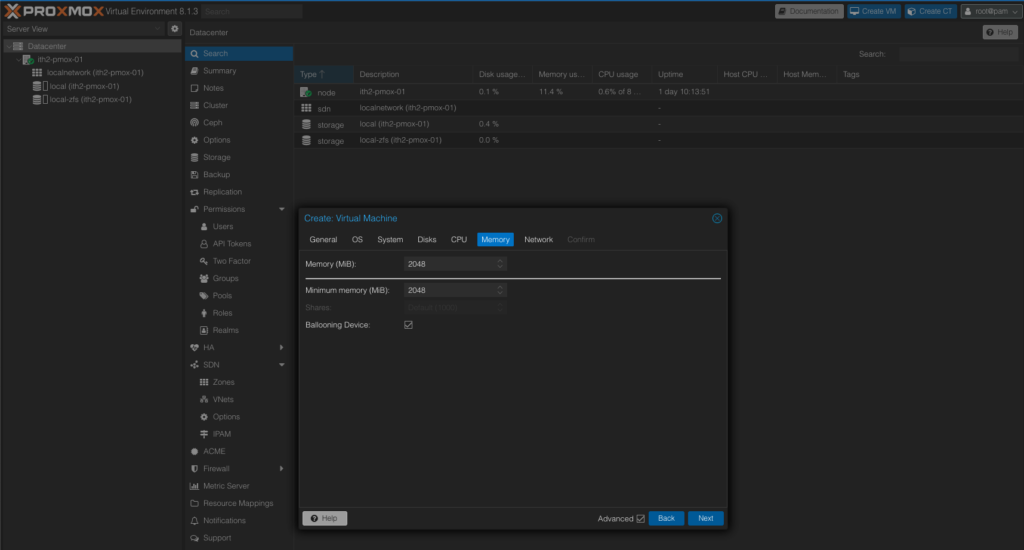
Set the Memory (MIB) option a desired and click Next:
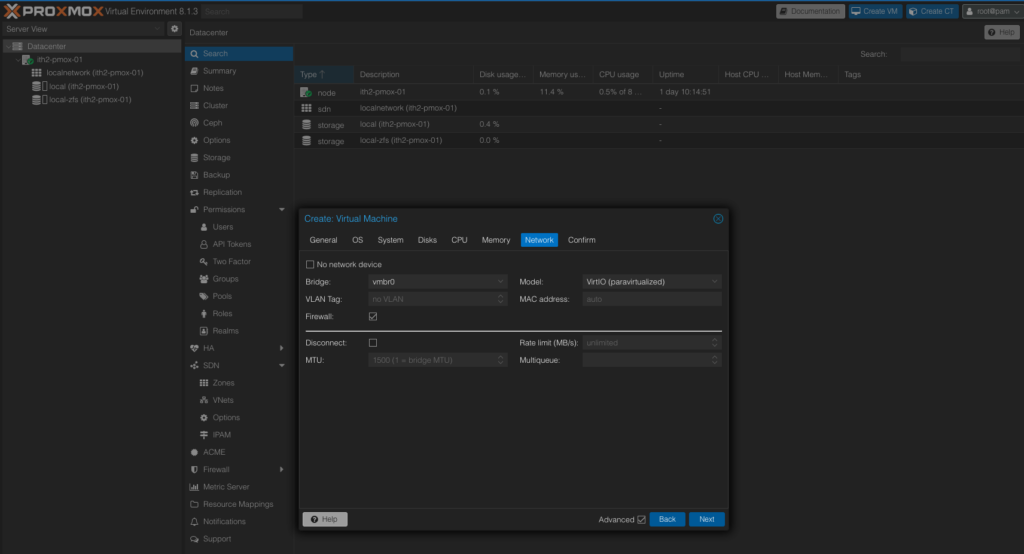
Setup Networking as desired and click Next:
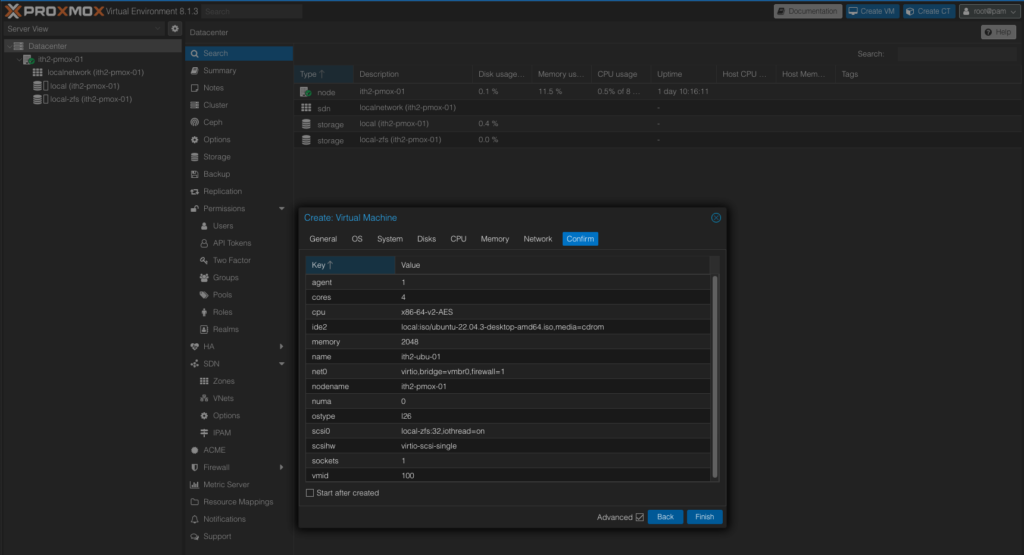
Check that all the settings are as desired and Click Finish. If you need to change anything click Back until you get to the option.
The VM will now be created and appear in the left hand menu:

Create a New Ubuntu 22.04 Desktop VM
Click on the new VM name and select the >_Console on the Middle window:
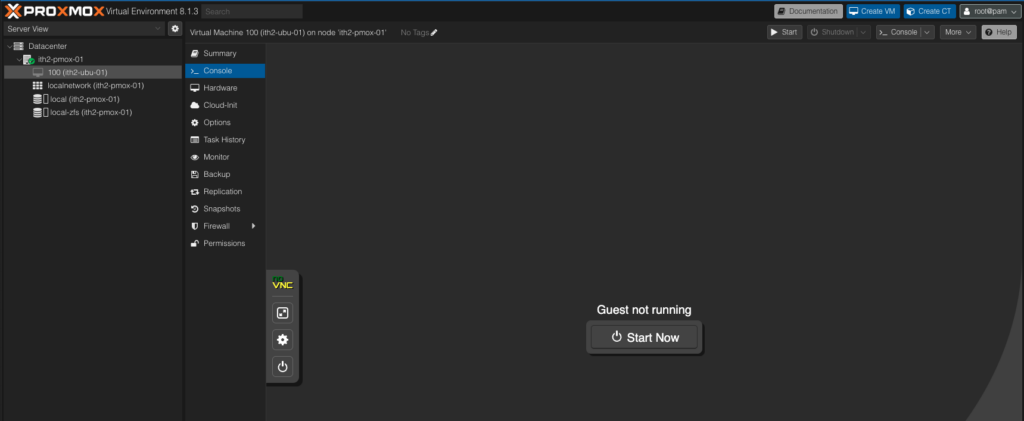
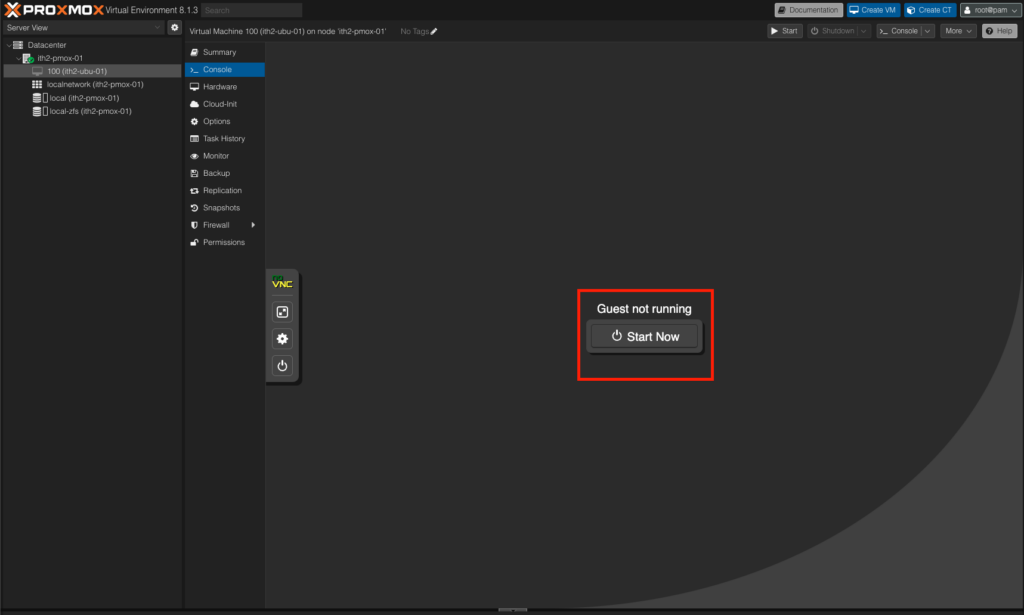
In the Right Window click on the Start Now Button
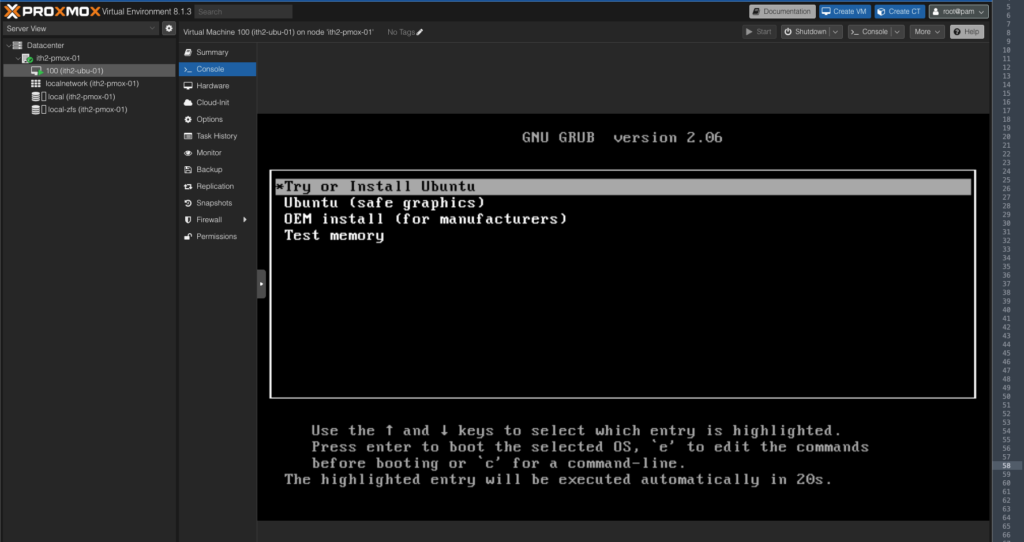
Press enter to Install Ubuntu:
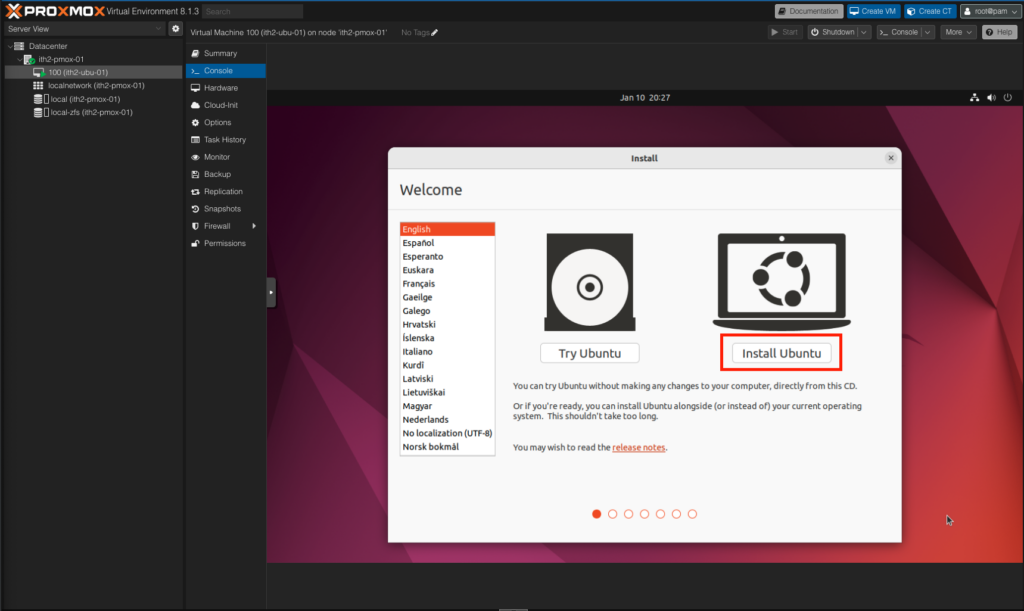
Select Install Ubuntu:
Select your Keyboard Layout and click Continue: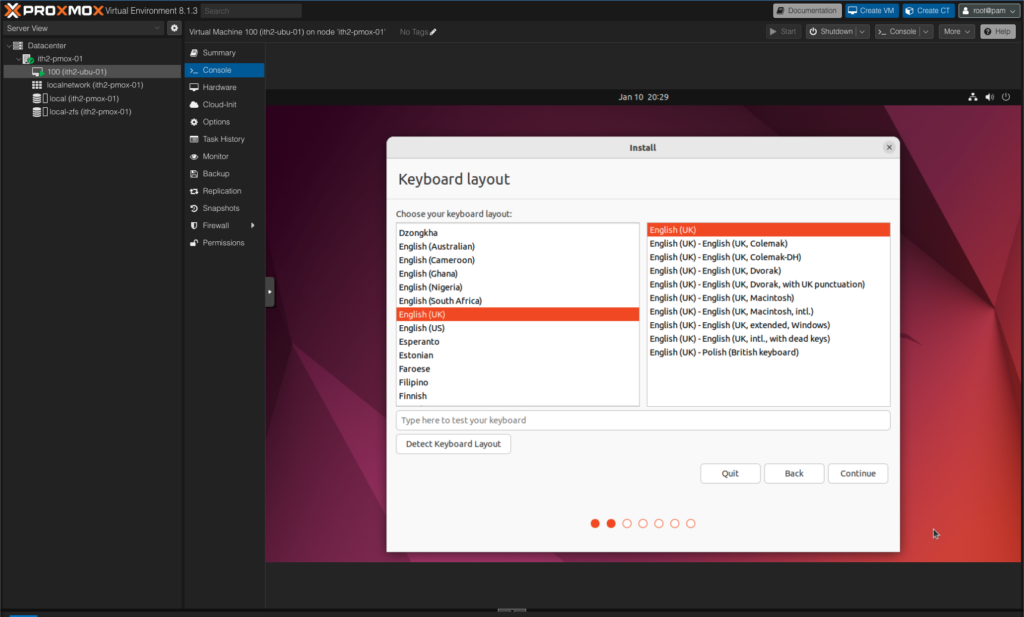
Click Continue to move to the next page:
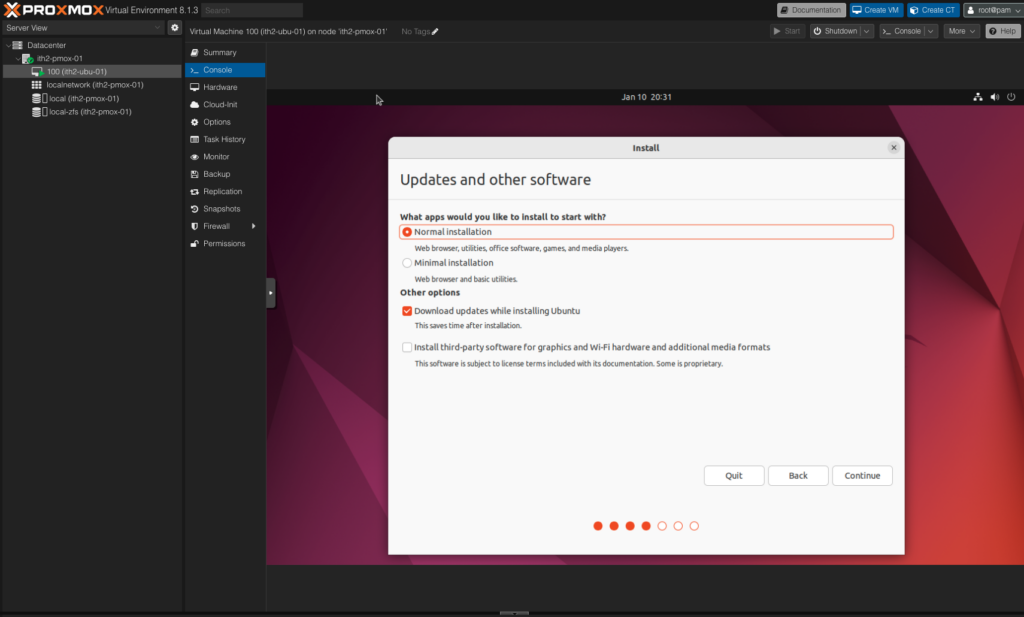
Click Install Now to select the defaults and start the Install:
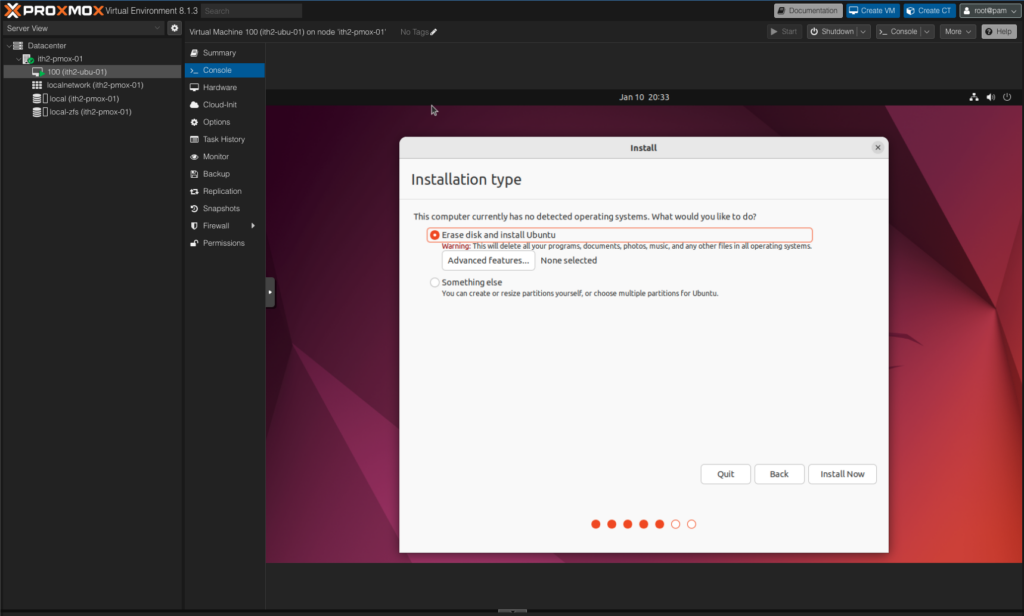
Click Continue:
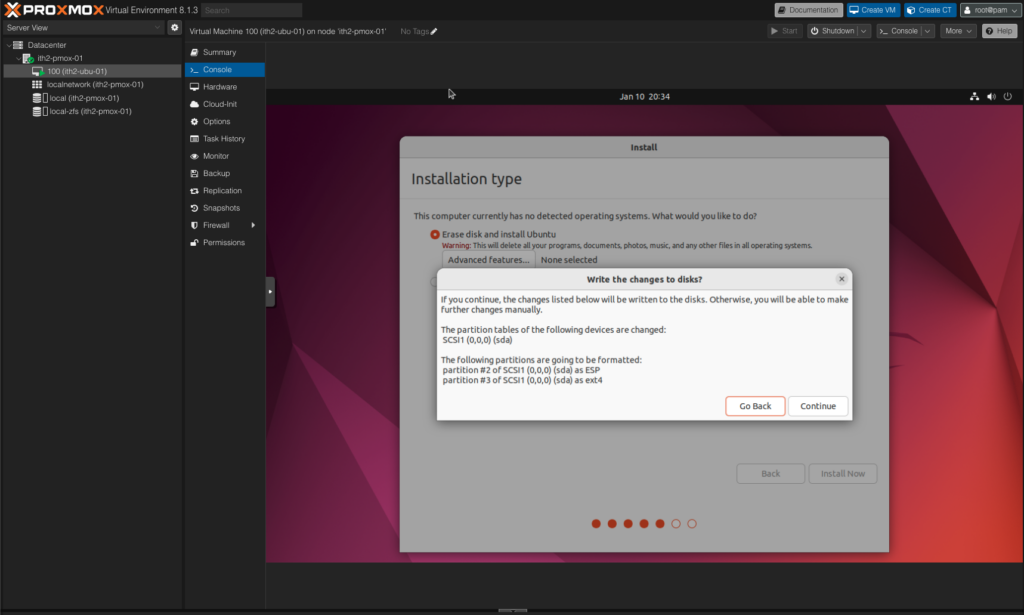
Select Your Location and click Continue:
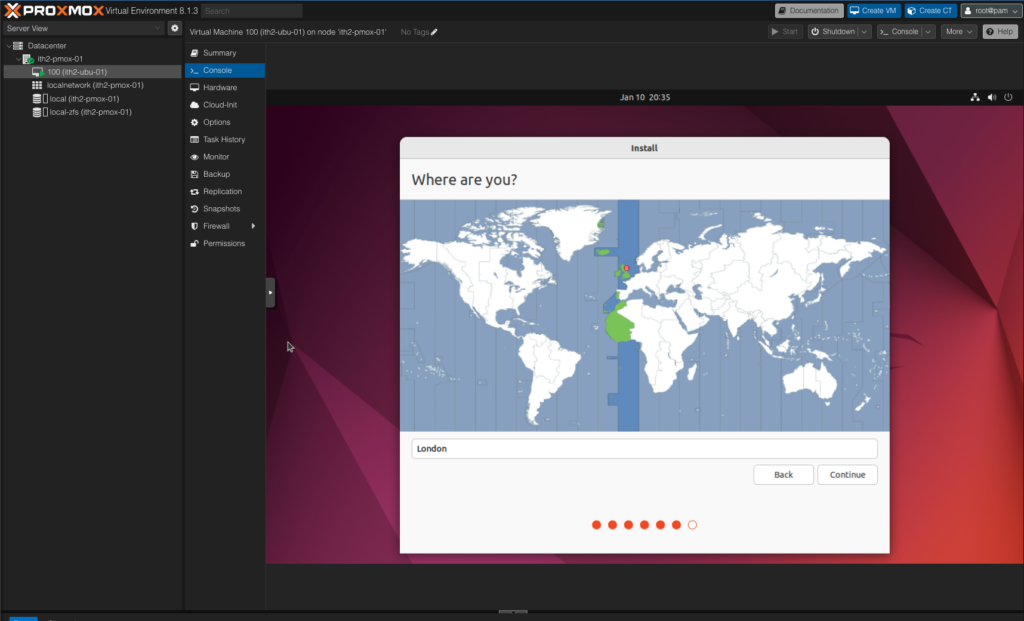
Fill in your details and then click Continue:
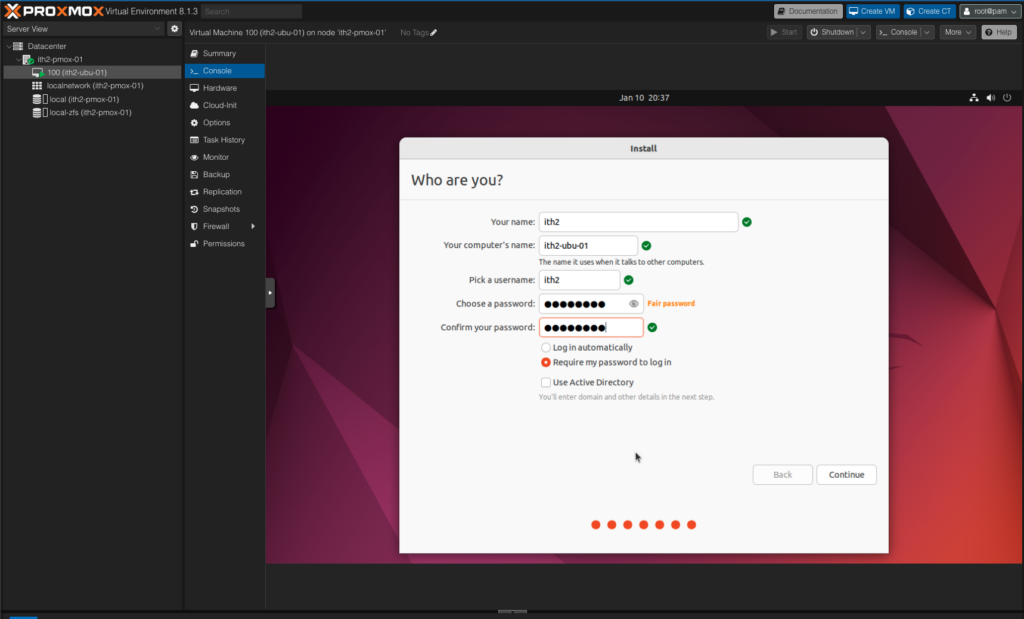
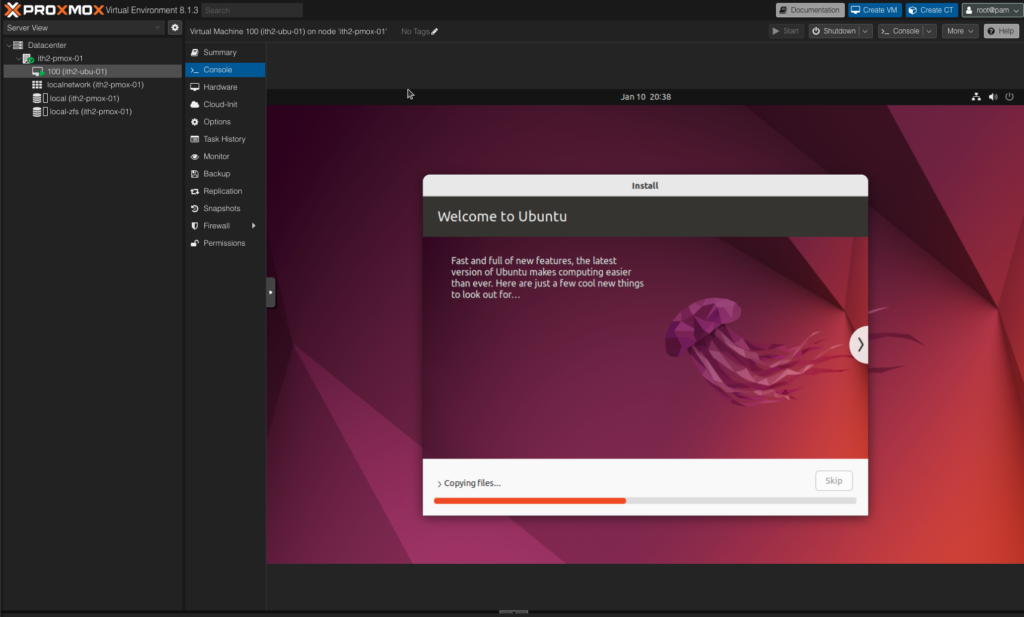
Ubuntu will now be installed:
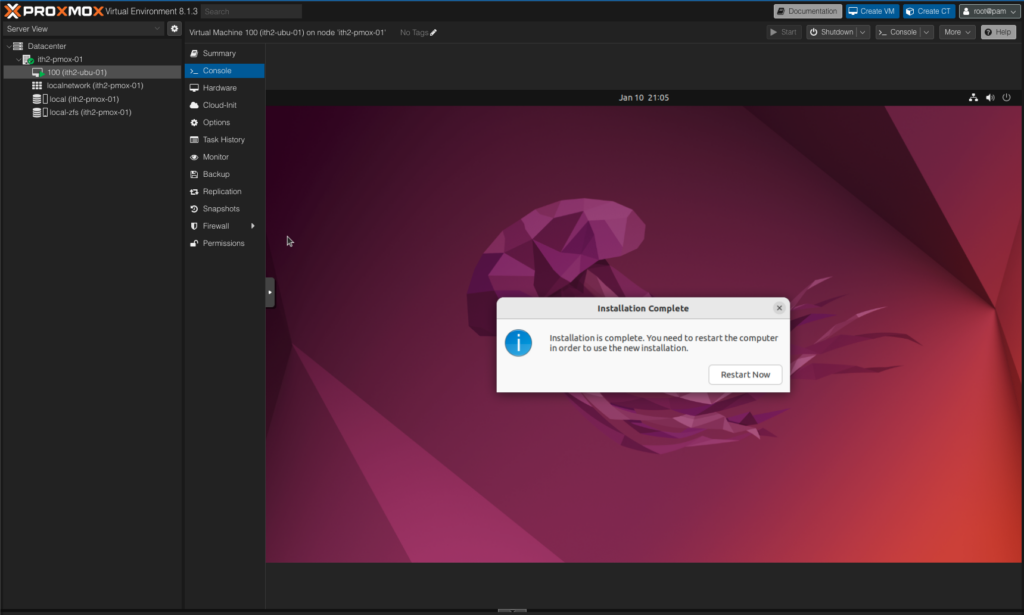
Click Restart Now to restart the VM and complete the Installation.
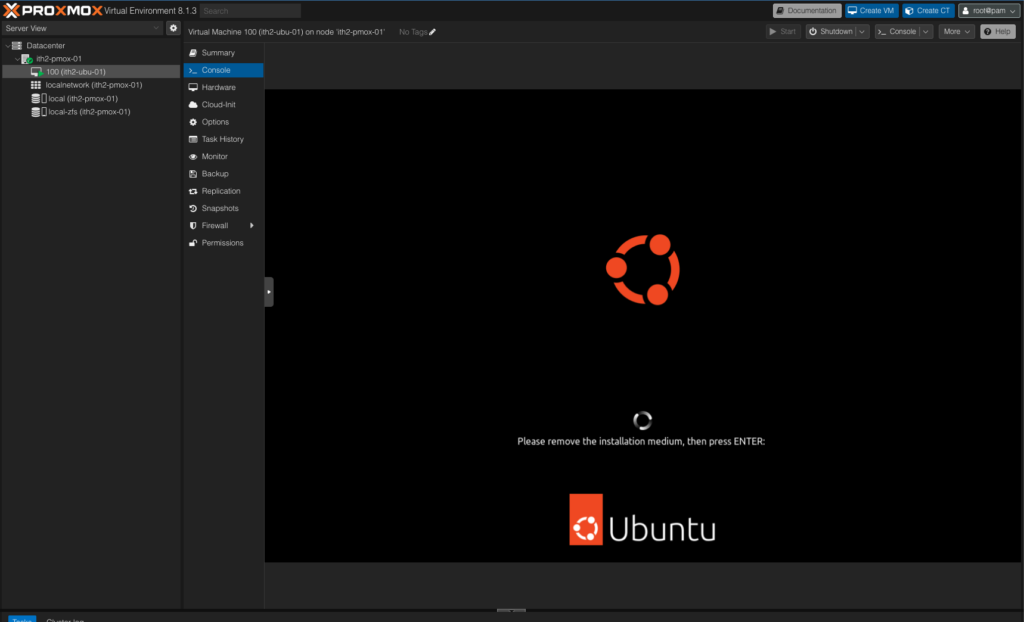
When you see this screen:
Click on the Options menu in the middle Menu:
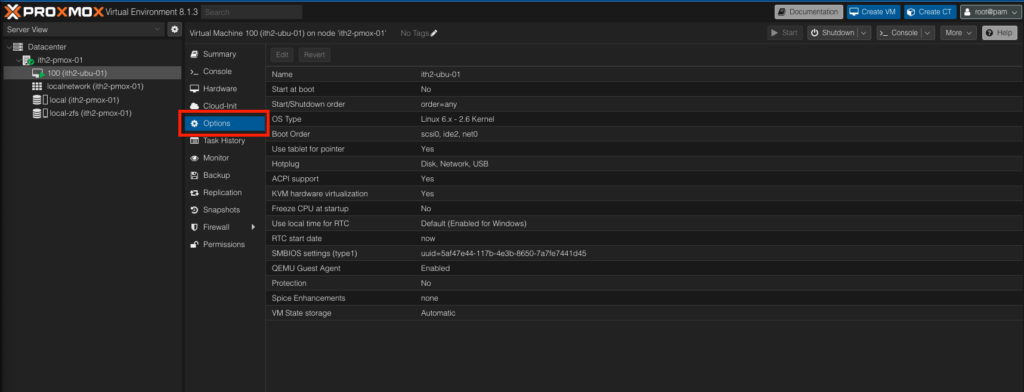
Select Boot Order on the Right hand Menu:

Click on the Edit Button
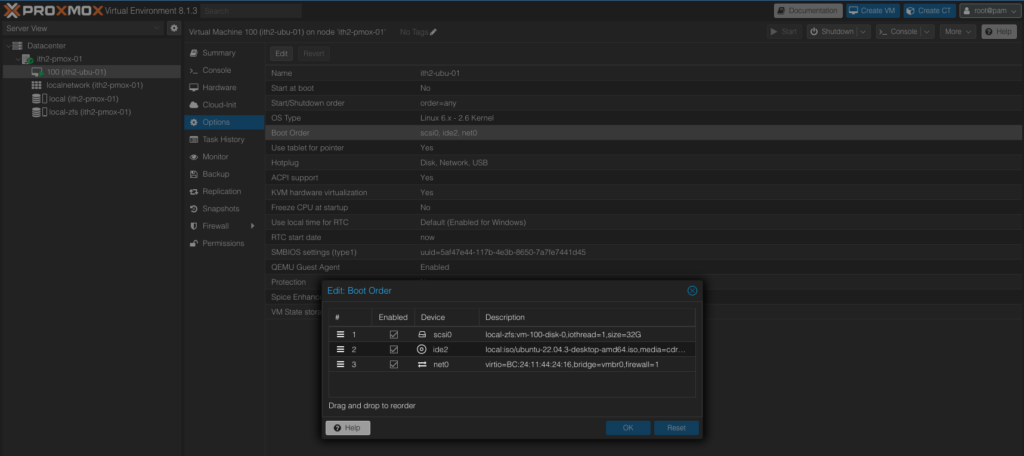
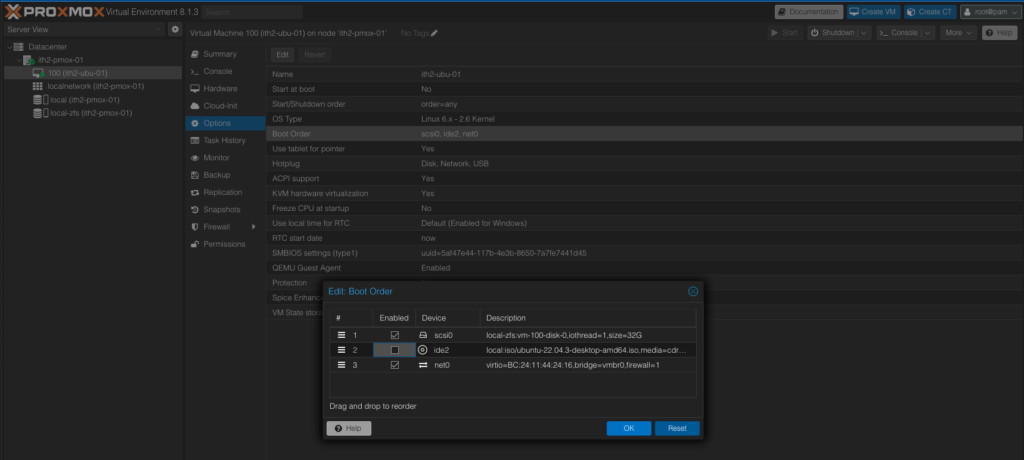
Untick ide2 Local:iso and click OK:
Click back into the console and click ENTER:
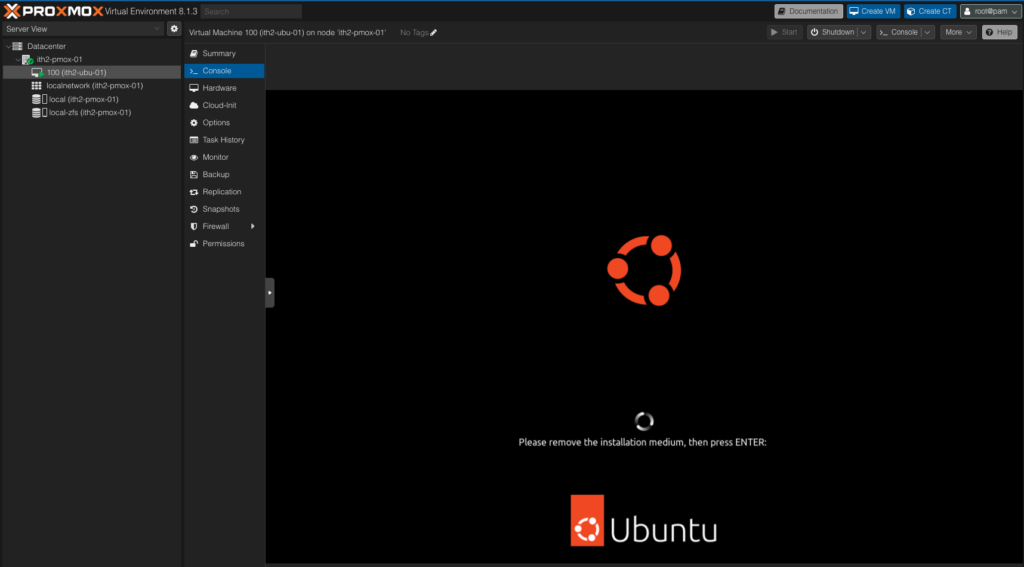
The VM will now reboot into the freshly installed Ubuntu 22:04 Desktop:
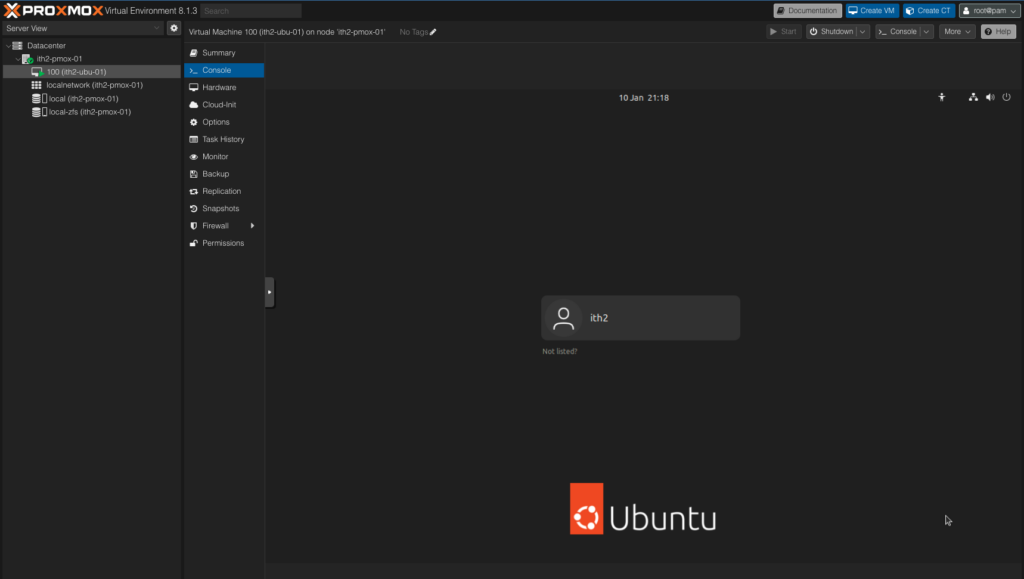
Click on the user name and login. The VM is now ready to configure:
