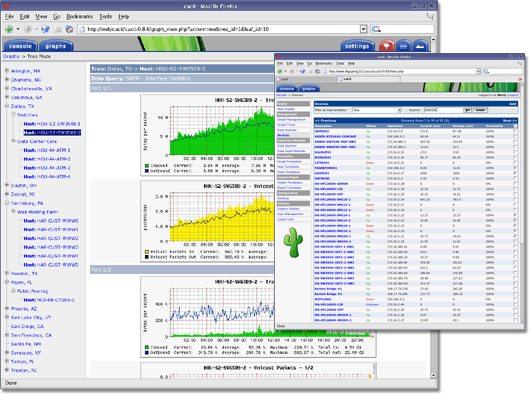
Cacti is a complete network graphing solution designed to harness the power of RRDTool‘s data storage and graphing functionality. Cacti provides a fast poller, advanced graph templating, multiple data acquisition methods, and user management features out of the box. All of this is wrapped in an intuitive, easy to use interface that makes sense for LAN-sized installations up to complex networks with thousands of devices.

I have used Cacti for many years and it has proven to be a reliable method for graphing server performance metrics to show historic server loads and is very useful when troubleshooting performance issues and also to show potential bottlenecks that could cause issues in the future.
The process of Installing Cacti on Ubuntu 20.04 is pretty straight forward and can easily be installed by following the following instructions:
How to Install Cacti on Ubuntu 20.04:
Make sure that the server is up to date:
Run the following command to make sure that the server is up to date:
sudo apt -y update && sudo apt -y upgradeIf there are any updates to install apt will install them. If not you will see the following message once apt has finished:

Install PHP and the PHP extensions
Run the following command to install PHP and the required extensions:
sudo apt install -y php-mysql libapache2-mod-php php-xml php-ldap php-mbstring php-gd php-gmp
Once PHP and its extensions have been installed the installer will go back to the command prompt:

Once installed check the version of php installed:
php -v
Set your memory limit, max_execution time and time zone in the php.ini:
sudo vim /etc/php/7.4/apache2/php.ini
My settings were set to:
date.timezone = Europe/London
memory_limit = 512M
max_execution_time = 60
Make the same changes for /etc/php/7.4/cli/php.ini
Install Apache2:
Apache2 web server is installed by running the following command:
sudo apt-get install -y apache2
In my installation Apache2 was already at the latest version:

Allow http and https access through the firewall by running the following:
sudo ufw allow http
sudo ufw allow https
And Restart Apache2:
sudo systemctl restart apache2
Install MariaDB Database
Run the following command to install MariaDB:
sudo apt install mariadb-server
Type Y and enter to install MariaDB:

Wait for MariaDB to install:

Once the installation is complete it will return to the command line:

Configure MariaDB
Run the following command to configure MariaDB:
sudo mysql_secure_installation
Enter a root password and press enter:

Type Y to replace the root password for MariaDB:

Type the new password and enter:

Re-enter the password and press enter:

Type Y and enter to remove anonymous users:

Type Y to disable the root login from logging in remotely:

Enter Y and press enter to remove the test database:

Type Y and enter to reload the privilege tables now:

MariaDB is now configured:

Install SNMP and rrdtools
To install SNMP and rrdtools run the following command:
sudo apt install -y snmp php-snmp rrdtool librrds-perl
Install Cacti
To install Cacti run the following command:
sudo apt install cacti

Type Y and enter to install Cacti:

Select Apache2 and press enter:

Select Yes to create a database for Cacti:

Add a password for the cacti db and press enter:

Confirm the password and press enter:

Once the installation finishes it will go back to the command line.
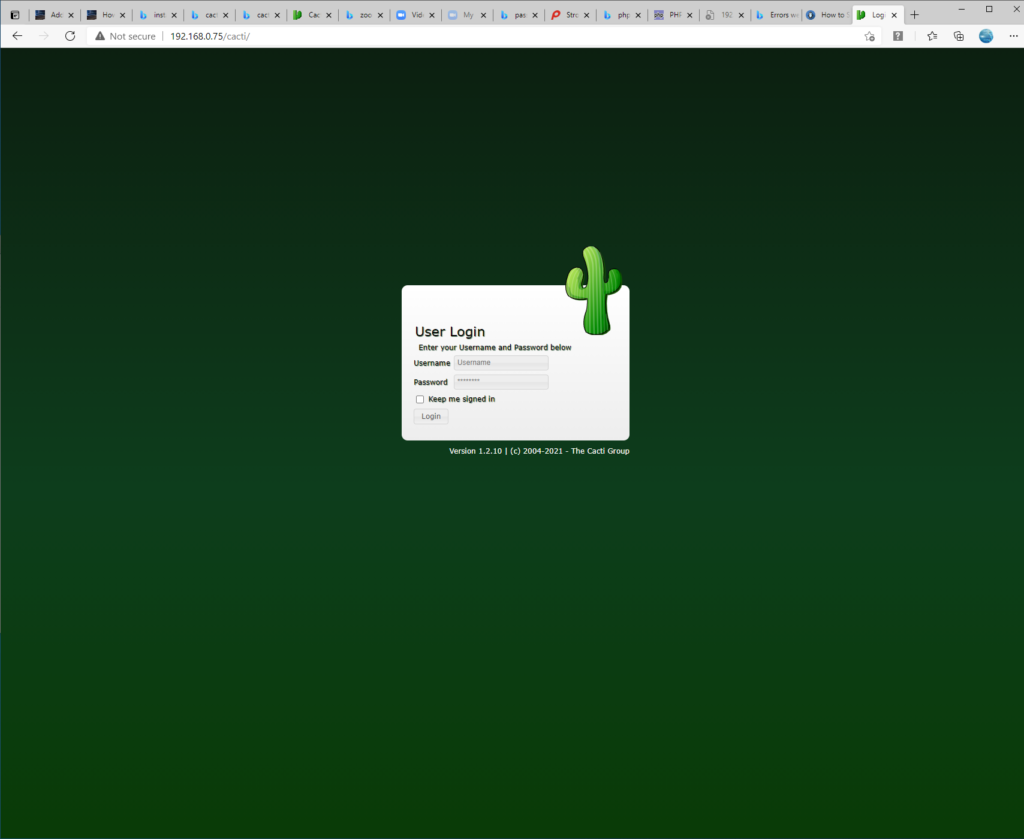
Open a browser and go to http://ipofserver/cacti:

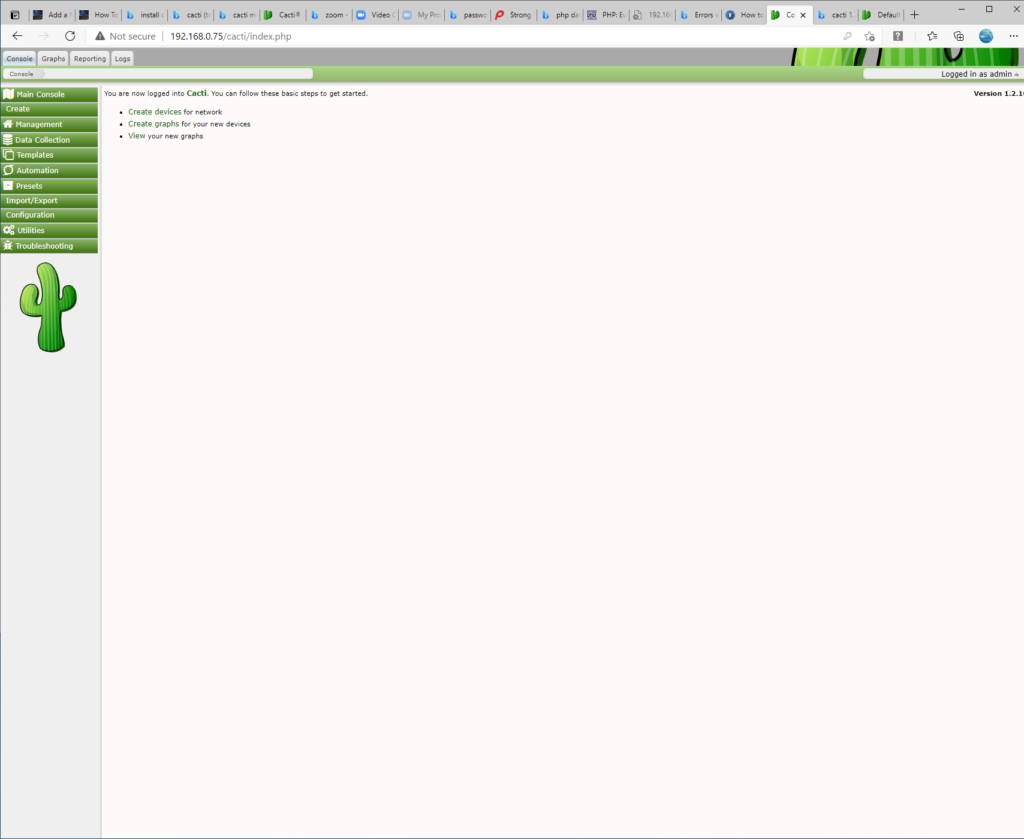
Log into cacti using the user admin and the password of the MariaDB cacti user created during installation:

Cacti is now ready to configure.
Please go to our Cacti section to find more documents relating to Cacti.
