Although this post is specifically How to install Ubuntu 20.04 Server on Raspberry Pi 3 using Windows 10, it should be able to be applied to any version of the Pi if needed. The only think to keep in mind is that the Raspberry Pi 2 is ONLY 32 BITS so you will not be able to install the 64 bit version of Ubuntu 20.04 on a Pi 2.
There is a full tutorial on the Ubuntu Website, but these are the steps that I followed to setup my Raspberry Pi2 with Ubuntu 20.04 server:
Prepare the SD Card using the Raspberry Pi Imager for Windows:
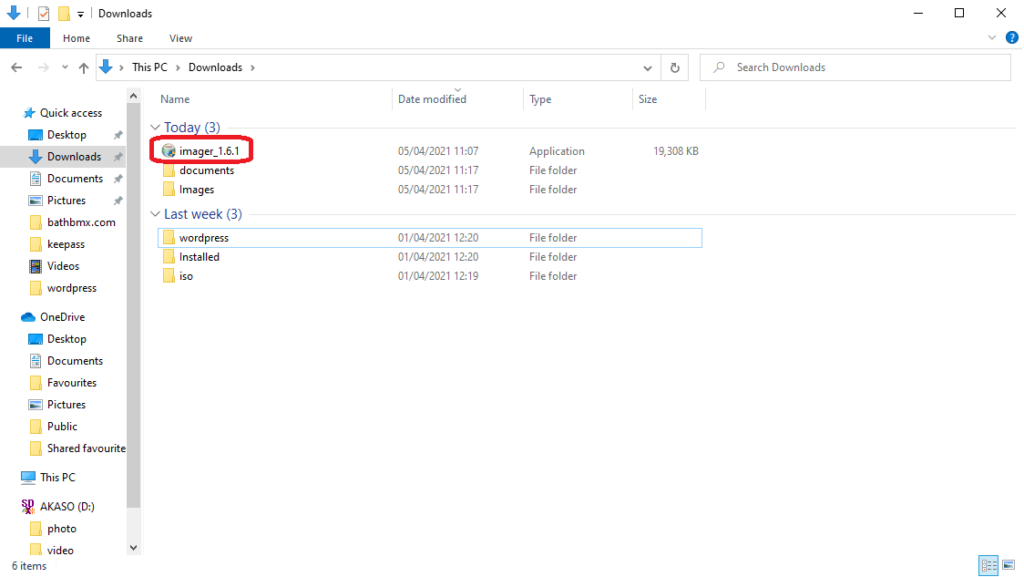
Download the Raspberry Pi Imager for Windows and click on the downloaded executable:
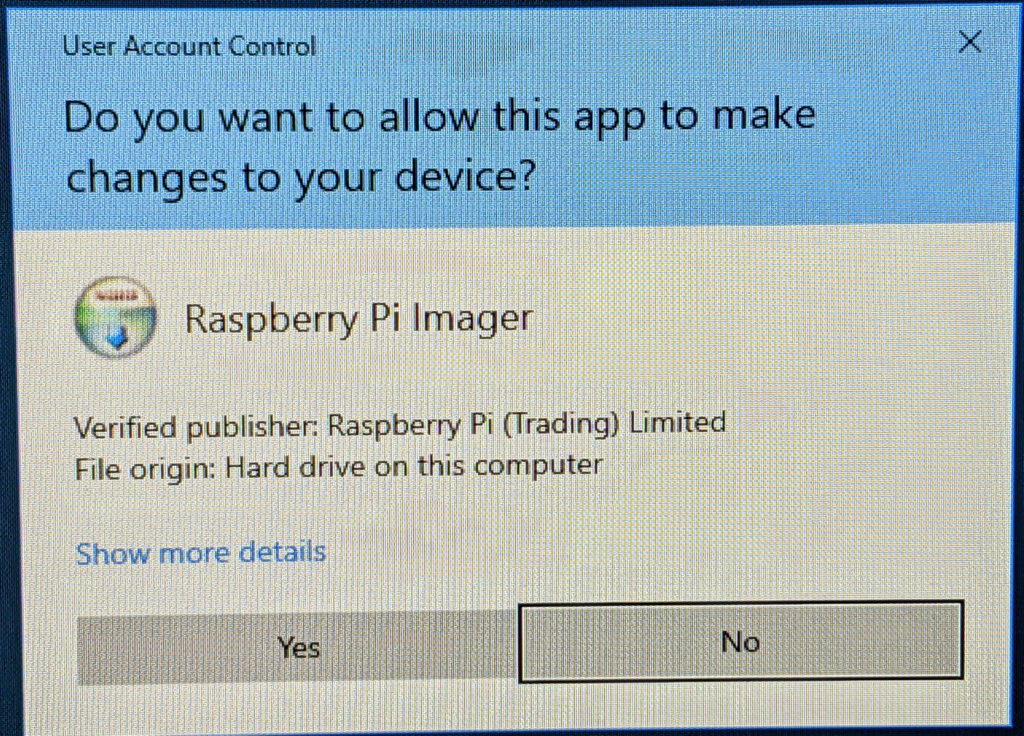
Click Yes to allow the app to make changes to your device:
Press the Install button to start the install of the Raspberry Pi Imager Setup:

Wait for the Installer to finish:

Click on finish to finish the install and run the Raspberry Pi Installer:

The Raspberry Pi Installer window will then open:

Click on CHOOSE OS:

Select other General purpose OS:

Click on Ubuntu:

Select the OS that you want to use (In this case Ubuntu Server 20.04.2 LTS (RPi 3/4/400):

Insert your SSD into the windows machine and click on CHOOSE STO…

There should only be one option in the list but make sure that you select the correct disk:

Click on the WRITE button to write the image to the micro SSD Card.
Select YES to over-write the micro SSD and install the Ubuntu Server image on it:

The image will now be installed to the SSD:

Once finished click on CONTINUE to close the installer:

Click on the cross on the Raspberry Pi Installer to close the window:

You can now remove eject and move the micro SSD from you PC and install it back into the Pi ready to boot the Pi from it.
Once the micro SSD is in your Micro SSD card, connect it up to a monitor, keyboard, mouse, network and Power outlet and wait for it to boot.
Setup Ubuntu on Raspberry PI on first boot
When the PI boots to the Ubuntu 20.04 server login prompt:
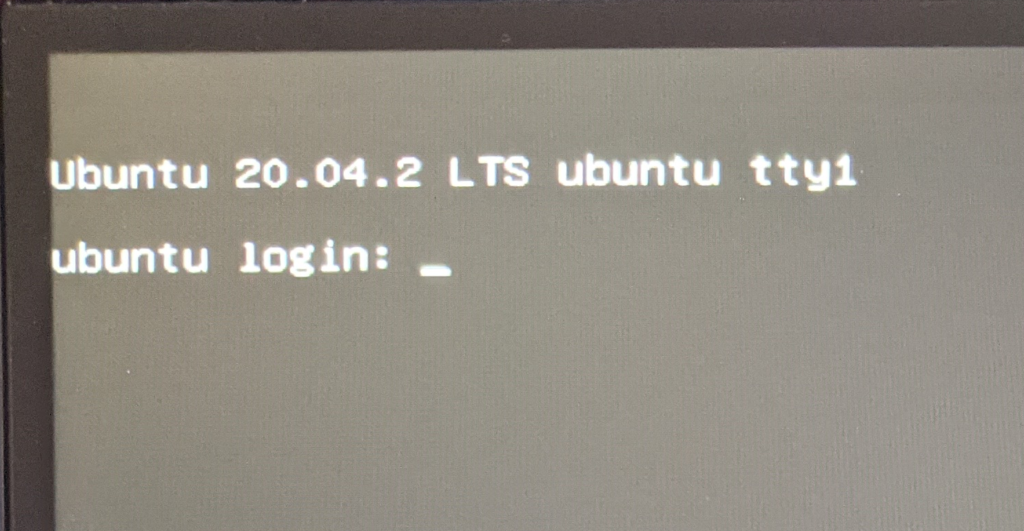
Log into the Pi with the username of ubuntu and the password of ubuntu:
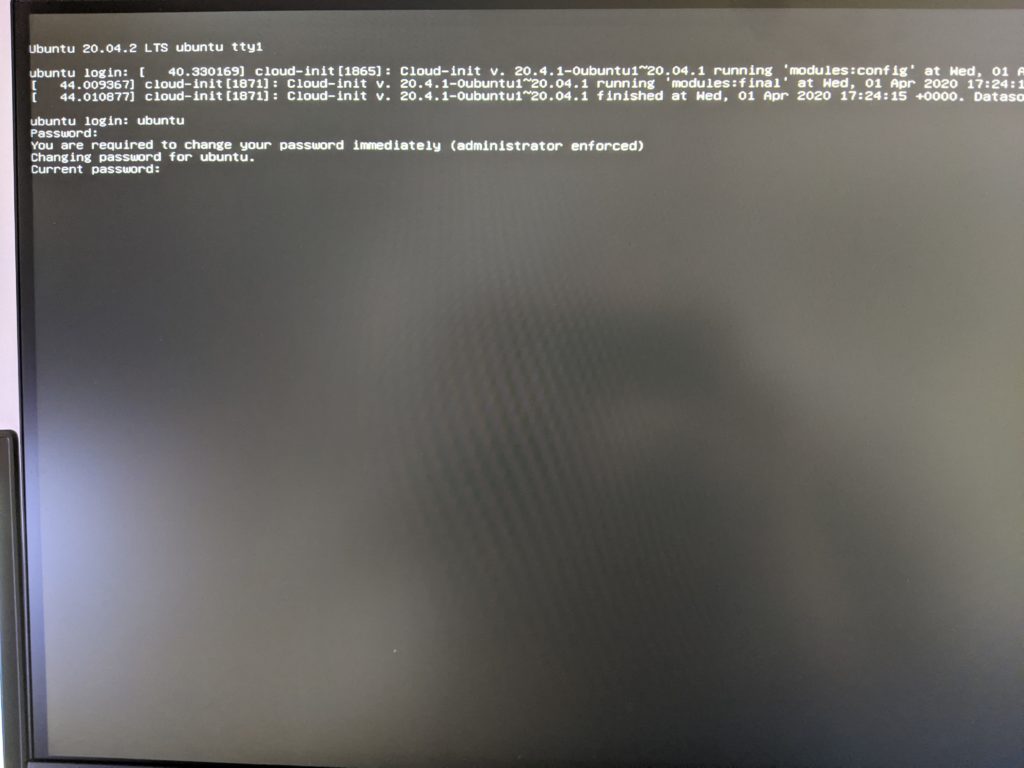
You will be prompted to change the password immediately. Type in a current password again and press enter:

Type the new password and press enter.

Retype the password and press enter to change the ubuntu user password log into the server:
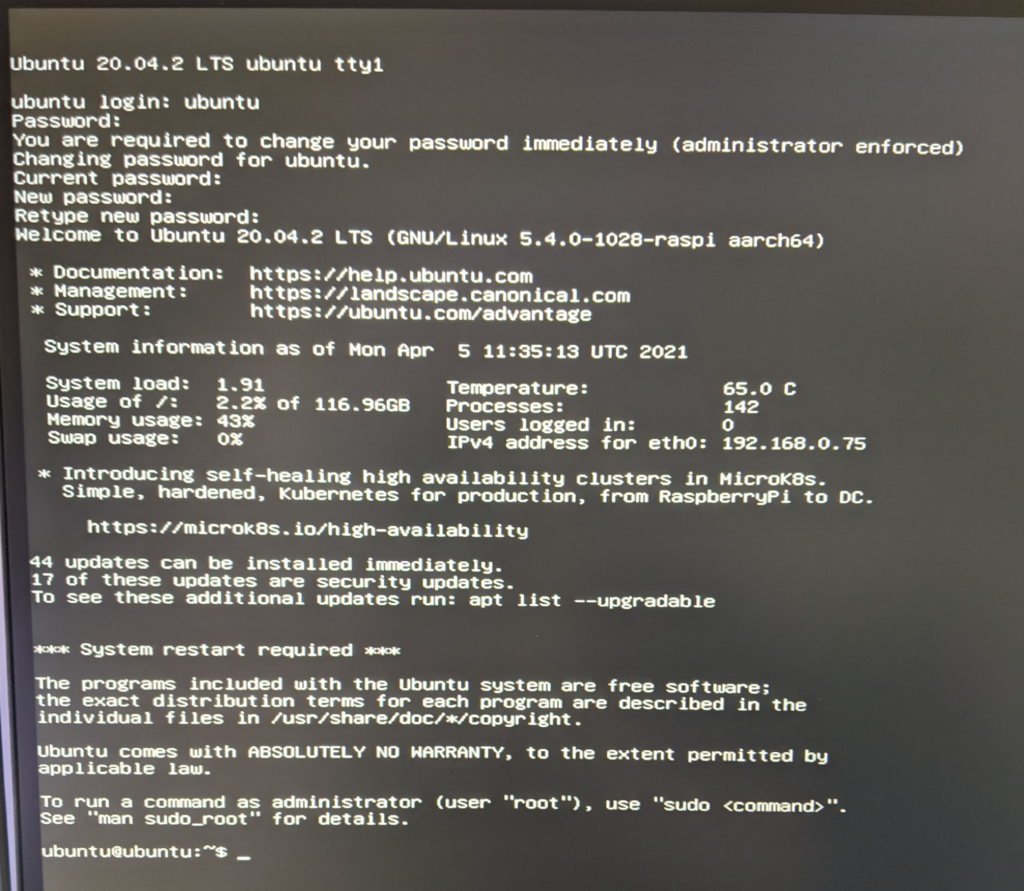
The server is now ready to configure for use.
Enable ssh to allow remote access to the server:
The first thing that I always set up is ssh access to my Raspberry Pi so that I no longer need an external keyboard, mouse and monitor connected to the Pi to configure it, This means that I can configure the server directly from my laptop which is much easier and faster for me than using the physical console and means that I do not have to have a second keyboard, mouse and monitor lying around just for my PI. This also means that my Pi can be hidden under my desk to keep it out of view and make the desk look tidier too.
The installation of ssh server on ubuntu 20.04 is very easy and consists of 2 commands:
First of all install ssh with the following command:
sudo apt install ssh
After ssh is installed it then needs to be enabled by running the following command:
sudo systemctl enable --now ssh
Ssh access is now setup, Before we can connect to the server remotely we need to find out its ip address by running the following command:
ip aThis will display the servers ip address:
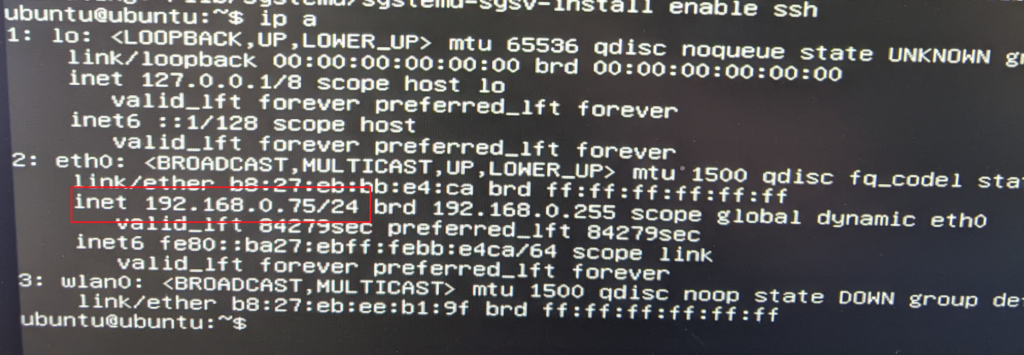
As you can see from the image above my server currently has an ip of 192.168.0.75 so I can now use this IP to connect to it remotely using ssh:

Click Yes to trust the server:

Log in with username ubuntu:

And the new password that we changed on the first login:

Now we are connected to the server via ssh and con configure it without having to physically connect to its console any more.

You are now ready to do the initial setup of your server to get it to a base level before beginning to install applications on the server.
For more ideas of what to install on your freshly installed Ubuntu 20.04 server click HERE.
