The process of installing Ubuntu 20.04 on a raspberry pi from a Mac is similar to doing the same thing from windows.
I am using a Mac Mini 2021 to run this process.
The process is basically:
Prepare Micro SD
- Insert the Micro SD into the port at the front of the Mac Mini
- Open the browser and go to https://www.raspberrypi.com/software/
- Click on Download for masOS
- This will download the Raspberry pi Imager
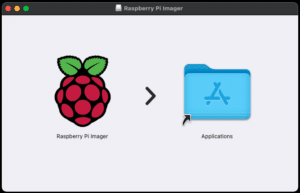
- Drag the Raspberry Pi Imager into the Applications folder to install it.
- Open the App from Launchpad

- Click on CHOOSE OS
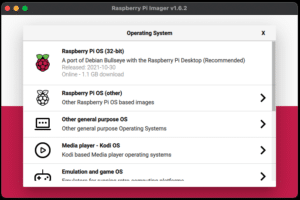
- Click on Other general purpose OS
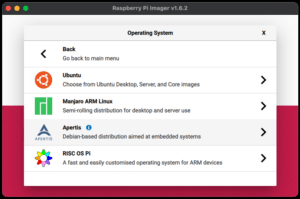
- Click Ubuntu
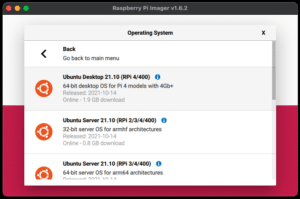
- Scroll down and click on the version of Ubuntu that you want installing making sure that it is compatible with your Pi.
- I chose Ubuntu Server 20.04.3 LTS (RPi 3/4/400) as it works with my Pi.
- Click on the CHOOSE STO… button
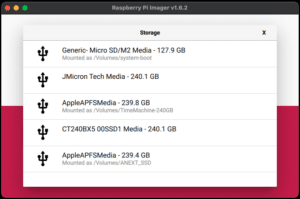
- Click on the MicroSD card to select it
- Click on the WRITE Button
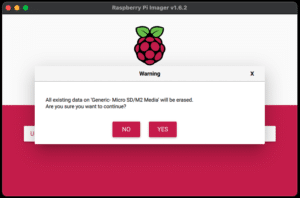
- Click YES to continue
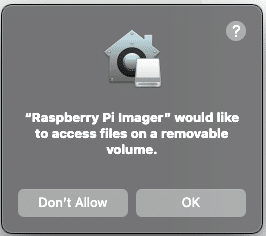
- Click OK and wait for the app to write the image to the Micro SD
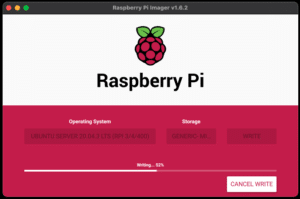
- Wait for the disk to be verified
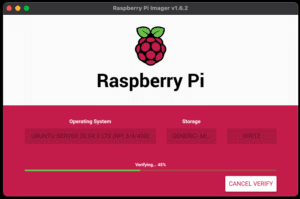
- Once finished you will see the following on the screen:
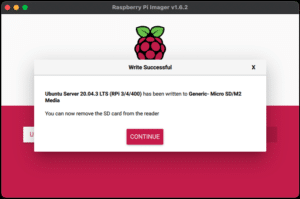
- Click CONTINUE and close the Raspberry Pi Imager app.
- Eject the media by going to the desktop and right clicking on the Raspberry Pi Imager and selecting Eject Raspberry Pi Imager
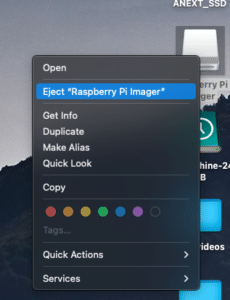
- The MicroSD card can now be removed from the Mac. Note if the MicroSD is still mounted it in locked into the Mac and will not be able to be removed!
- Insert the MicroSD back into the Raspberry and power it on.
Configure Ubuntu
The server will be configured to use dhcp to get its IP address so log into you dhcp server and find its address.
ssh to the server using user of ubuntu and password of ubuntu
ssh ubuntu@piipWhen logged in for the first time you will be asked to change the password:
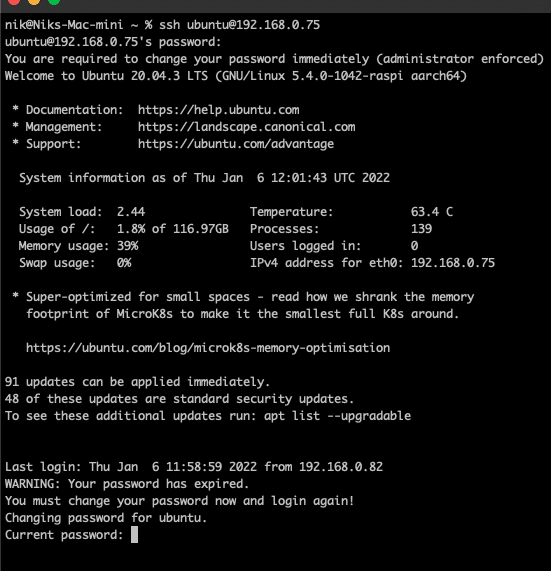
Type in the current password and then the new password twice to change it
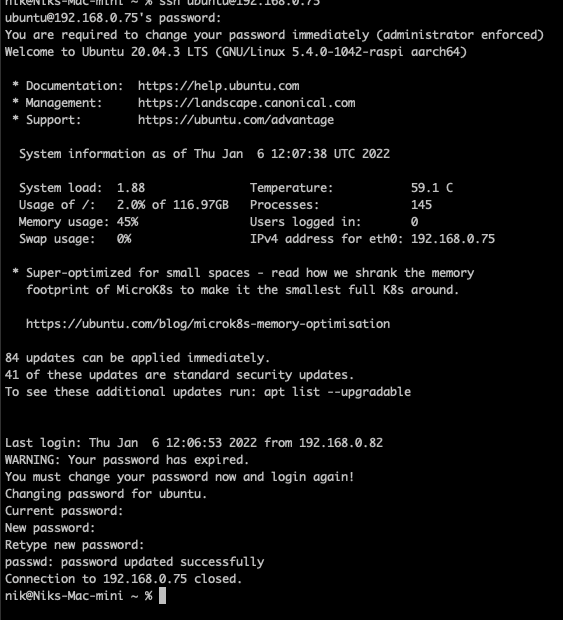
You will now have to ssh to the pi again using the new password to connect
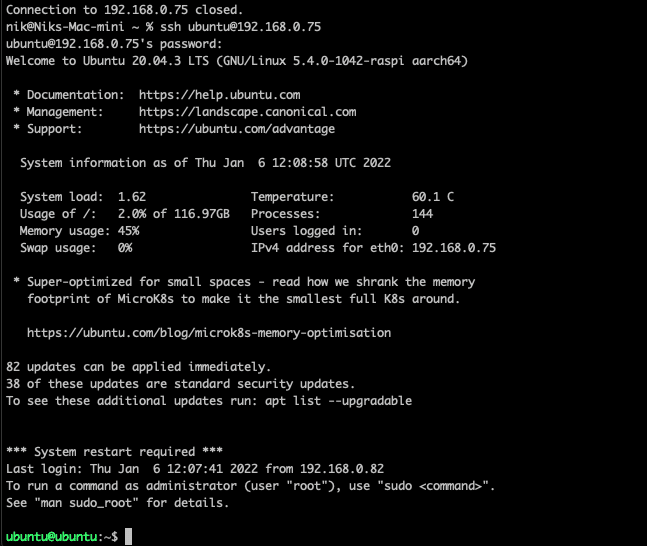
Before you begin installing the server it is a good idea to update and upgrade it by running the following commands:
sudo apt-get update && sudo apt-get upgrade -yOnce complete the Pi is ready to configure as desired.
For ideas of what to install on your Pi take a look at our other Raspberry Pi Posts

Pingback: Installing Squid Proxy Server And SARG On Raspberry Pi Running Ubuntu 20.04 Server And Limit Internet Access To Certain Times. - ITHOWTOO.COM