This guide is how I installed Bookstack Wiki on my AWS Free instance Ubuntu 20.04 server:
Bookstack has a handy Ubuntu 20.04 Installation script that can be run on a fresh install of Ubuntu 20.04 to automatically install Bookstack and the prerequisite software needed for it to run (Apache, MySQL 8.0 & PHP-7.4).
The script can be found at: https://www.bookstackapp.com/docs/admin/installation/
The process is really simple but for some reason the page has been locked so you can not copy and paste from it!:
Download the script by running:
https://raw.githubusercontent.com/BookStackApp/devops/master/scripts/installation-ubuntu-20.04.sh

Change the downloaded script to make it executable:
chmod a+x installation-ubuntu-20.04.sh
You will now see that the script is executable:

Run the script by running:
sudo ./installation-ubuntu-20.04.sh
The script will then ask for the fqdn so add what you would like the site to be called. I used wiki.ithowtoo.com and pressed enter.
Let the script run.
It will ask if you want to run Composer as root/super user:

I chose Yes as its the only user I have and the install continued:

When the script has finished you will see a similar message to the one below:

From the ASW interface an inbound rule was created to allow https:

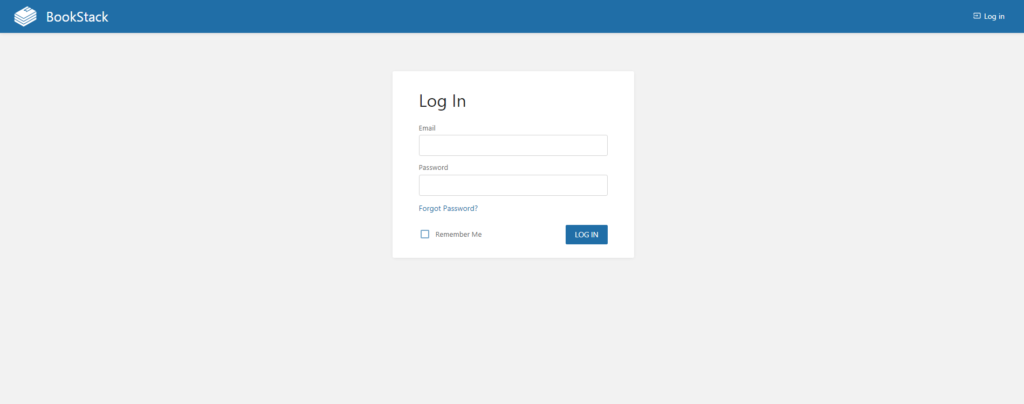
You will then be able to get to the login page:

Login using the default user and password given by the script:
User Email = admin@admin.com
password = password
On first login you will be advised to change the default password for security reasons:

Click OK.
To edit the Admin user details click on Admin in the top left corner of the page:

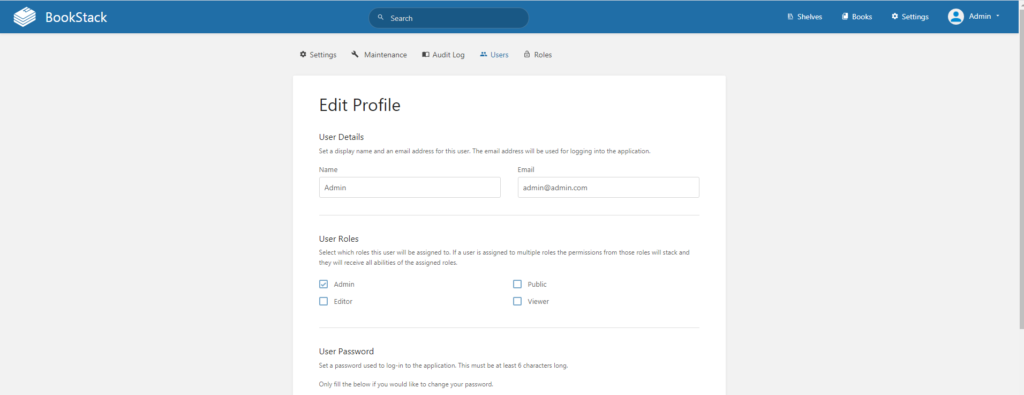
Select Edit Profile:

Edit the details to your details:

Click save to save the details:

You will now see your new user in the list of users as an Admin:

Click on the user icon in the top left corner of the page and select Logout to log out of the page and then log in with the new user to make sure everything works as it should:

I have also setup a new A record for wiki.mydomain to point to the external IP address of the server so that I can access the site via wiki.domain instead of the external IP address.
The final security measure is to set the mysql root password as it is not setup by default.
Log into mysql by typing:
mysql
You will then see the mysql prompt:

Type the following to set the root password to password:
ALTER USER 'root'@'localhost' IDENTIFIED BY 'PASSWORD';

Obviously you will want to change the PASSWORD to something more secure.
You will then need to quit mysql by typing quit. This will take you back to the normal command line:

At the command prompt stop the MySQL daemon by typing:
sudo systemctl stop mysql
With the daemon stopped issue the following command:
sudo mysqld -init-file=~/mysql-pwd
Start the daemon:
sudo systemctl start mysql
You should now be able to access mysql using the root user by typing:
mysql -u root -p

You have now successfully installed Bookstack on an AWS free instance.
For more documents on Bookstack configuration go click HERE.

Hi Ithowtoo.
I did the same than you, and when the script finished (without errors) I saw a similar message than you but, when I traid to connect to bookstack, by site or by IP, I see
“Can’t access this website” message.
In Network ACLs I created an inbound rule type HTTP (and HTTPS later), but I can’t connect to bookstack. 🙁
Any idea?
Thanks
It sounds like the network rules are not setup correctly. Is the Https rule set for port 443?
If you could post a screenshot of the rules you set up I will take a look for you.
I have same issue. I am getting end result but when I am trying to access through DNS, it is not working. I have added rule in SG eith https 443.