Proxmox Virtual Environment is a complete, open-source server management platform for enterprise virtualization. It tightly integrates the KVM hypervisor and Linux Containers (LXC), software-defined storage and networking functionality, on a single platform. With the integrated web-based user interface you can manage VMs and containers, high availability for clusters, or the integrated disaster recovery tools with ease.
I have recently migrated all of my companies VMWare Virtual Servers (Free Version) to a new Proxmox Virtual Environment Cluster with Proxmox Backup Server backups and could not be happier with the improvement in the management of out companies VM’s. The main improvements so far are the improvements in VM performance, ZFS Mirroring out of the box, VM migration makes VM migration between Cluster nodes a breeze and the Proxmox Server Backup has made nightly VM backups a breeze!
Installing Proxmox Virtual Environment with ZFS Mirrored Disks
Before you can install Proxmox on your server hardware you need to download the latest iso and then write the iso to a usb drive to boot off of:
Download Promox ISO
To download the iso go to the Proxmox Downloads Page
Go to the Latest Releases and fond the latest ISO Installer version (Proxmox VW 8.1 ISO Installer as of writing this post)
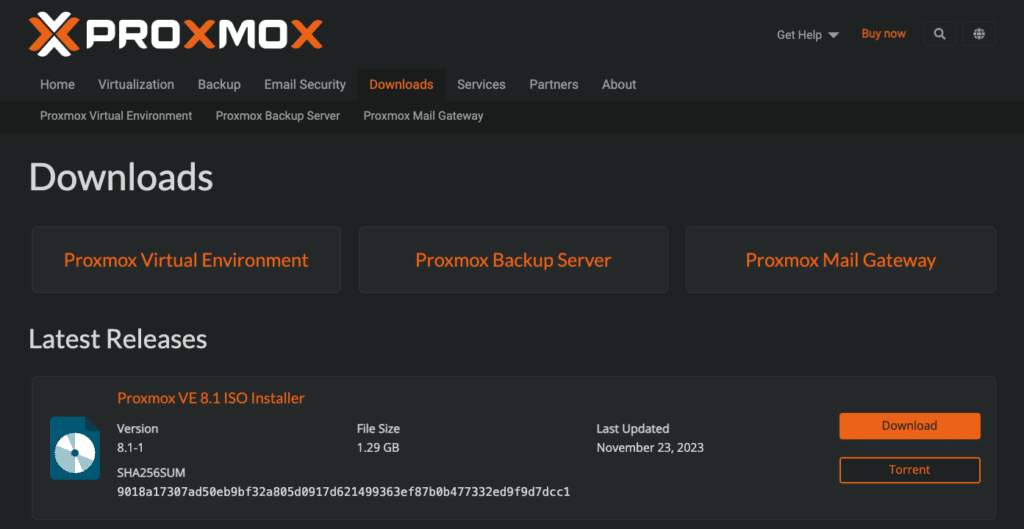
Click on Download to download the ISO image.
Burn ISO to USB
To make my bootable Proxmox USB drive I used Rufus. I will not go into details on this as it is pretty selfexplanatory on how to use Rufus to create a USB drive from an ISO.
Install Proxmox on your server
Boot your server off of the Proxmox USB Drive created above ^ (Again I will not explain this as it is different for each make and model of server).
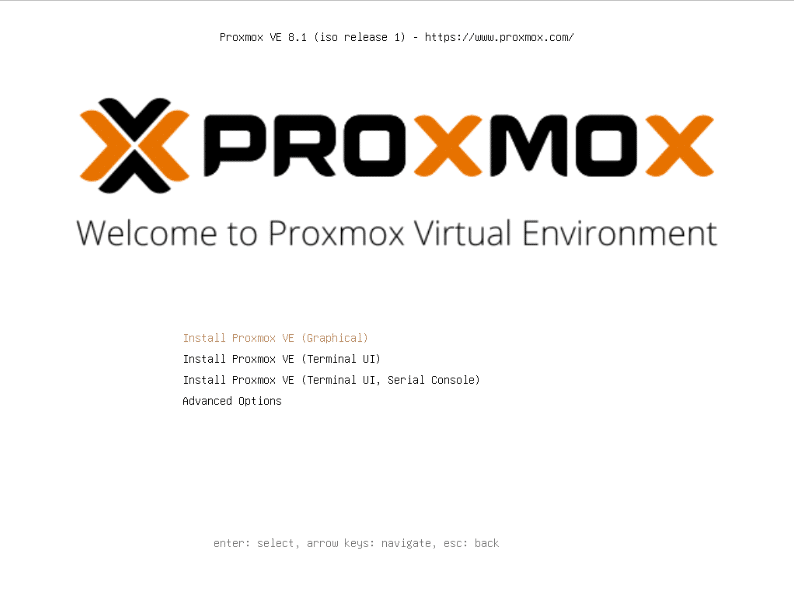
Select Install Proxmox VE (Graphical) and press enter. The following screen will load after about 3-5 minutes:
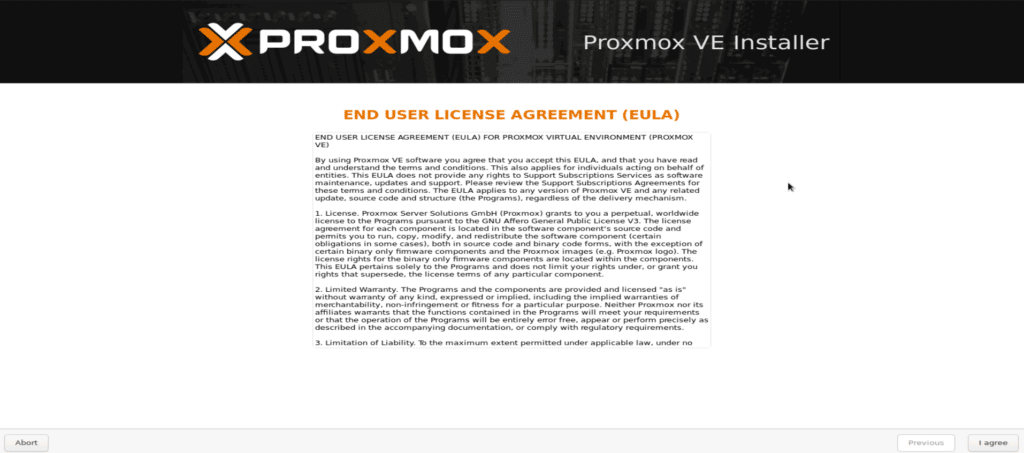
Click the I agree button after reading the License Agreement
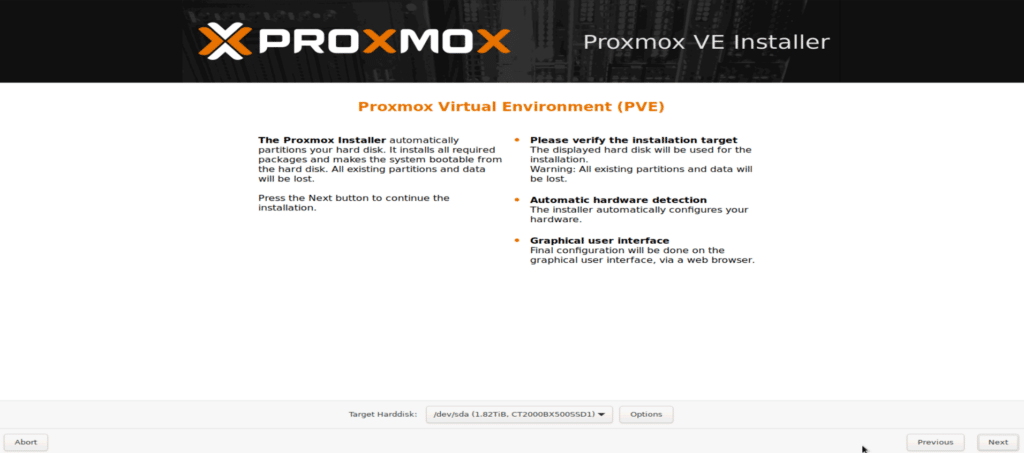
This page is where we configure the Hard Disk setup.As we have 2 hard disks in our server and want to configure ZFS Raid 1 we click the Options button:
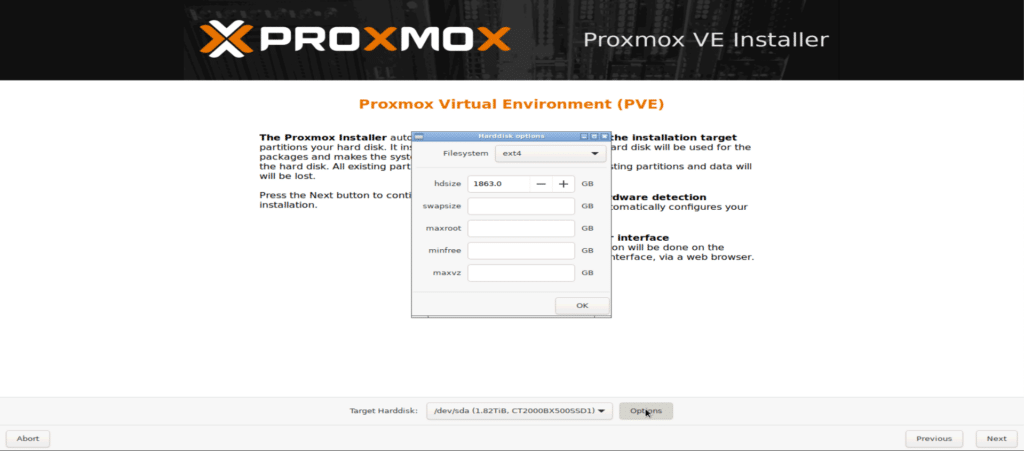
To setup ZFS Raid1 we need to click on the Filesystem dropdown menu 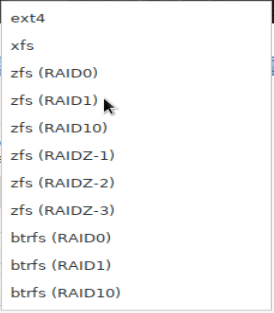
Select the zfs (RAID1) option and select the disks that you want to use. As this server only has 2 disks there is nothing to select:
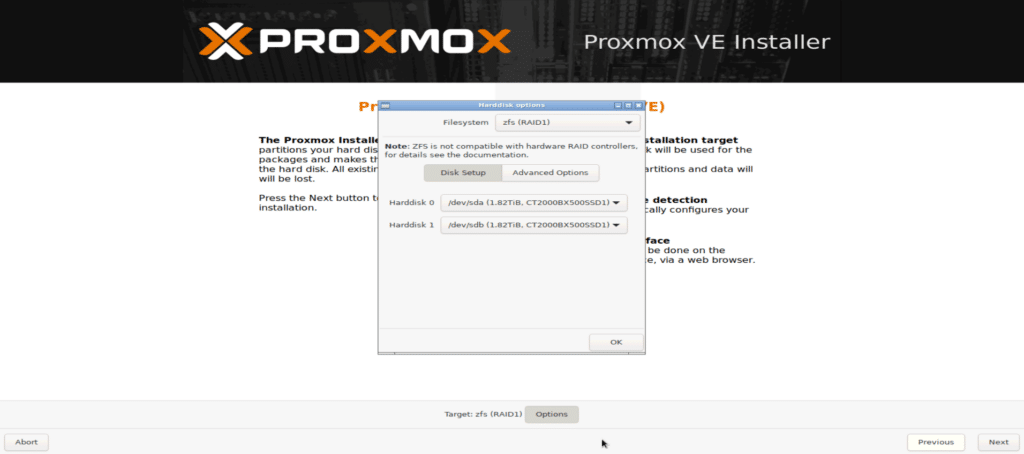
Click OK to save the changes and close the Window. You will now see that the target for the install is zfs (RAID1):
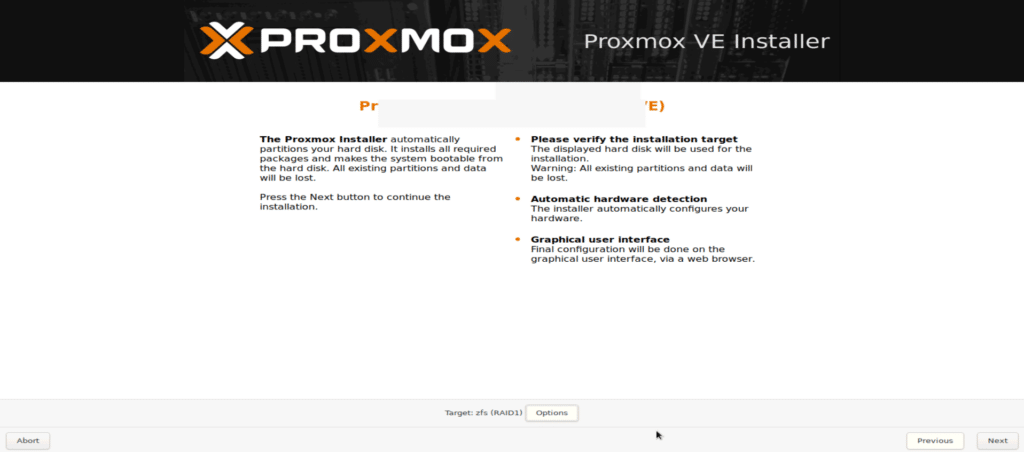
Click Next to move to the next page and then set the Country, timezone and Keyboard Layout as required:
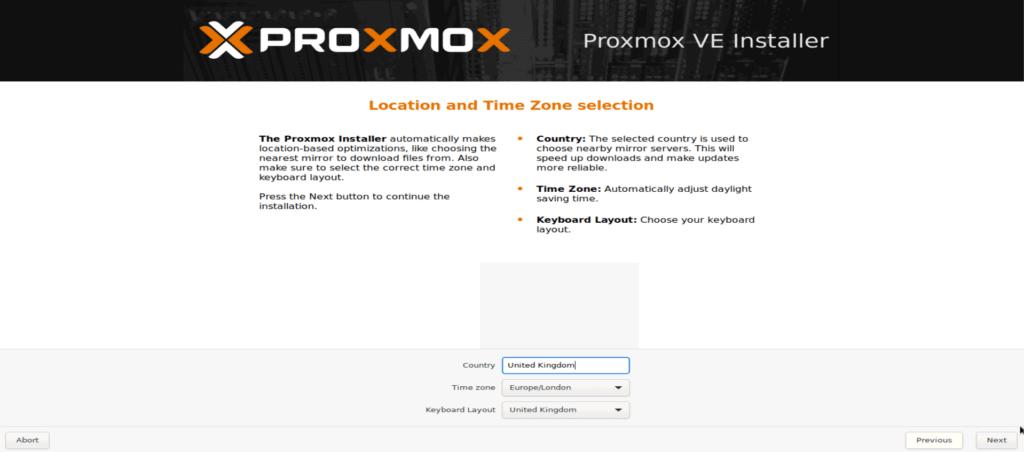
Click Next to go to the User information Page:
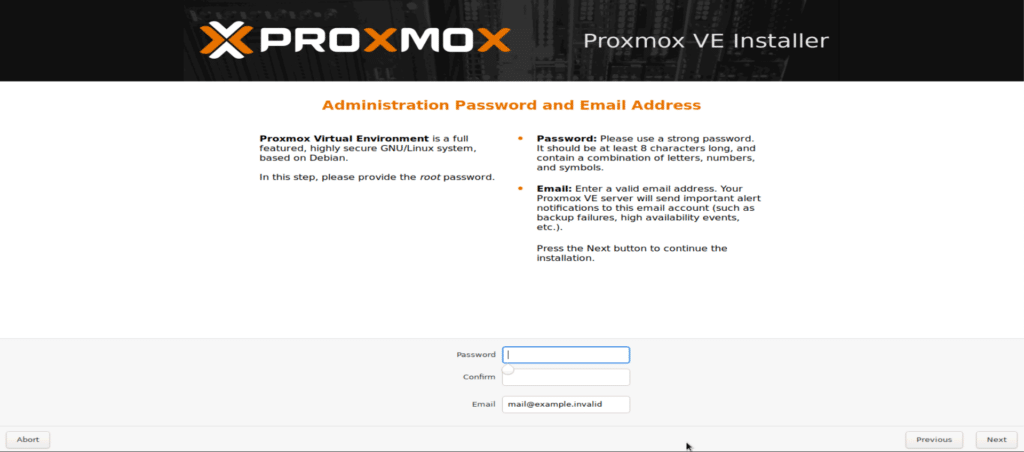
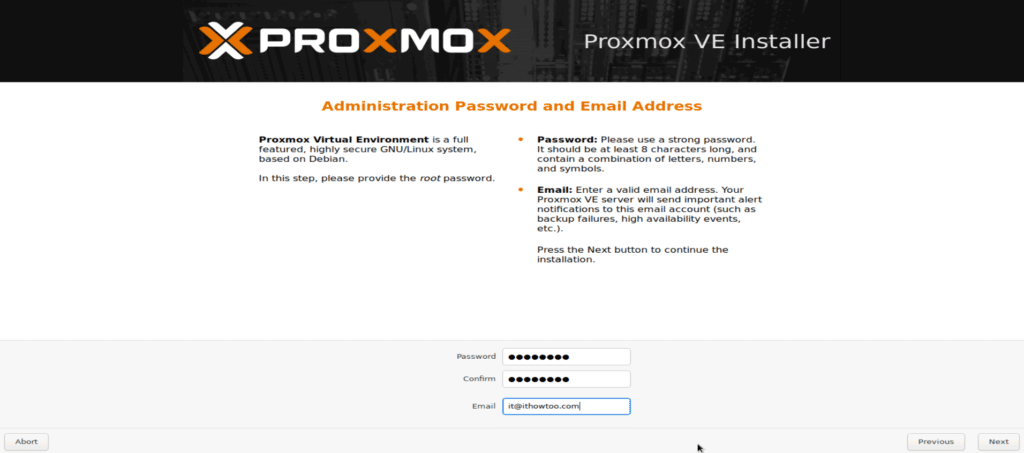
Add a password in the Password and Confirm Fields and add a valid email address in the email field and click Next:
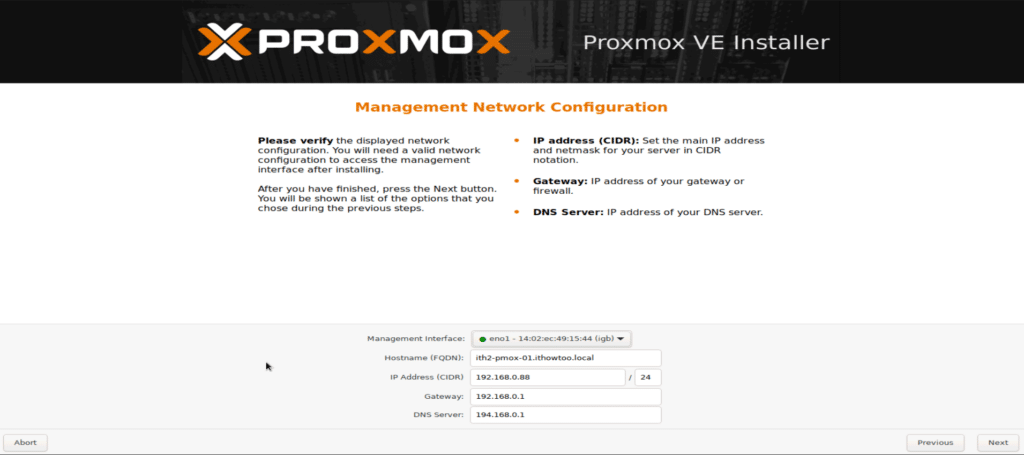
Set the IP Details as required and click next:
The installer will now load the summary page. Make sure that all the settings are correct then click on Install to start the installation:
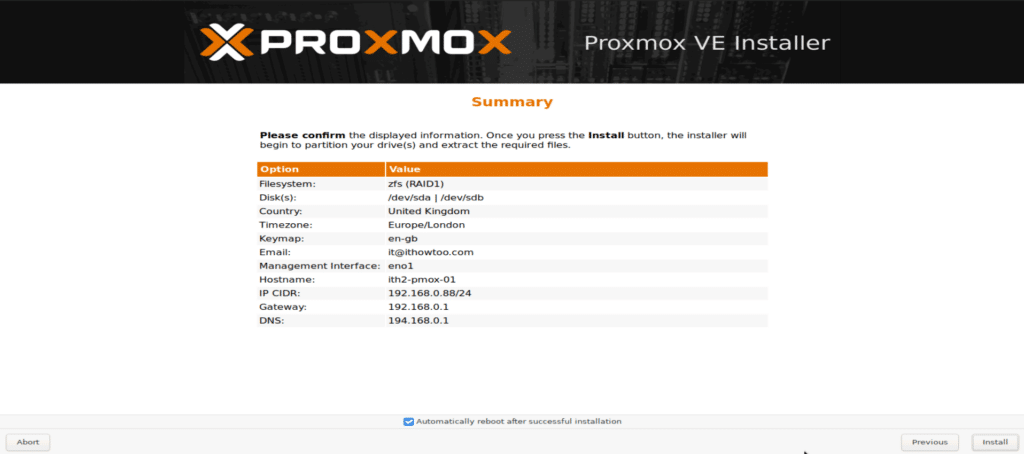
The installation will now start:
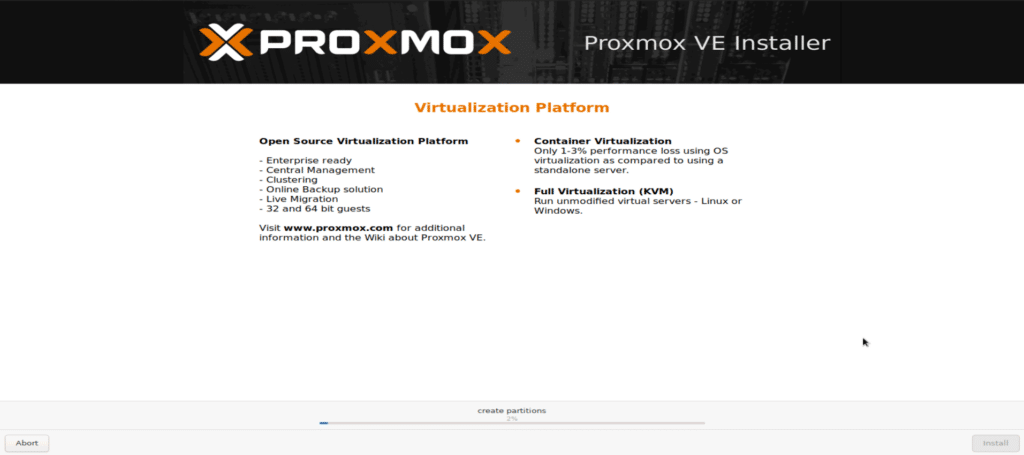
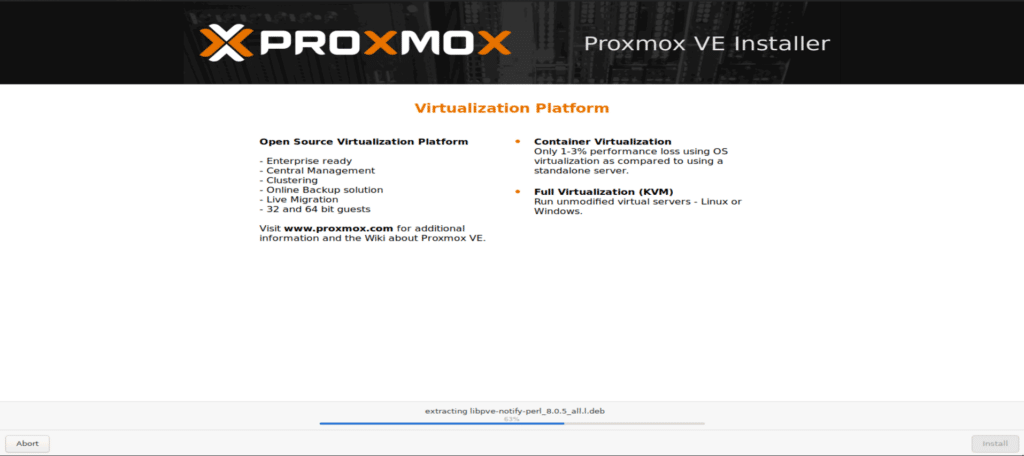
If you want to you can watch the installation progress:
If you ticked the Automatically reboot after successful installation the server will automatically reboot and boot up into Proxmox:
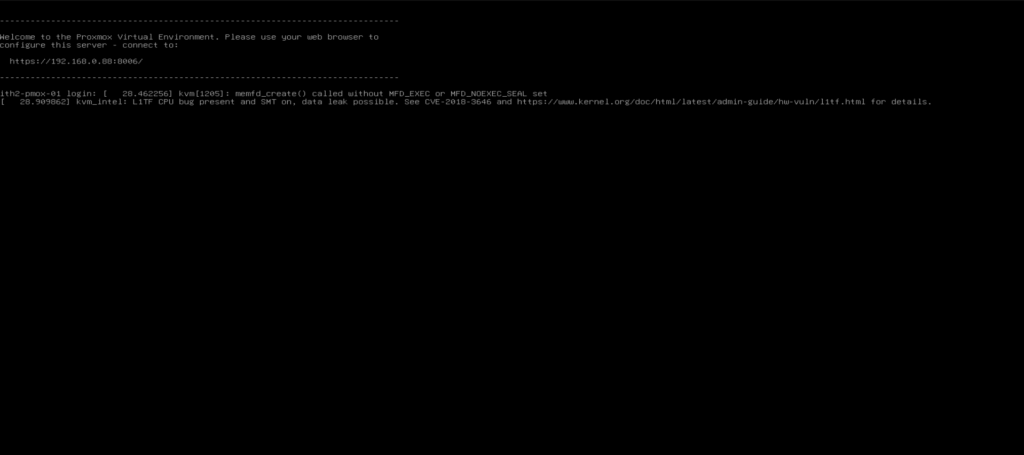
You will now be able to login to the Web Gui using the IP shown in the console. In my case the url is 192.168.0.88:8006:
Logging into Proxmox Server for the first time
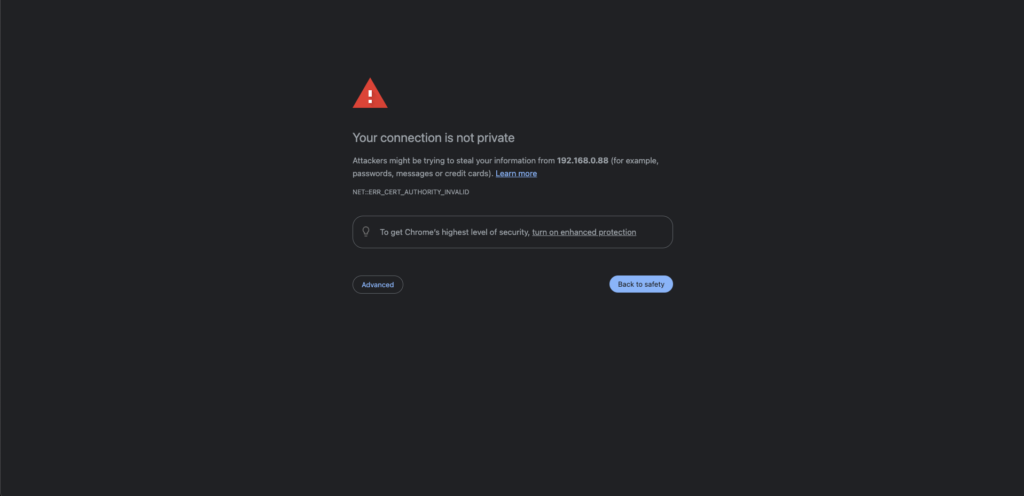
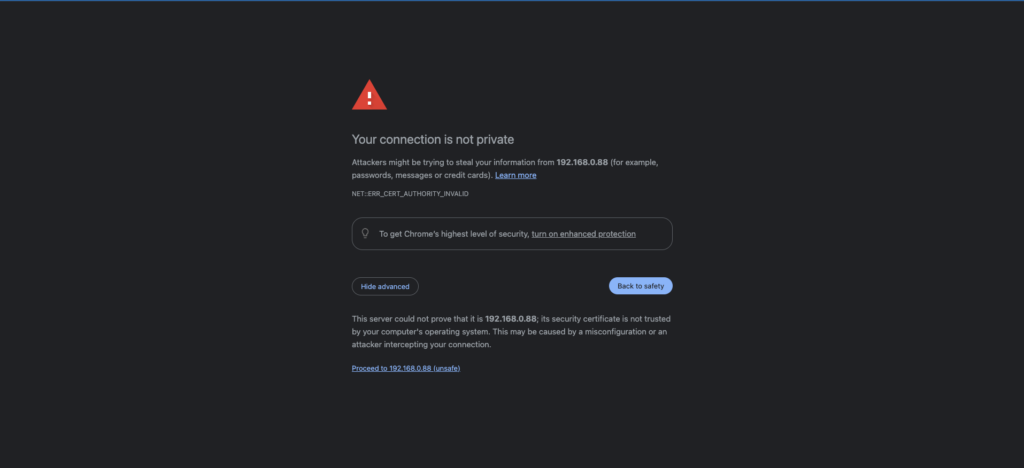
If you are using Google Chrome you will see the page above the first time that you connect to the server. Click on the Advanced button and then the Proceed to url link:
This will take you to the login page:
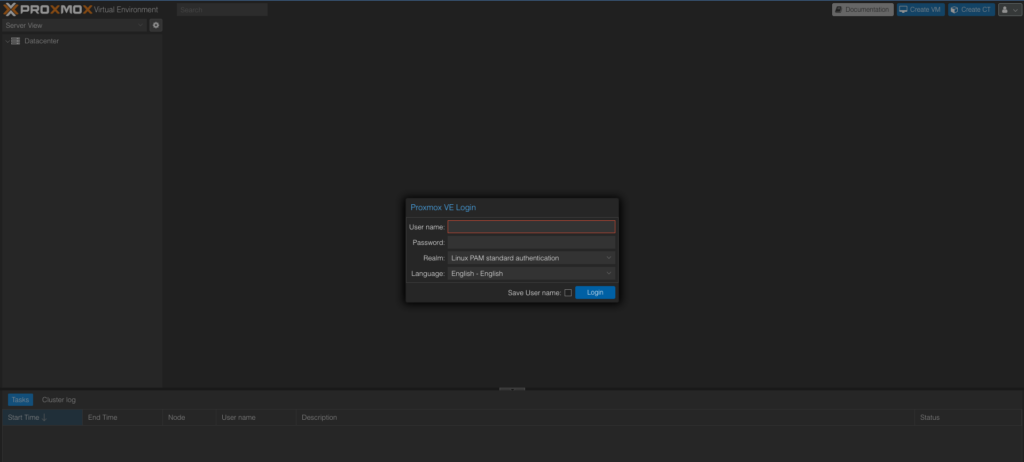
Login using the user root and the password that was created during installation:
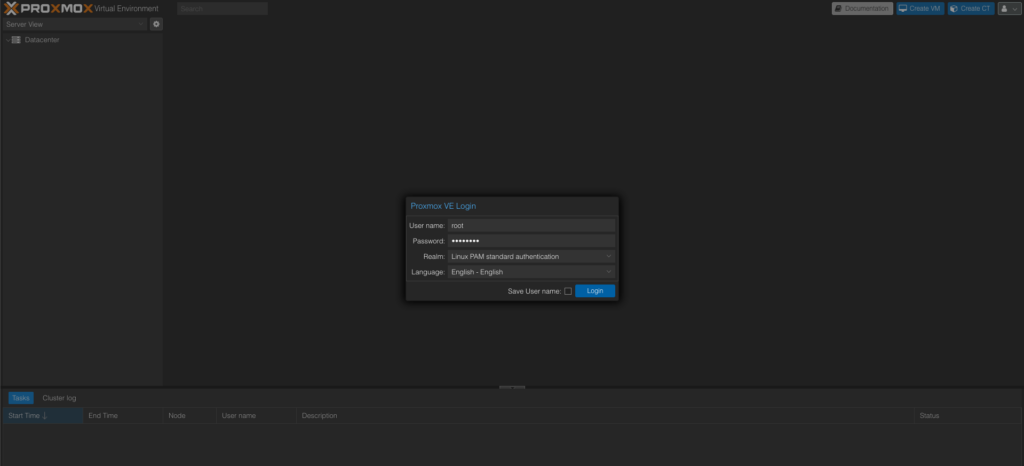
Click the Login Button to login:
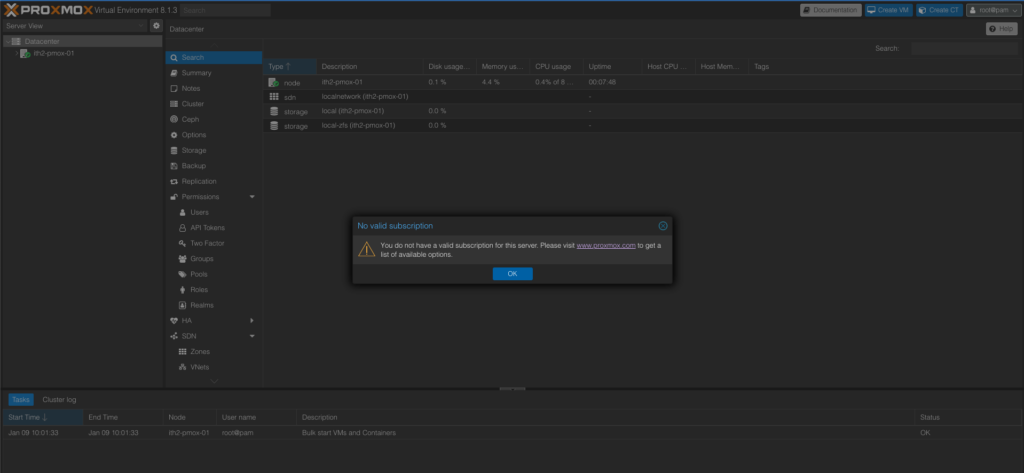
Click OK to clear the No valid subscription button:
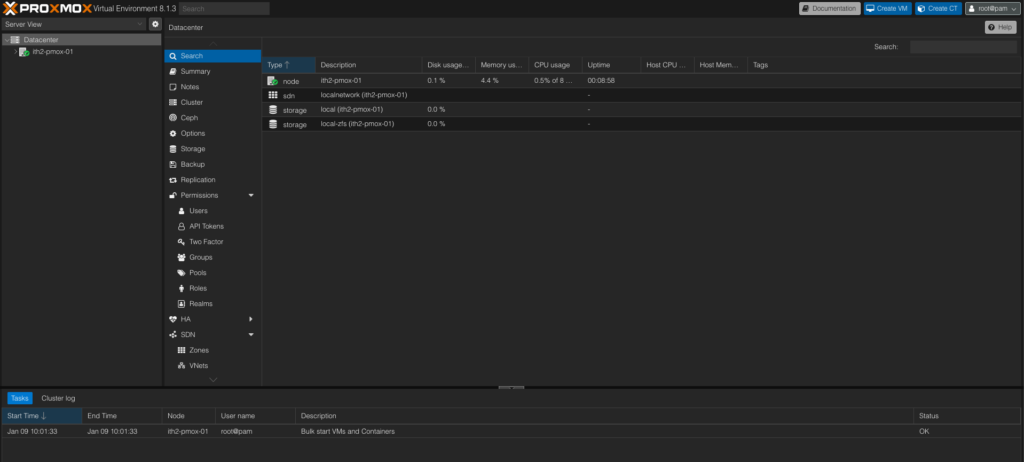
You Proxmox server is now ready to use.
