I needed to have a way to limit my 15 year old’s internet access as he has been staying up all night gaming recently. I decided on installing Squid 4 to accomplish this and also Dan’s Guardian to be able to see where he is visiting when he is online. I had my trusty Raspberry Pi 3 lying around in a draw so I decided to install Squid and Dans Guardian on it to test it out.
This Pi already has Ubuntu 20.04 server installed on it from when I wrote THIS how too.
Installing Squid
Before we install squid we need to make sure that Ubuntu is up to date by running:
sudo apt update && sudo apt upgrade -yOnce the Pi is up to date we need to find the version of the squid package available:
apt show squid
This shows that the version in the repository is 4.10
Install squid by running:
sudo apt install squidType y and enter to continue:

Squid will now install:
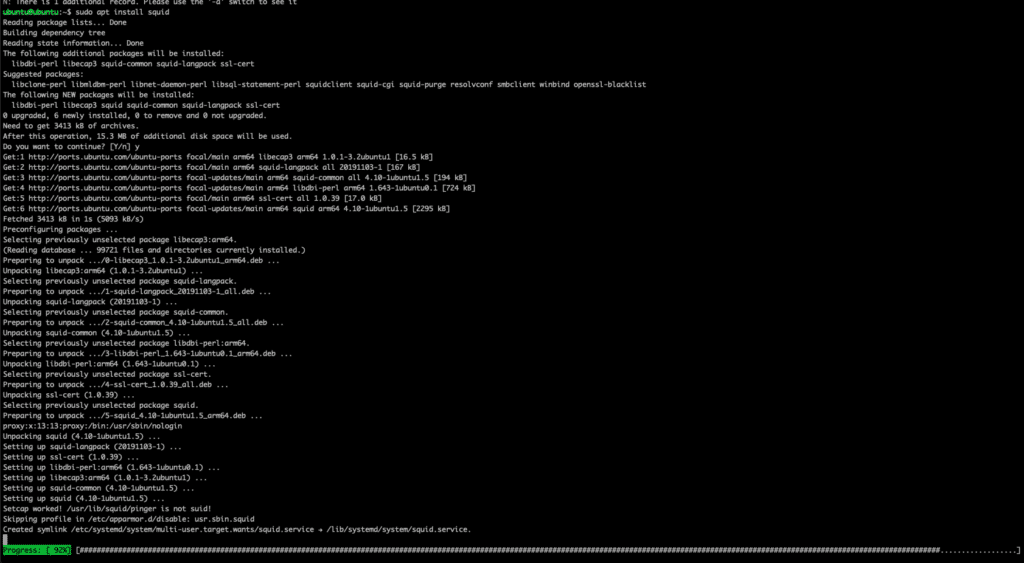
When the install is complete the server will go back to the command prompt

Configure Squid
Now that squid is installed we need to edit the squid config file /etc/squid/squid.conf
Before editing the squid.conf it is a good idea to back it up in case anything breaks. This can be done by running:
sudo cp /etc/squid/squid.conf /etc/squid/squid.conf.origThis now means that if squid gets broken by the squid.conf getting edited incorrectly it can quickly be reverted to its original state.
Now that the file has been backed up we need to edit it by running:
sudo vim /etc/squid/squid.confThe first thing that needs to be changed is the line:
3128I prefer to change the port and add the servers IP address so that squid listens on only that port and IP by changing the above line to:
http_port 192.168.75:8080We also need to change the line:
http_access deny allTo:
http_access allow allSave the changes and then restart squid by running:
sudo systemctl restart squid.serviceThis is all that is needed to setup squid as a transparent proxy.
Test Squid
To test squid you need to go to a machine and configure it to use the new proxy settings. This is a little beyond the scope of this post but it can easily be googled.
If the configuration is correct the PC will be able to access the internet while using the proxy.
We will leave the Squid config at a working transparent configuration for now and install and configure Dan’s Guardian
Install Apache2
We will need a working Apache2 server to allow Sarg to work.
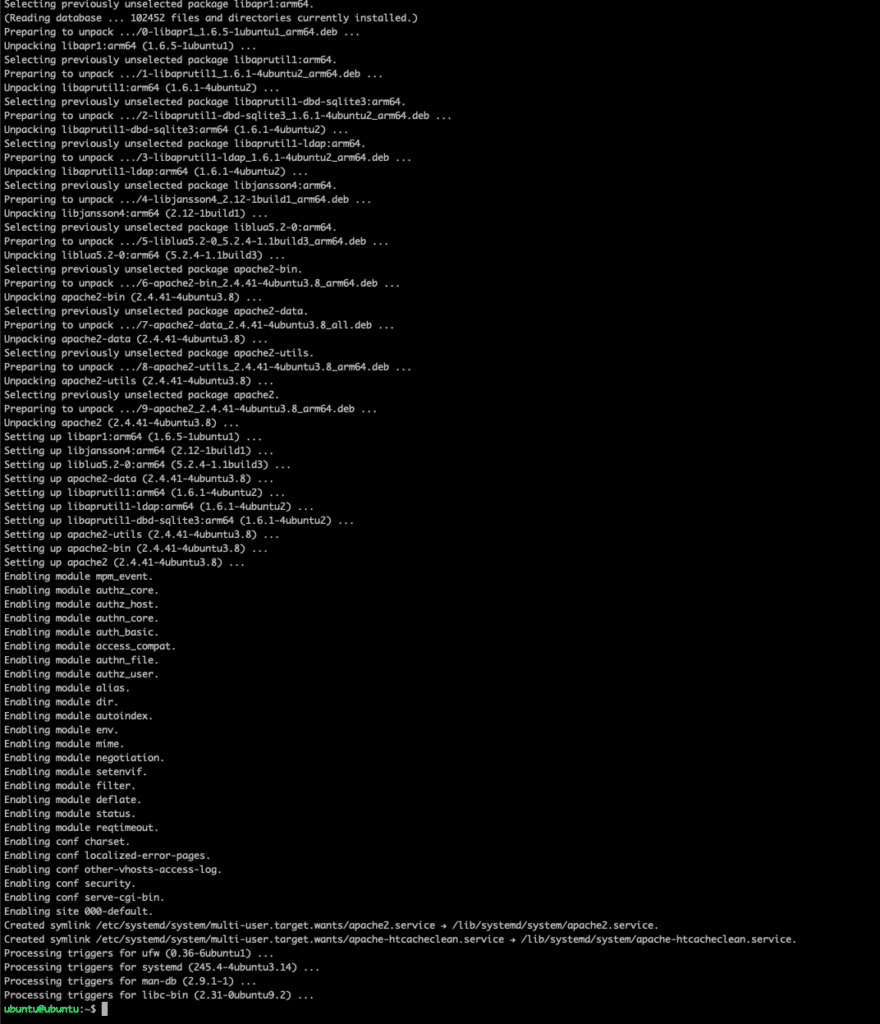
Install apache2 by running:
sudo apt install apache2 -yWait for the installation to finish and return back to the command prompt:
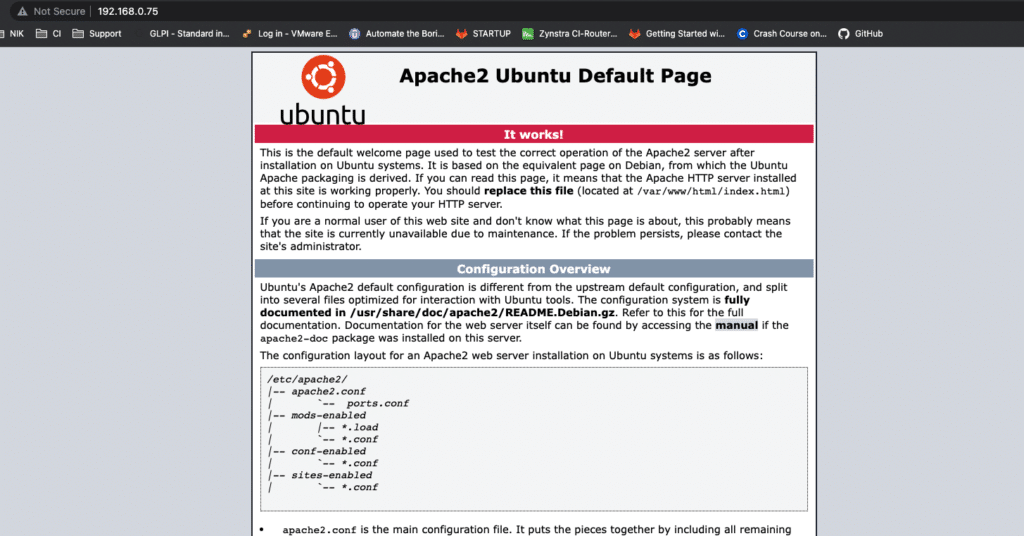
If you go to the ip address of the server you will be able to see if Apache2 is running as it will show the following page:
Install SARG
SARG stands for Squid Analysis Report Generator and it is the tool that is needed to generate reports from the Squid logs. It hasa a web front ent to view the reports.
Installation of Sarg is pretty simple just run the following command:
sudo apt install sarg -yConfigure SARG
To configure SARG edit the config file by running:
sudo vim /etc/sarg/sarg.confChange line 7 to:
access_log /var/log/squid/access.logChange line
Change line 121 from:
output_dir /var/lib/sargTo:
#output_dir /var/lib/sarg
output_dir /var/www/html/squid-reports
Then Change line 132 from:
resolve_ipTo:
resolve_ip yesChange line 175 from
date_format uTo:
date_format eMake sure that line 210 shows:
overwrite_report yesAnd change line 377 from:
charset Latin1to:
charset UTF-8
Save the changes
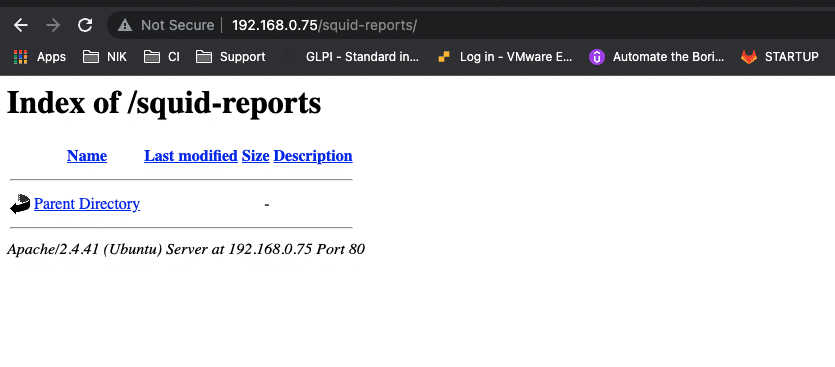
Got to the http://serverip/sarg-reports in a browser and you will see an empty web directory:
Generate report
The sarge report generation is controlled by the /etc/cron.daily/sarg cron job:
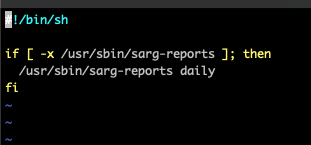
Generate the log reports by running:
sudo sarg -xYou will see output similar to:
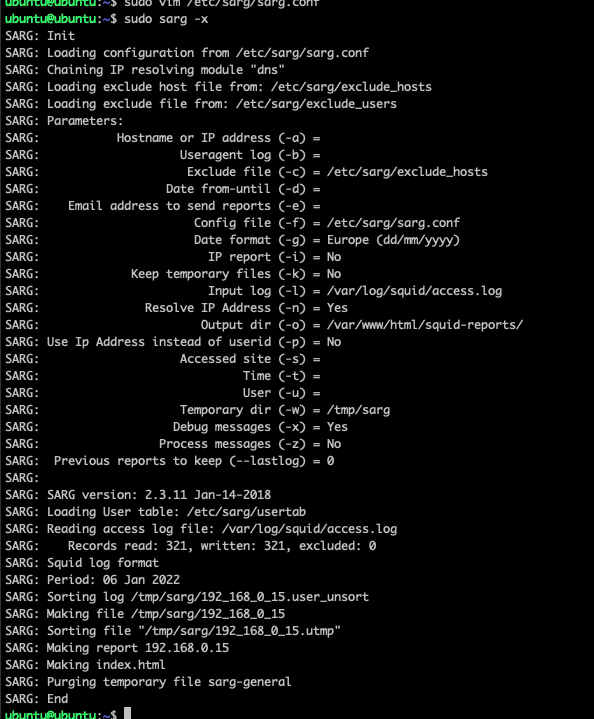
Go to the serverip/squid-reports in the browser and you will see a report has been generated:

Click on the report and it will open up the full reports screen so that you can open Tops Sites, Sites and Users and Denied Access (This report will be empty as we are not denying access) as well as having the option to click on users IP addresses to see which sites they have been to:
Reports will look similar to:

Automate Generating Sarg Report
To automate generating the Sarg reports we need to open crontab for editing by running:
crontab -eThen add the following to crontab:
* */1 * * * /usr/local/bin/sarg -x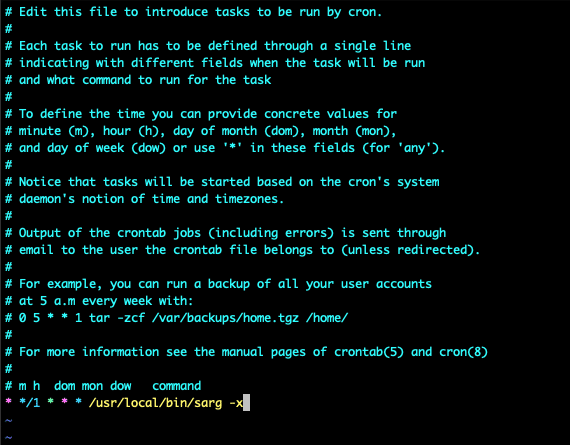
This will run a report every hour.
Limit Squid access to certain hours
Now that we have squid working and we have Sarg generating reports we can now turn our attention to configuring the Access Time limitations.
I have decided to block ALL access to the internet after 23:00 and before 05:00 to make sure that we both sleep properly and neither of us can be up all night on the internet.
This is done by adding the text below to the bottom of the acl section of /etc/squid/squid.conf. In my cfg file the acl’s start at line 1188
acl biz_network src 192.168.0.0/24
acl biz_hours time M T W T F 5:00-23:00
Then we had to add the following to the http_access section of the squid.conf (Line 1397 in my case).
# Limit Internet Access as per acl's
http_access allow biz_network biz_hours
http_access deny biz_network
Save the changes and restart squid
sudo systemctl restart squid.serviceTo test this out I changed the biz_hours to a time that had already passed and then restarted squid and tried to access the internet from my son’s computer.