This is my guide to how to Install Windows 10 Pro on a PC/VM. The process is basically the same for both after you have booted from the boot media.
Windows 10 boot media can be created by downloading the Windows 10 Media Creation tool from HERE.
For a walk through of creating Windows 10 boot media click HERE.
How to Install Windows 10 Pro:
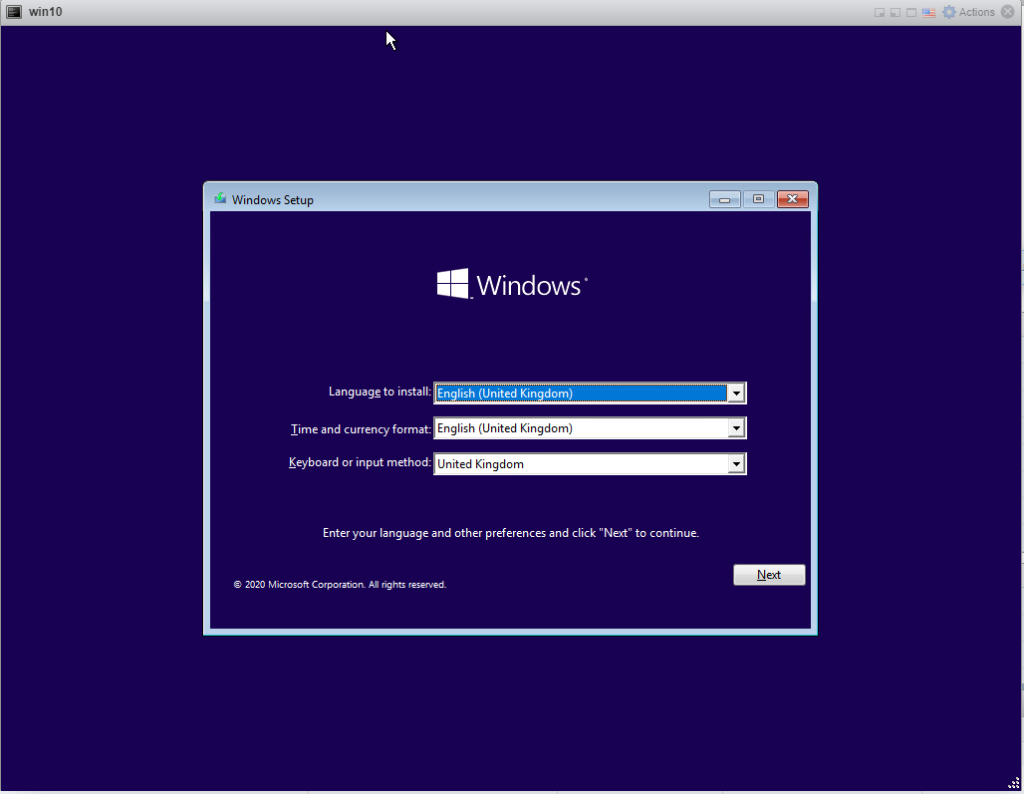
Once the Windows 10 boot media is created boot the machine to be installed from the media. The install will land on the following page. Select the correct regional settings and click Next:
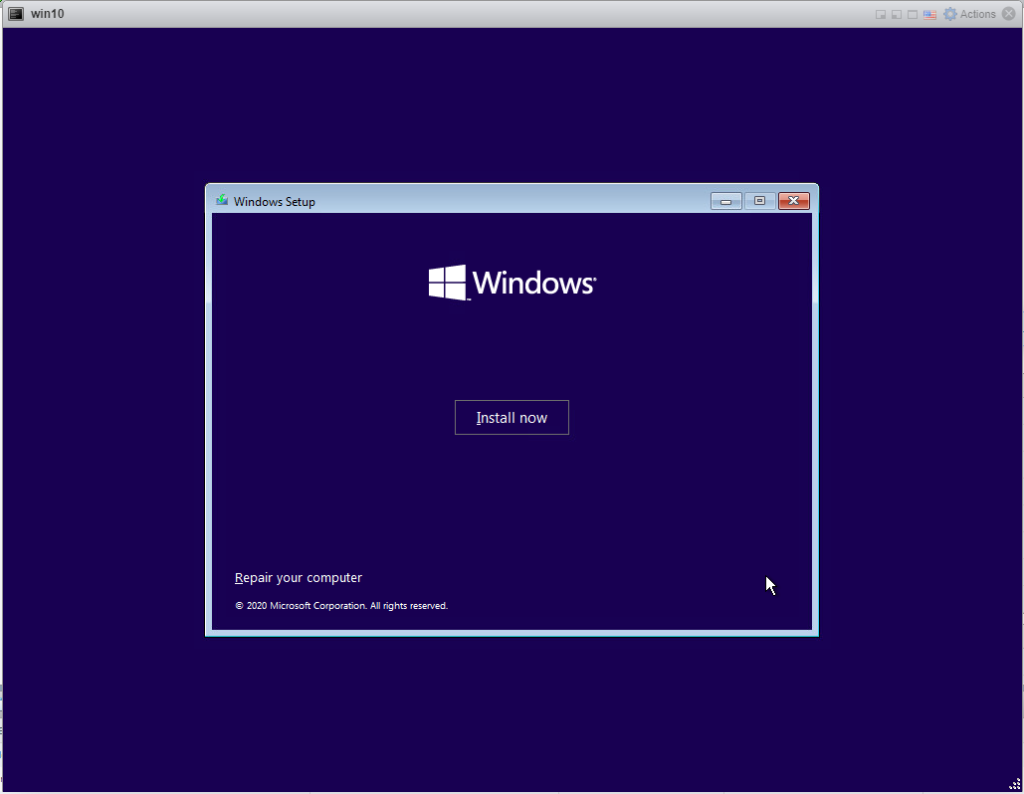
Click Install now.
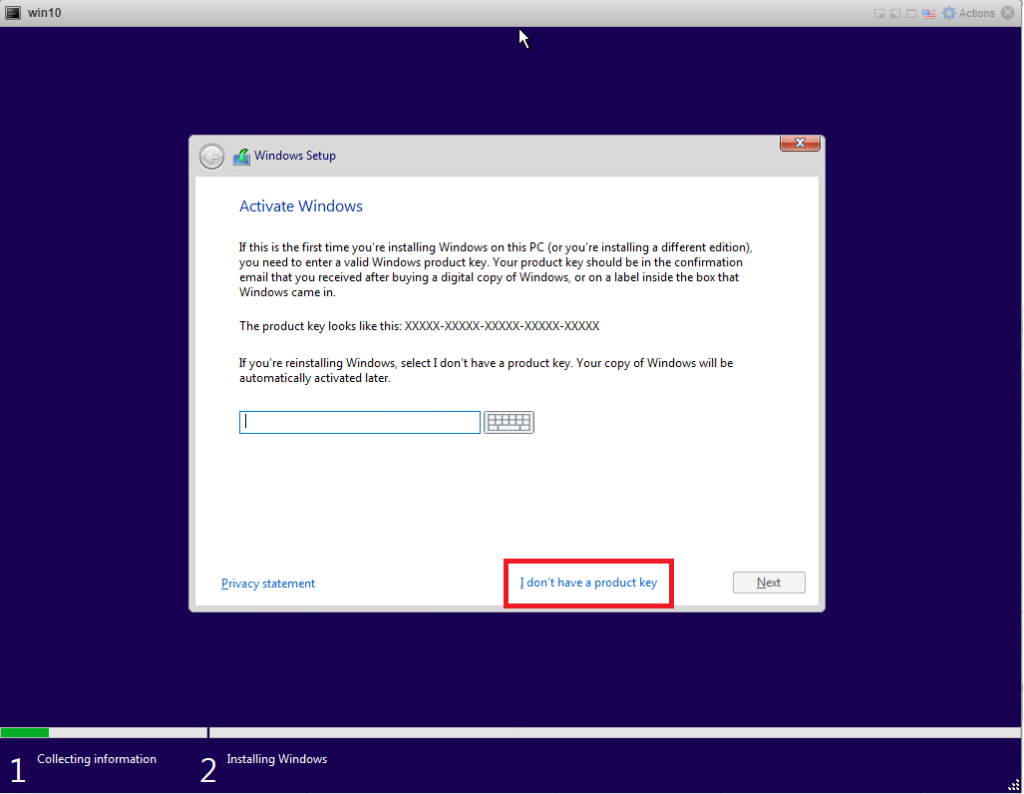
If you have a key add it and click Next. If you do not have a key (which I do not) click I don’t have a key:
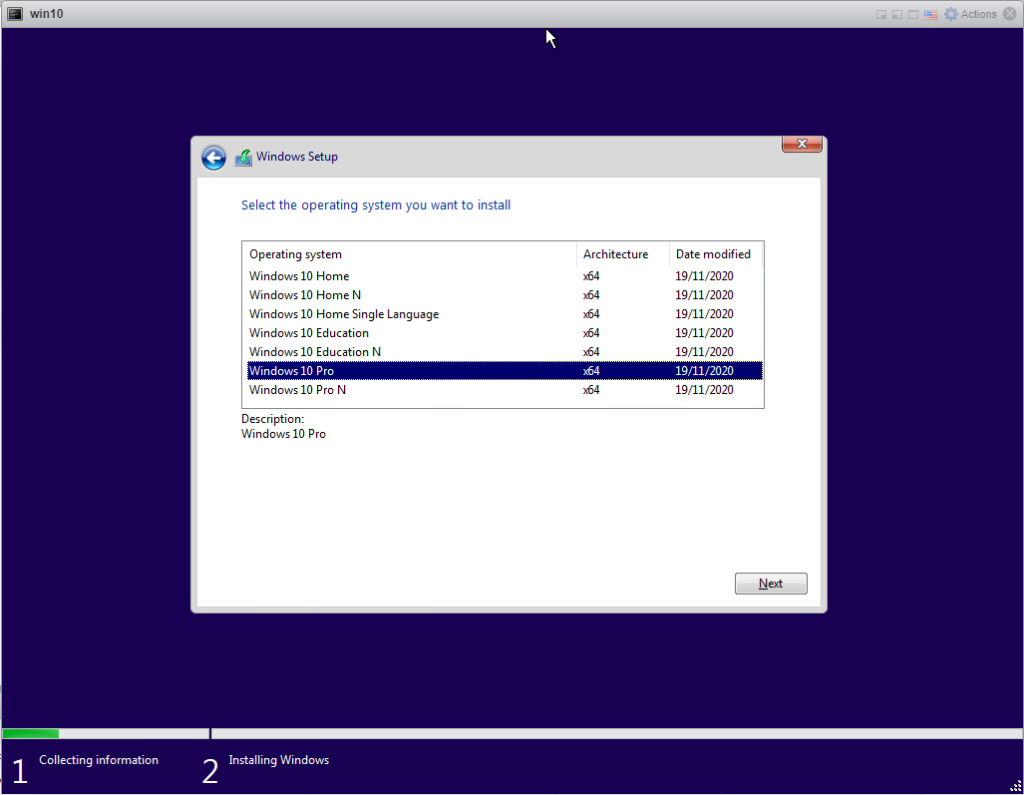
Choose the version of Windows 10 that you want to install (Pro in this case) and click Next to move to the next step. This will install the 180 day trial version of Windows 10 Pro.
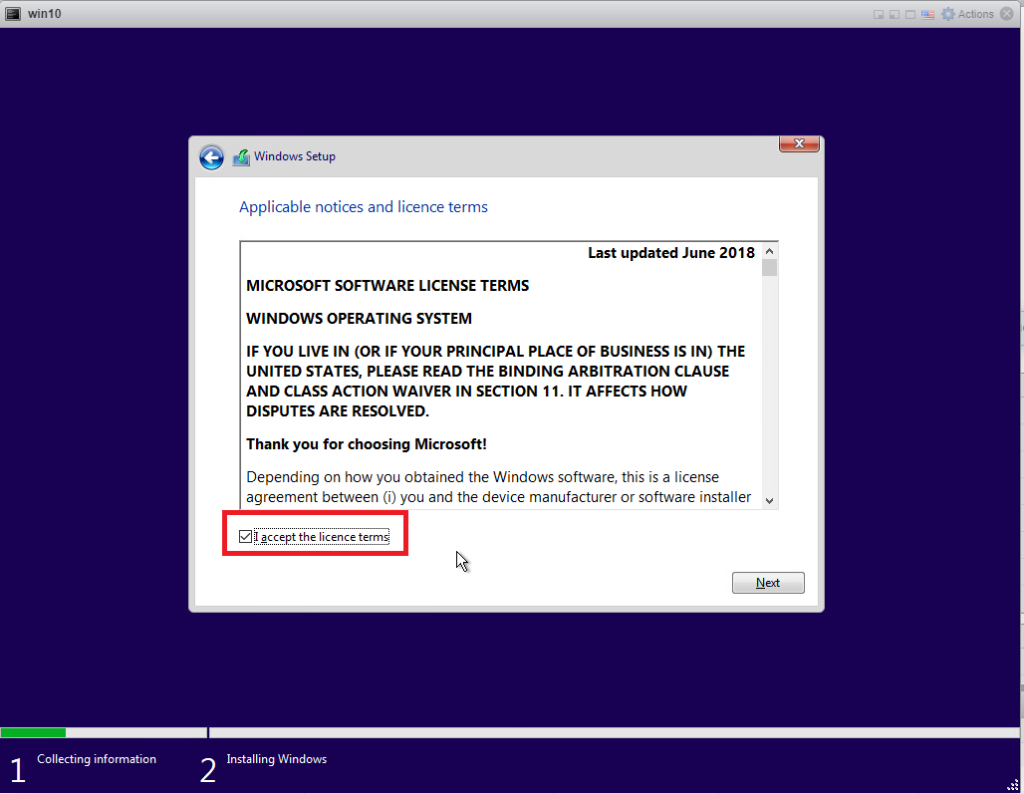
Accept the license terms and click Next
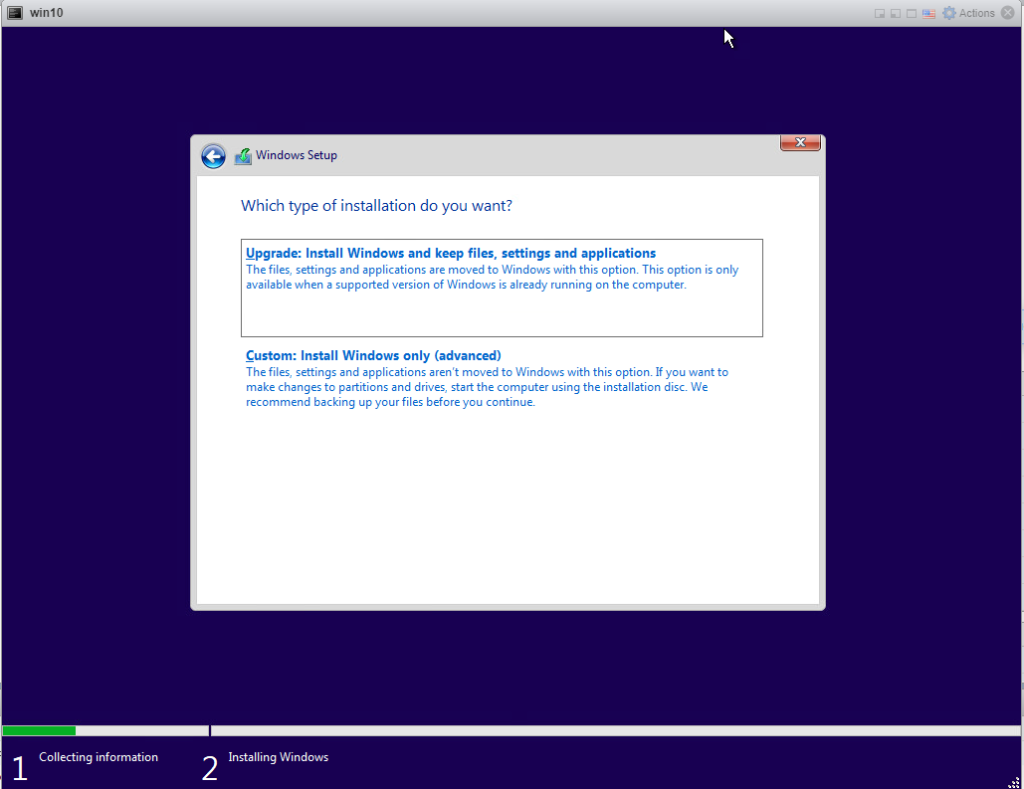
Click on Custom to install a clean version of Windows 10
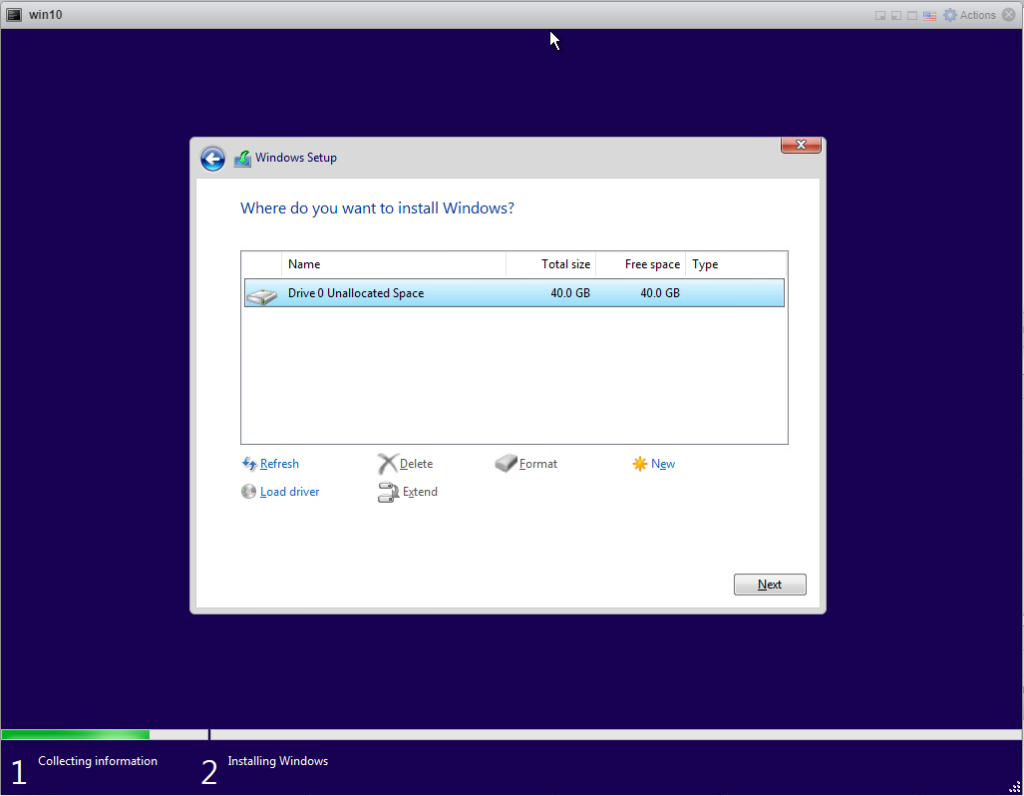
Click next to use the new unallocated space.
Windows 10 will now install.
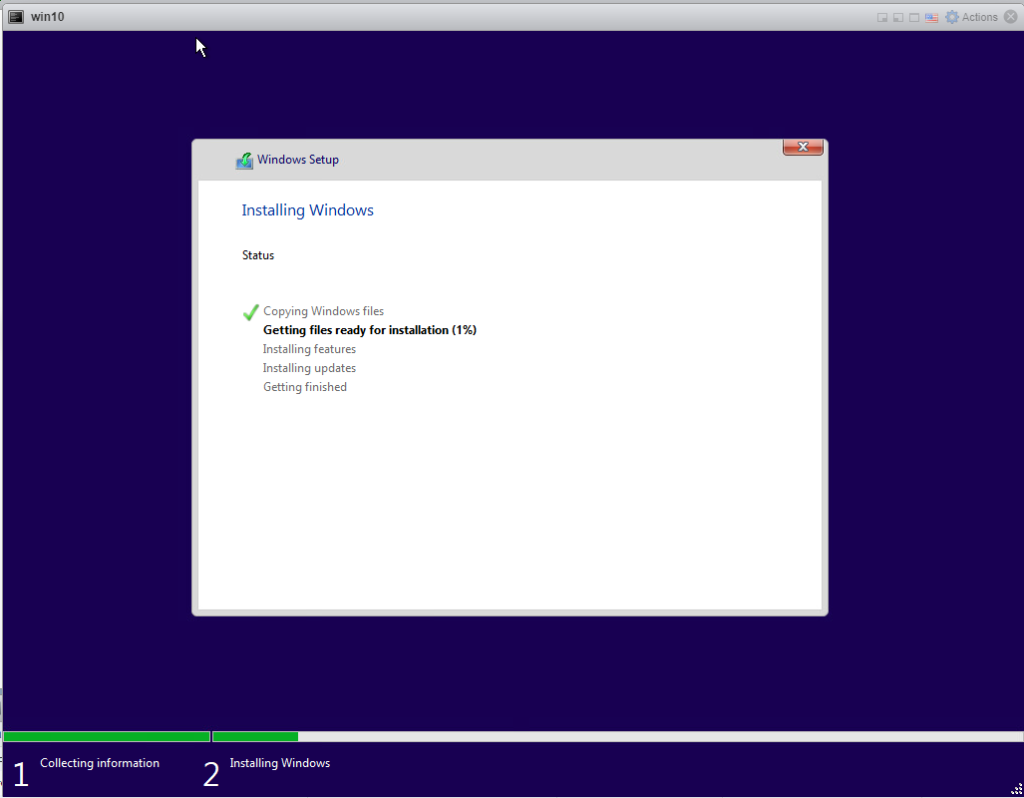
Click restart now or wait for the timer to restart the PC
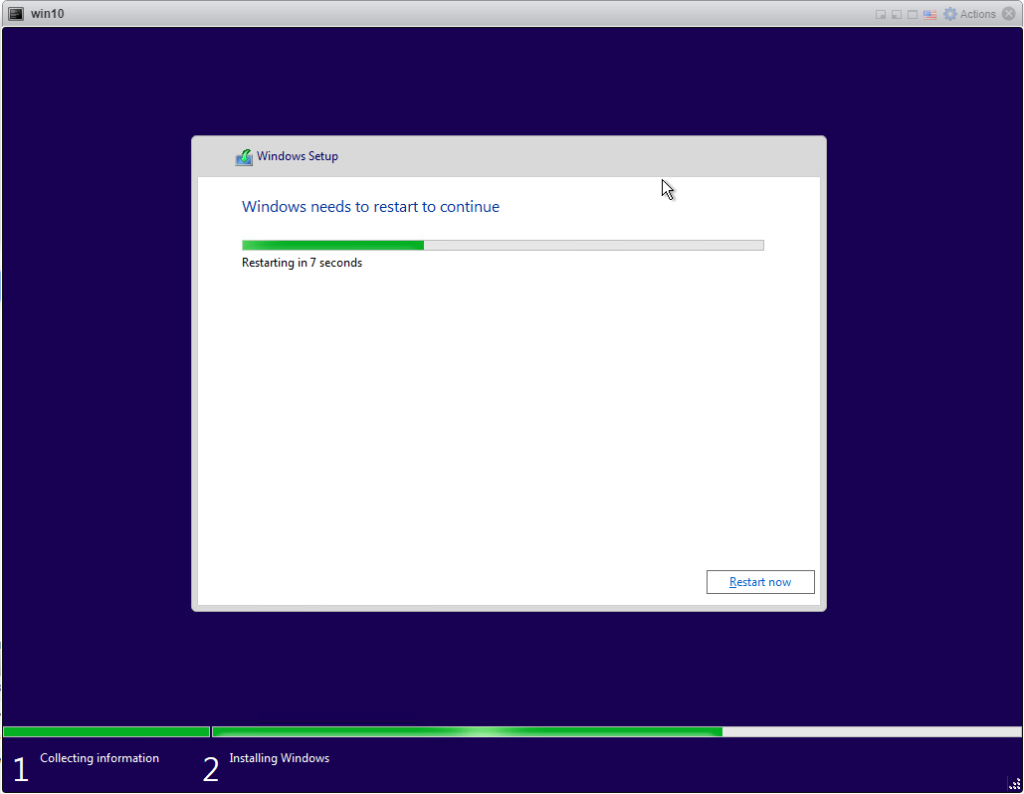
Windows 10 will start booting
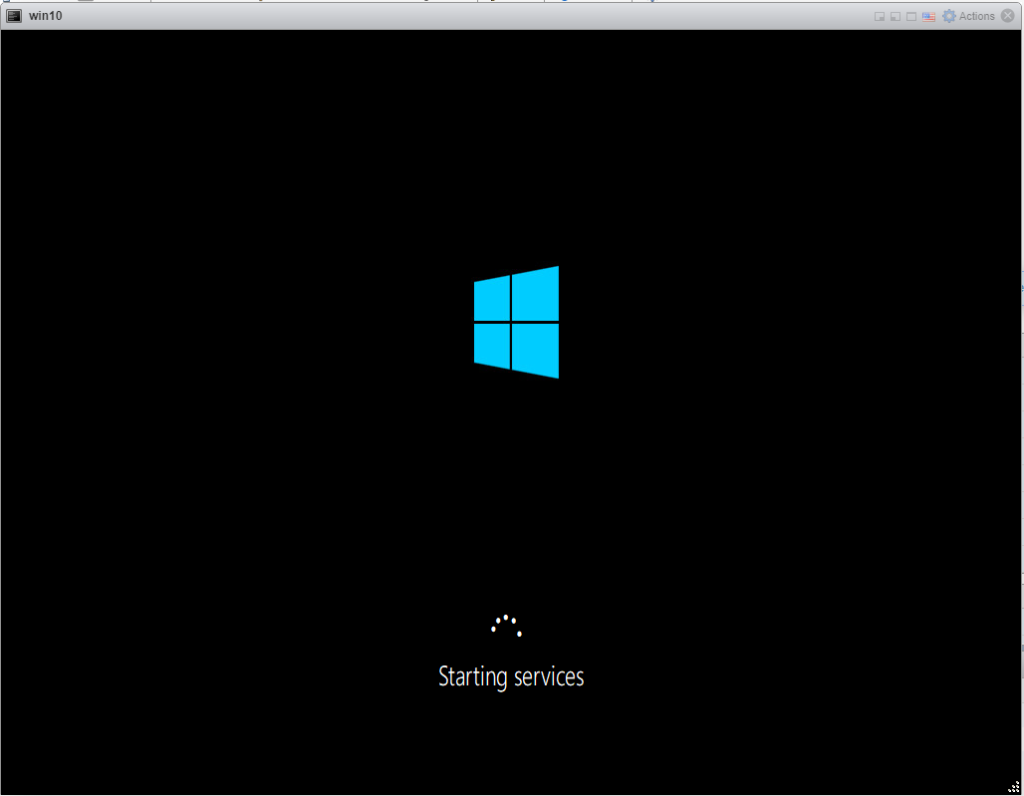
Select the correct Region and click Yes to continue

Choose the correct keyboard layout and click Yes to continue
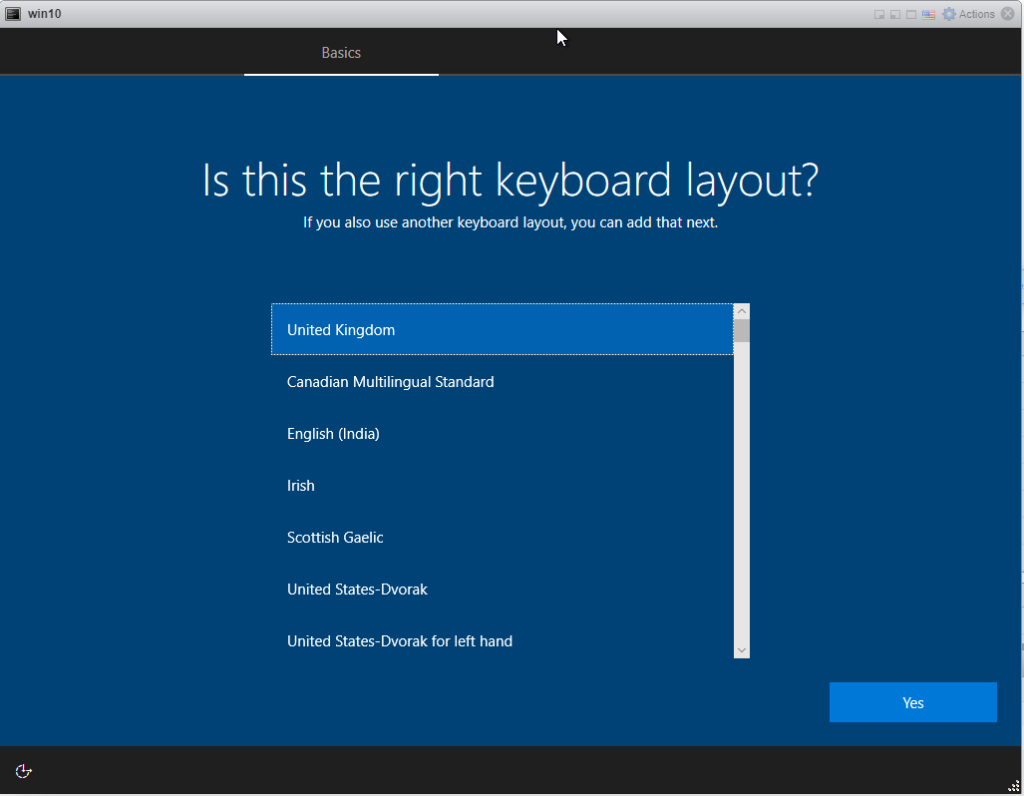
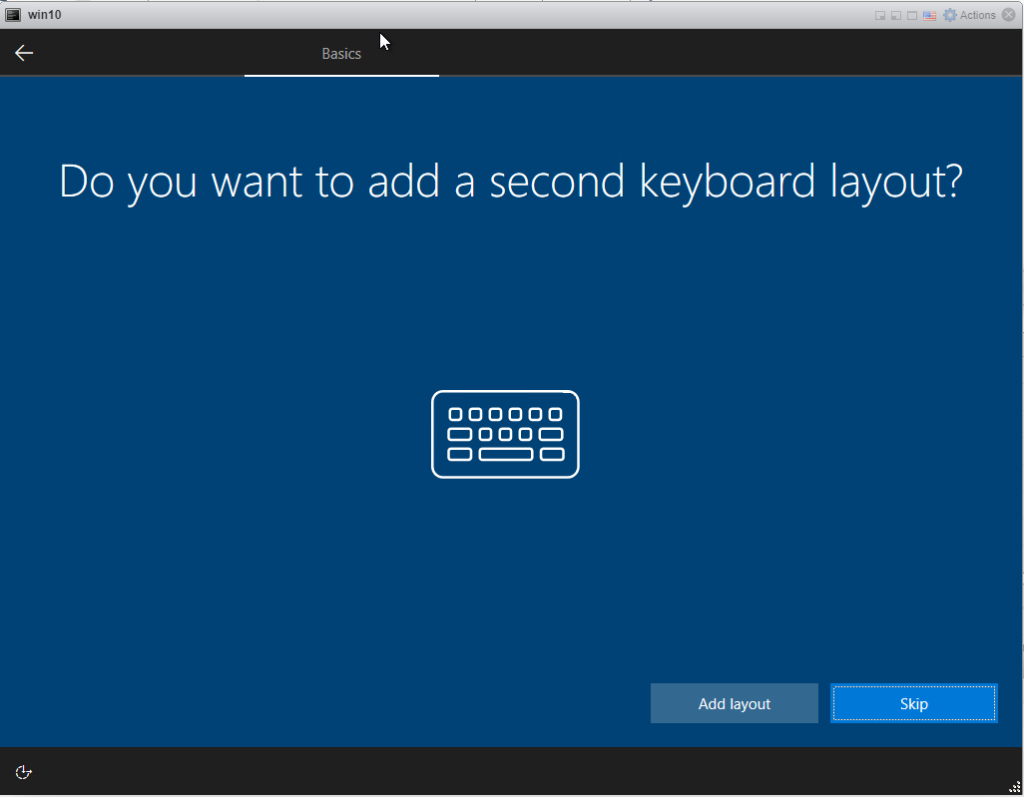
Click skip unless you want to add a second keyboard layout in which case click Add layout
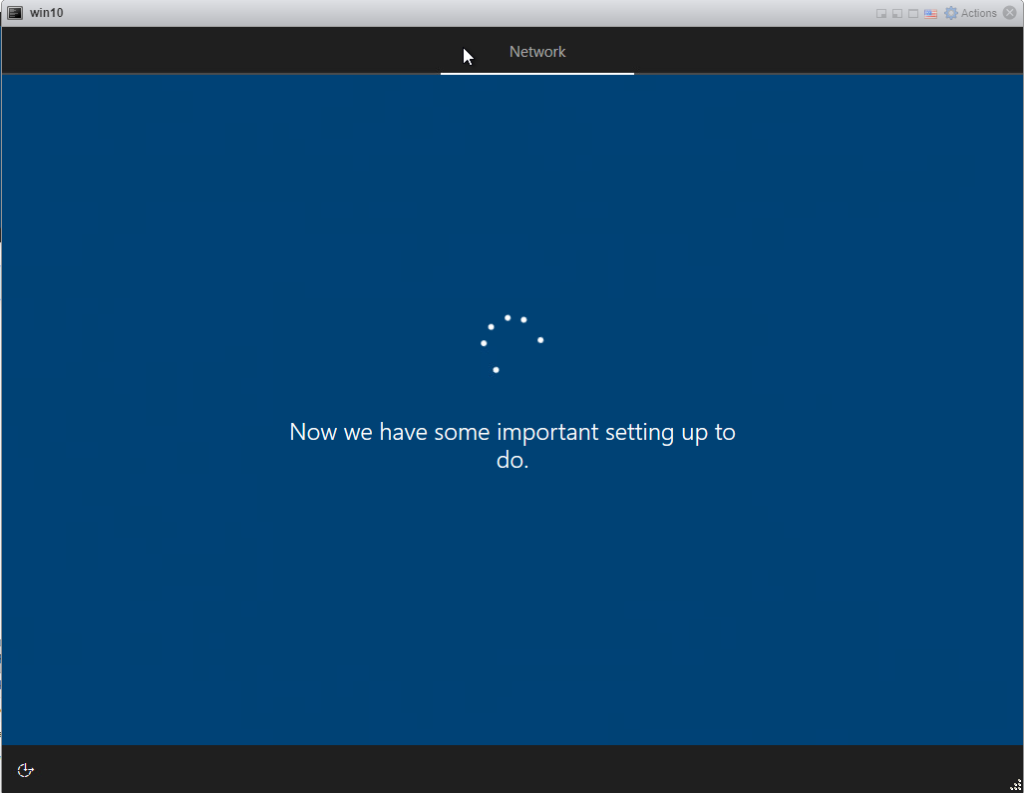
Wait
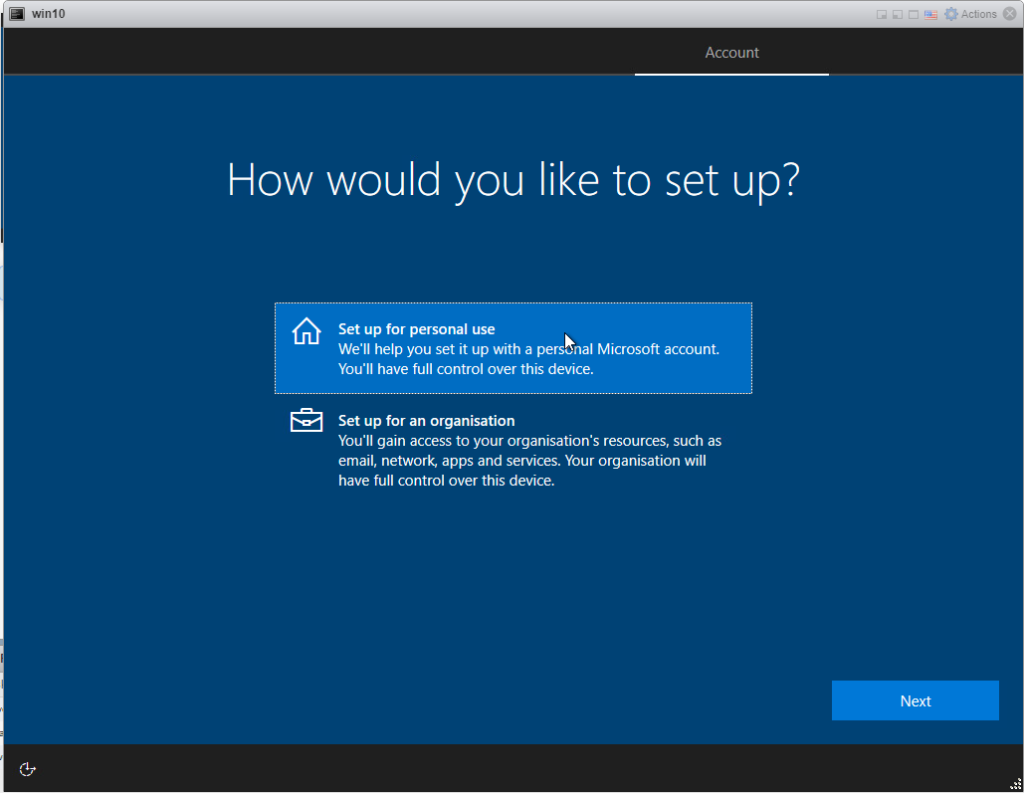
Chose to set up for personal use if not adding to a domain or for an organisation if you are. I selected Set up an organisation and pressed the Next button.
To not use a Microsoft account to login click on Offline account

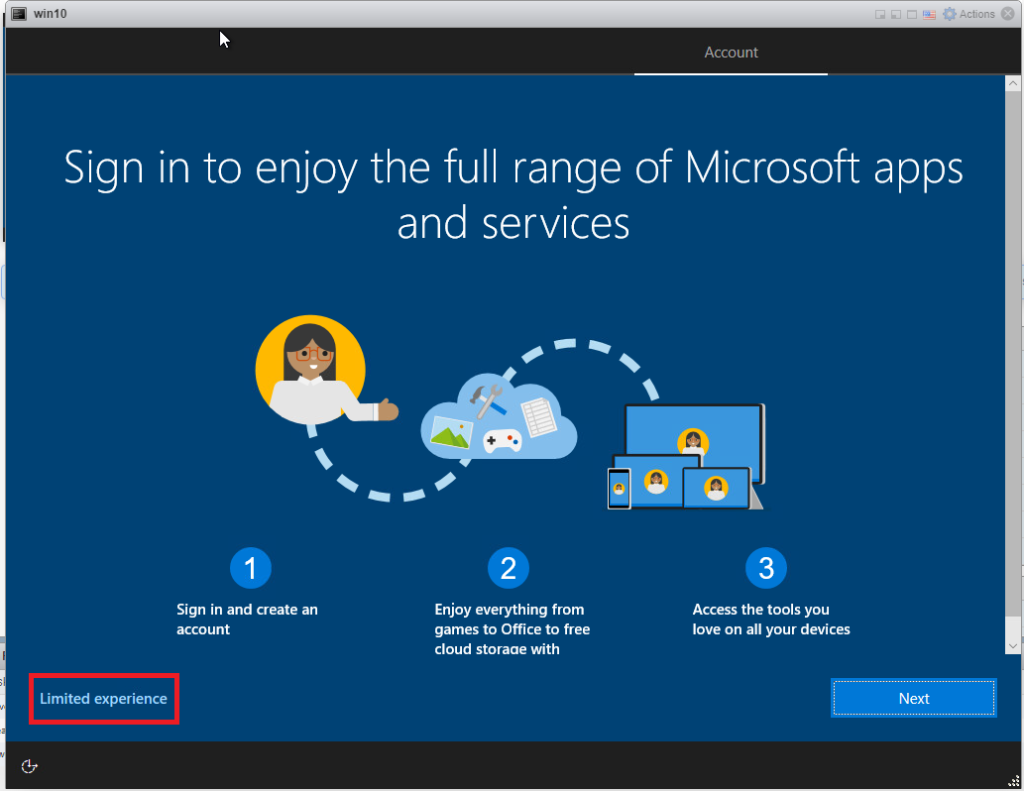
Click on Limited experience to not have to create a Microsoft account
Add the user name and click Next
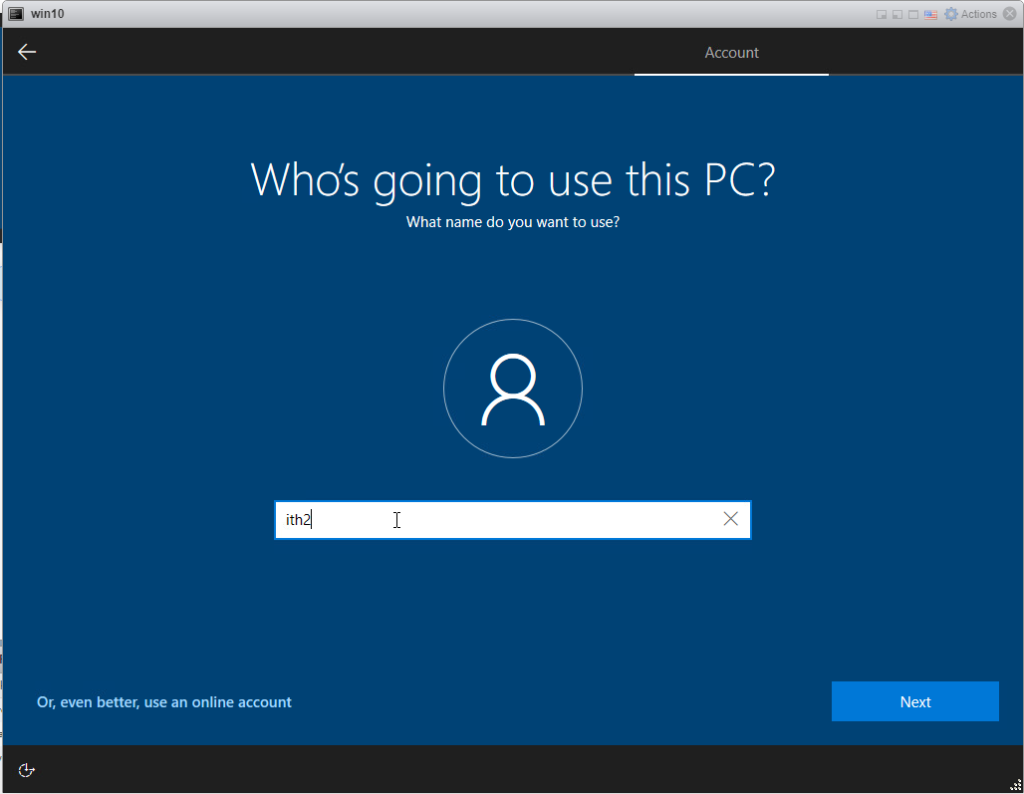
Type a password for the new user (Make sure that you type the password correctly as it is the only user on the PC). Click on the icon on the right of the password field to show the password to make sure it is typed correctly. Click Next
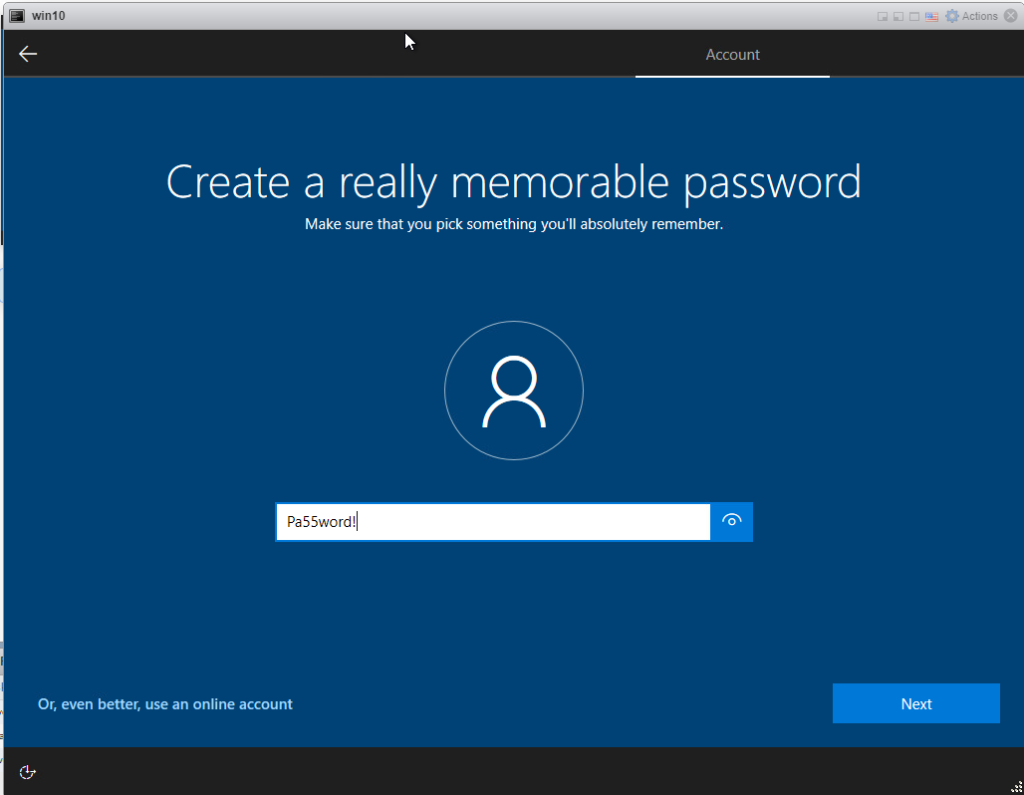
Retype the password and type Next
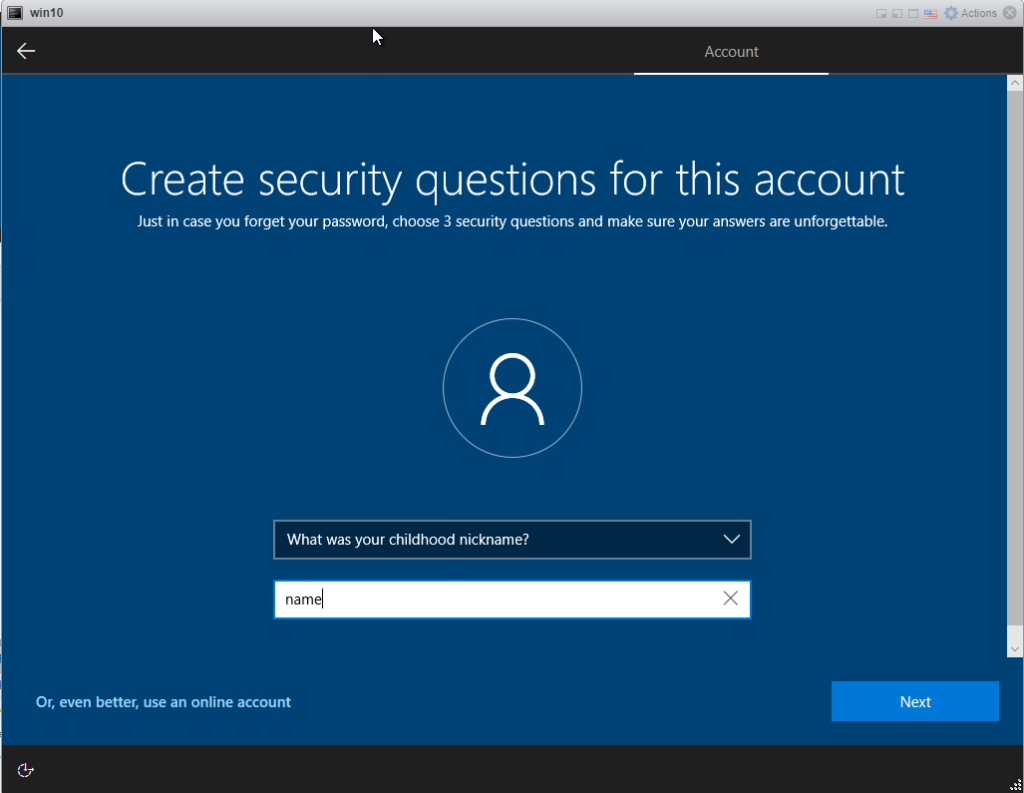
Select a security questions, type an answer and click Next
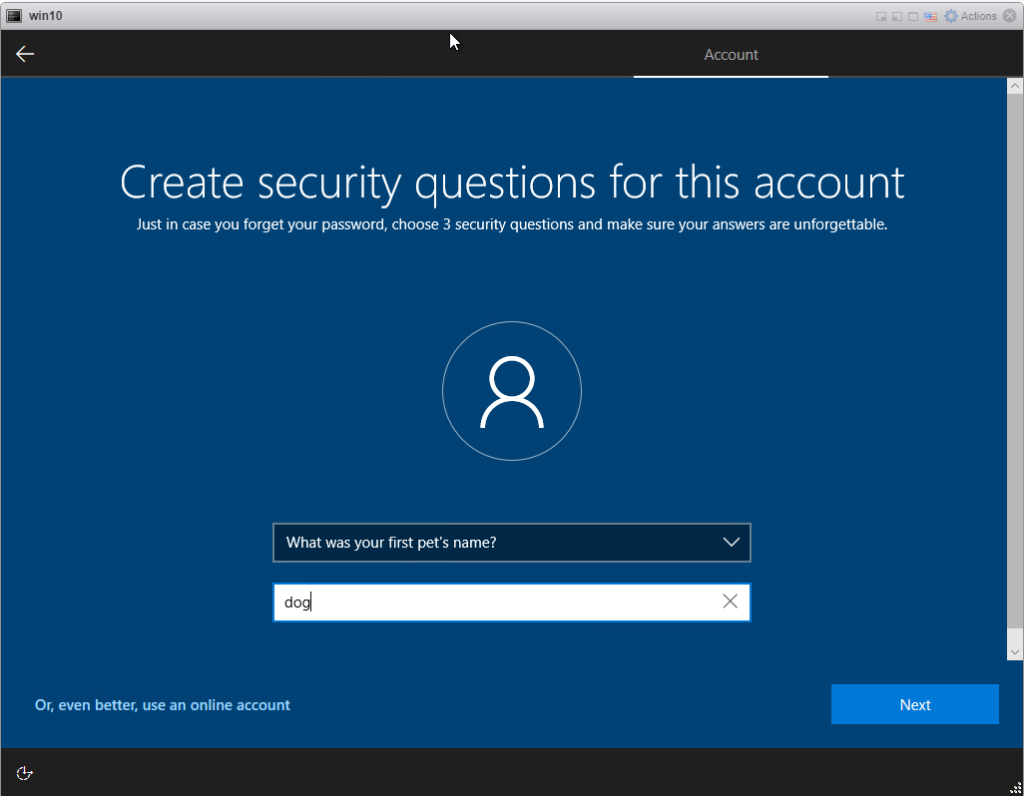
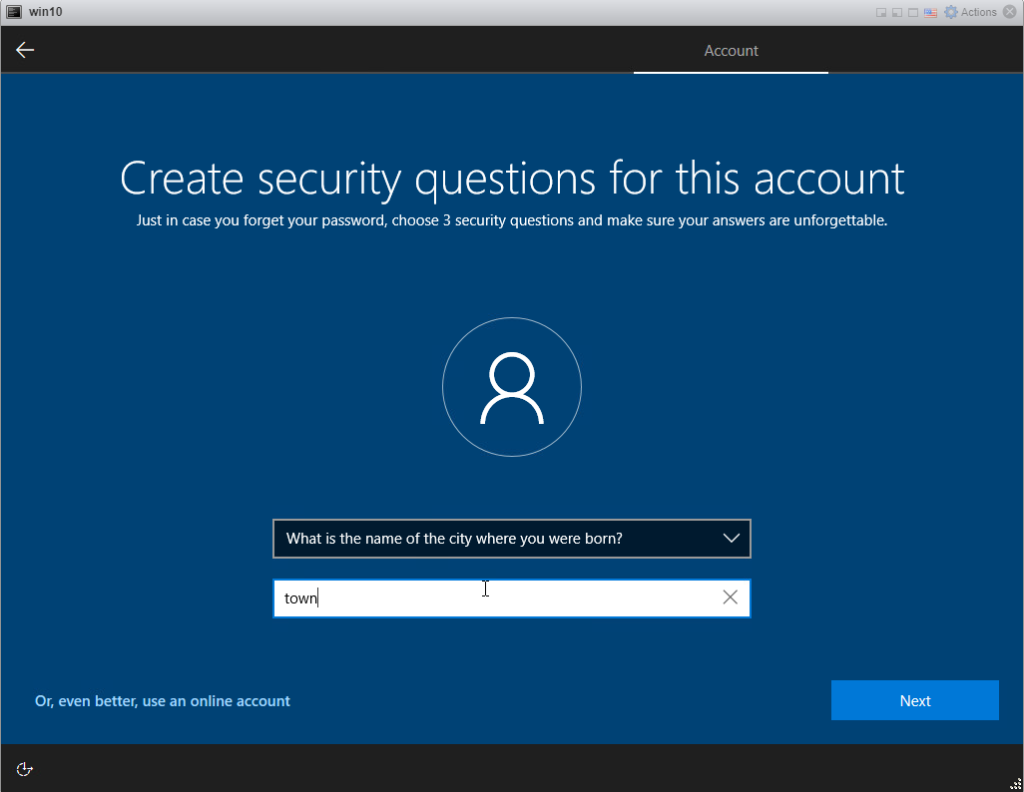
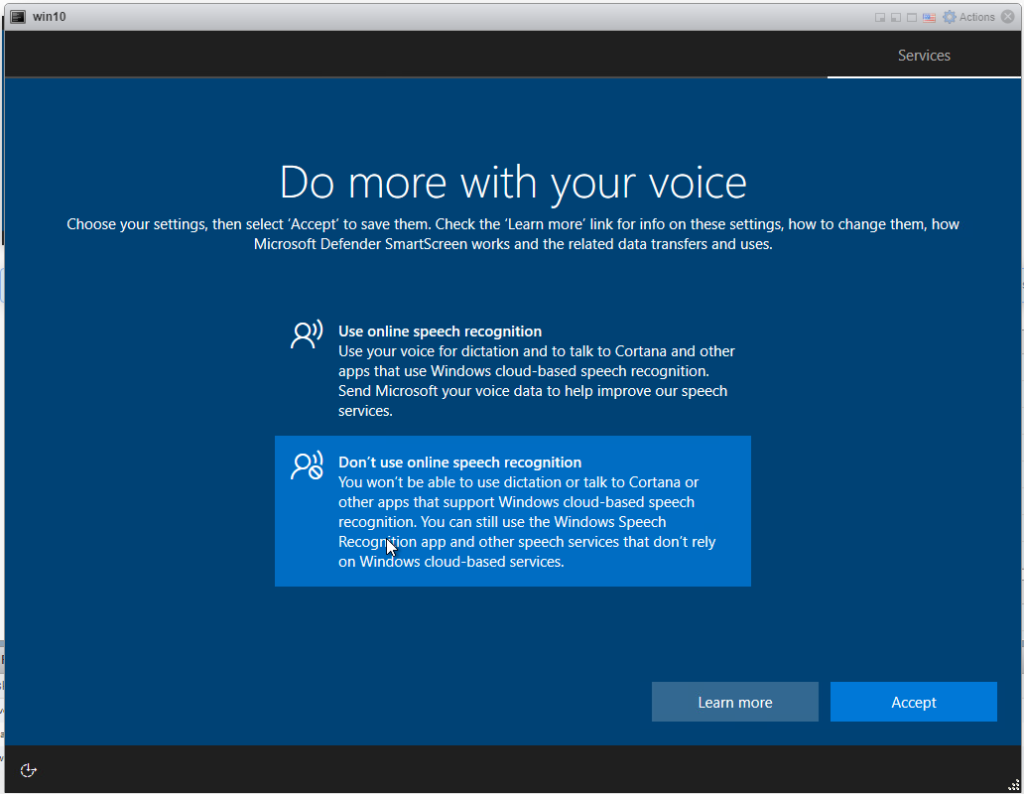
Select don’t use speech recognition unless you want it, click Accept
Choose the desired option for location service and click Accept

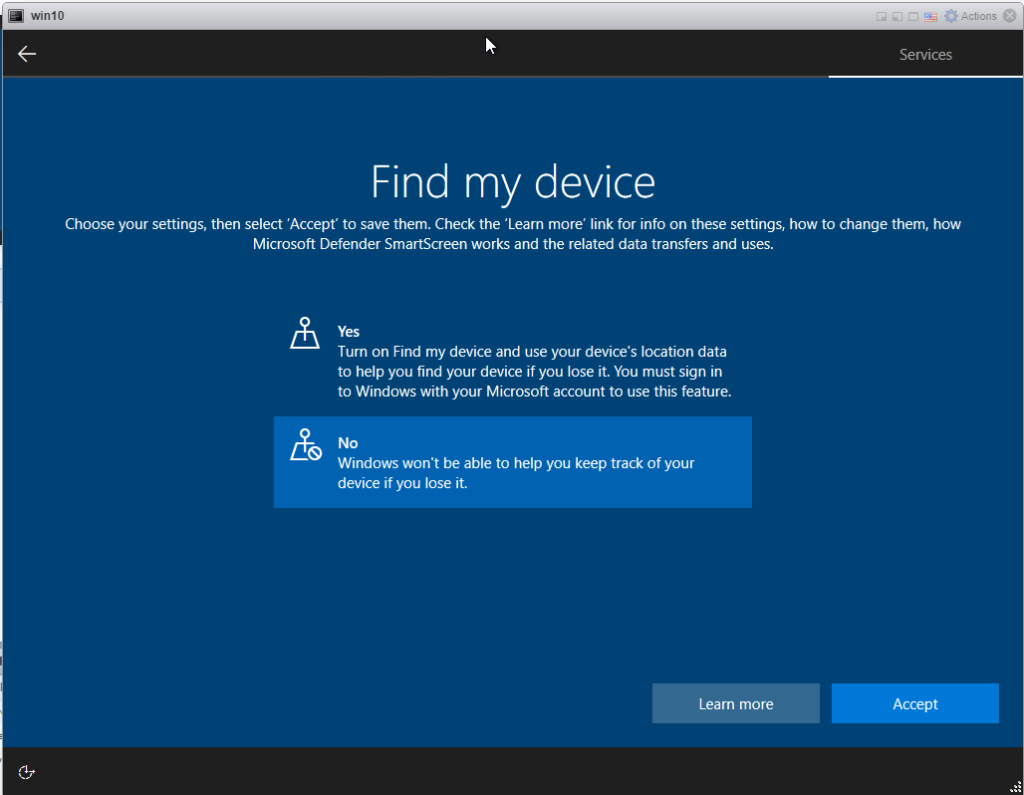
Select the desired option for Find my device and click Accept
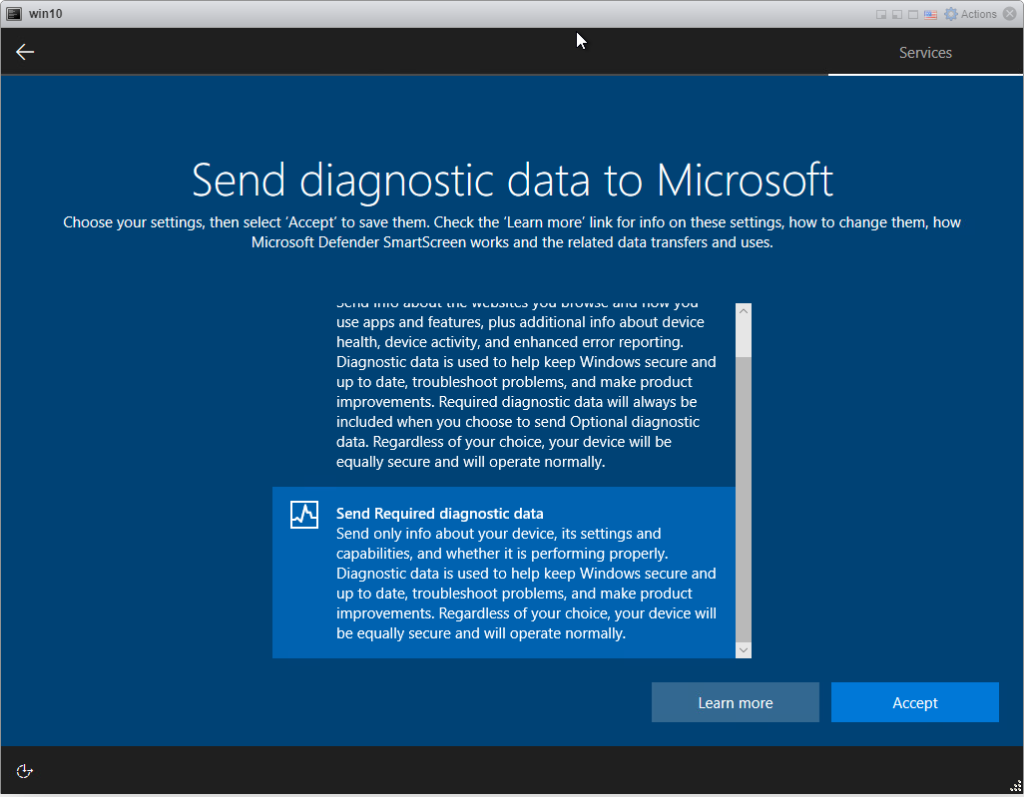
Choose the desired diagnostics settings and Accept
Choose the desired setting for inking and typing and Accept
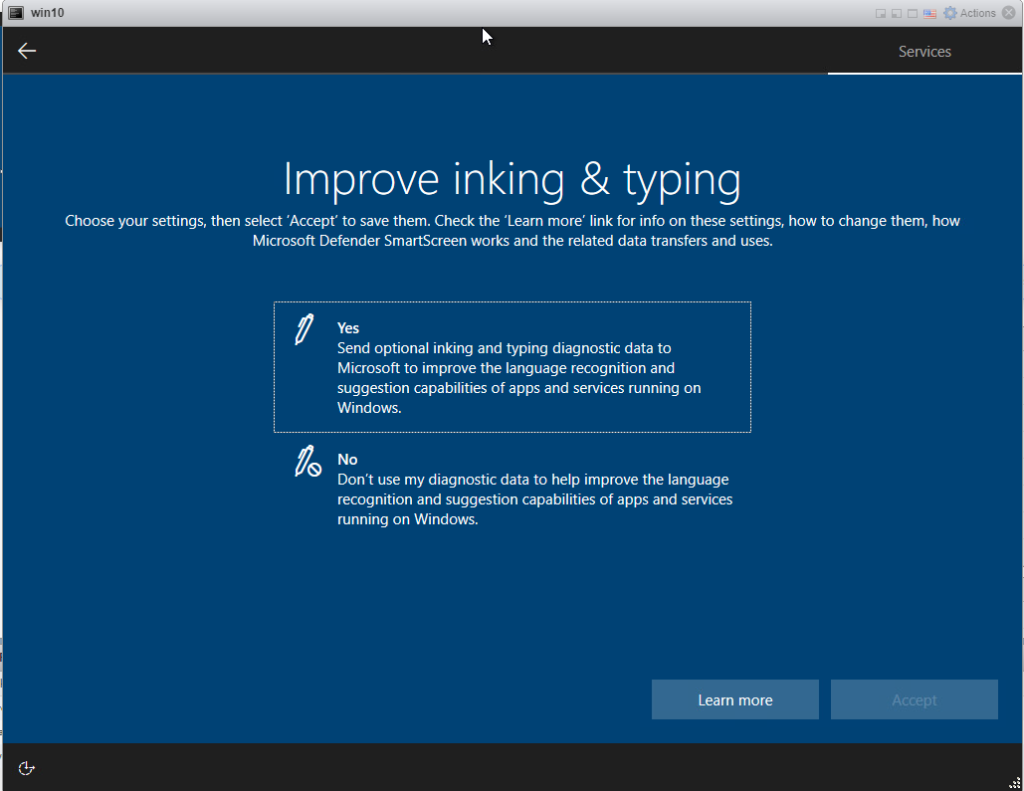
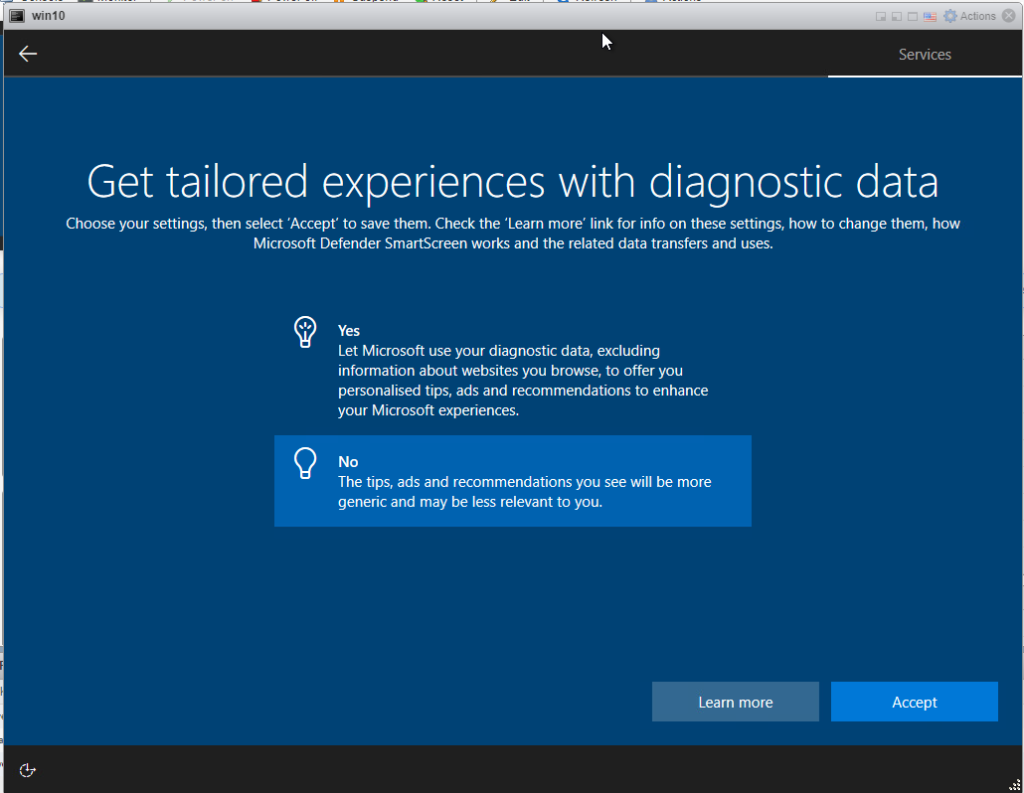
Choose the desired diagnostics data option and Accept
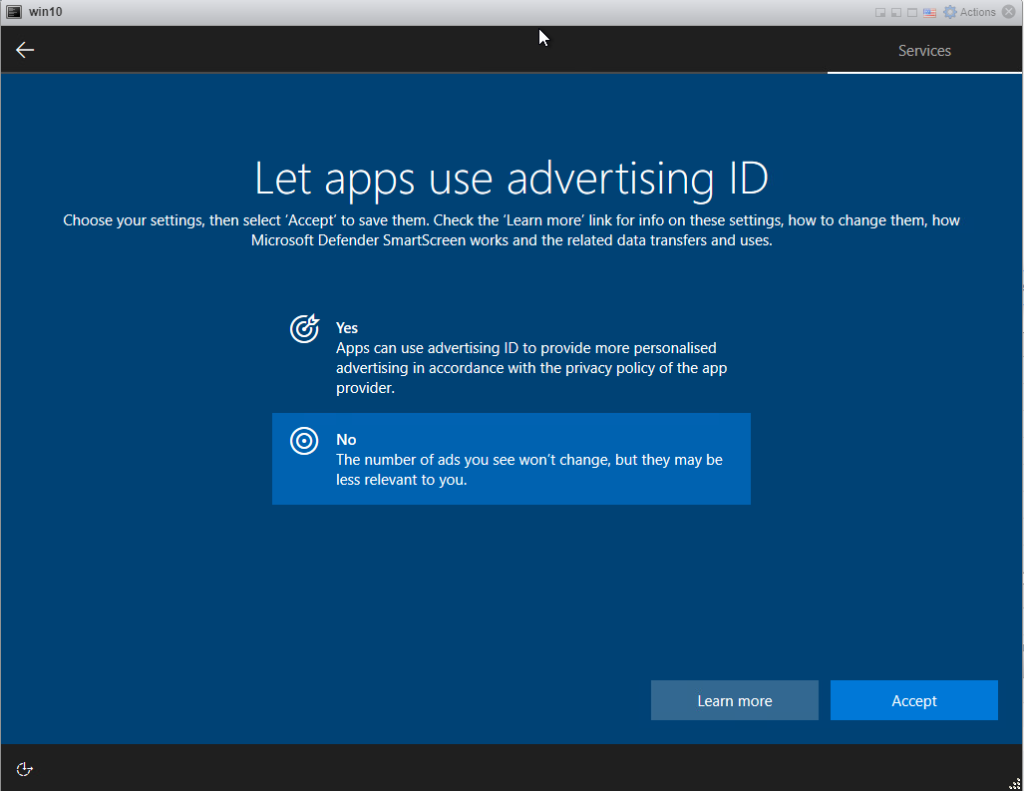
Choose the desired advertising ID and click Accept
Click Not Now if you do not want Cortana help
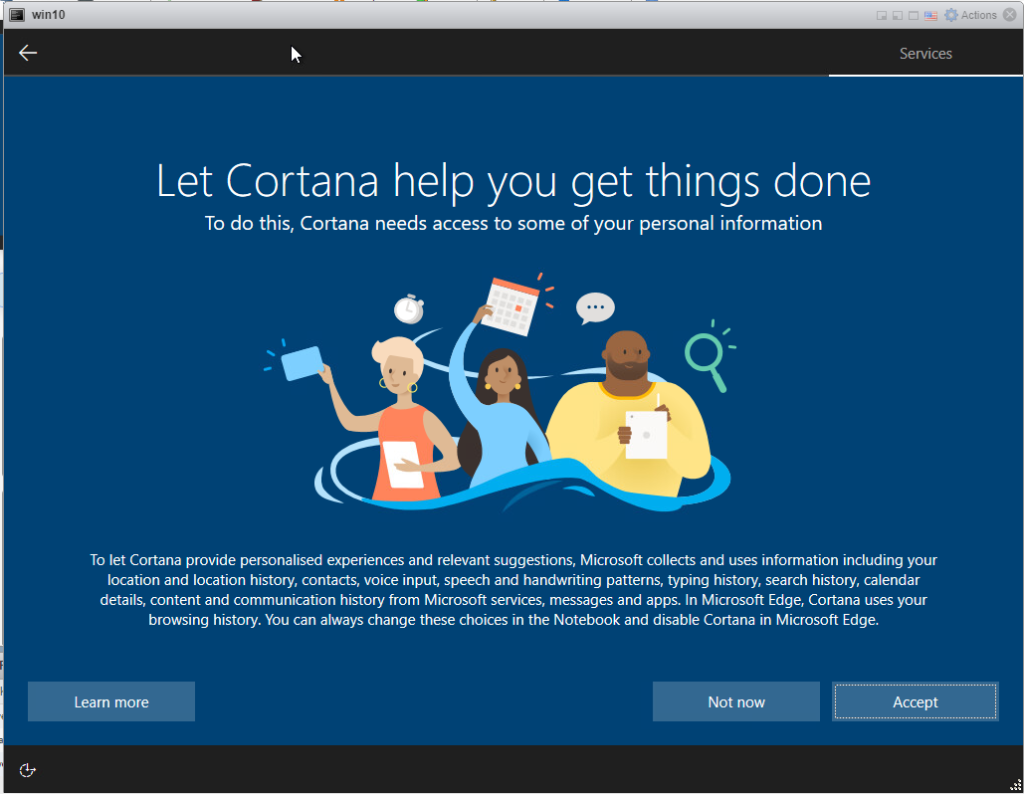
Finally the installation will start creating the user profile.
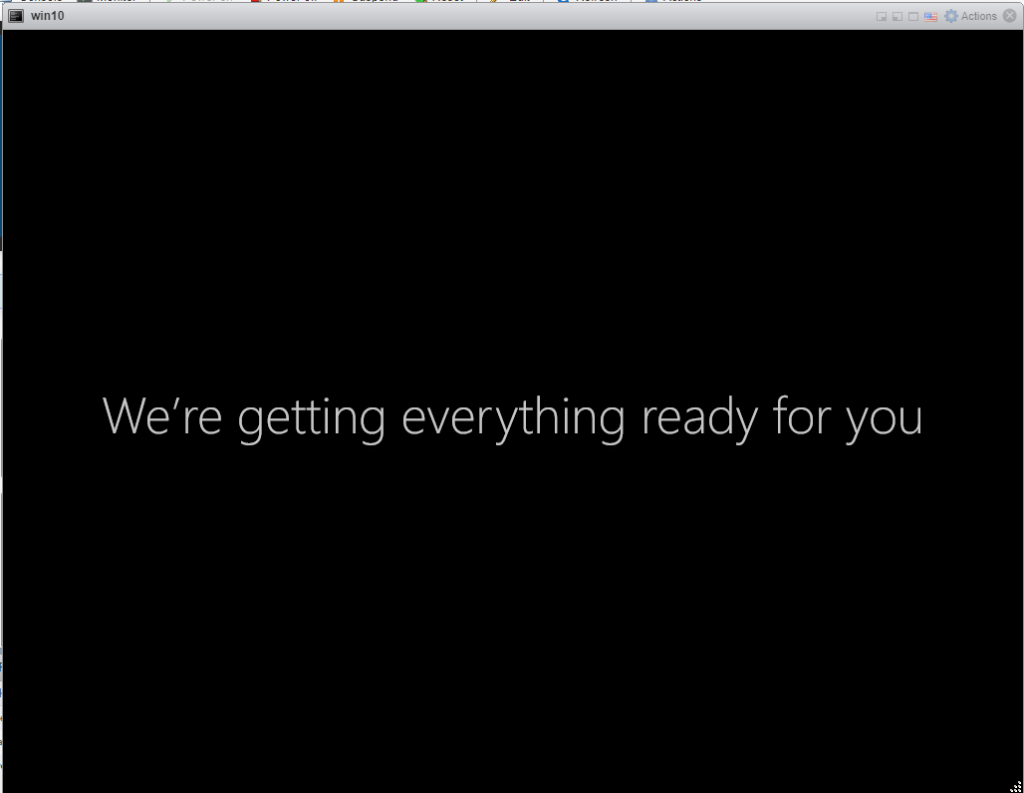
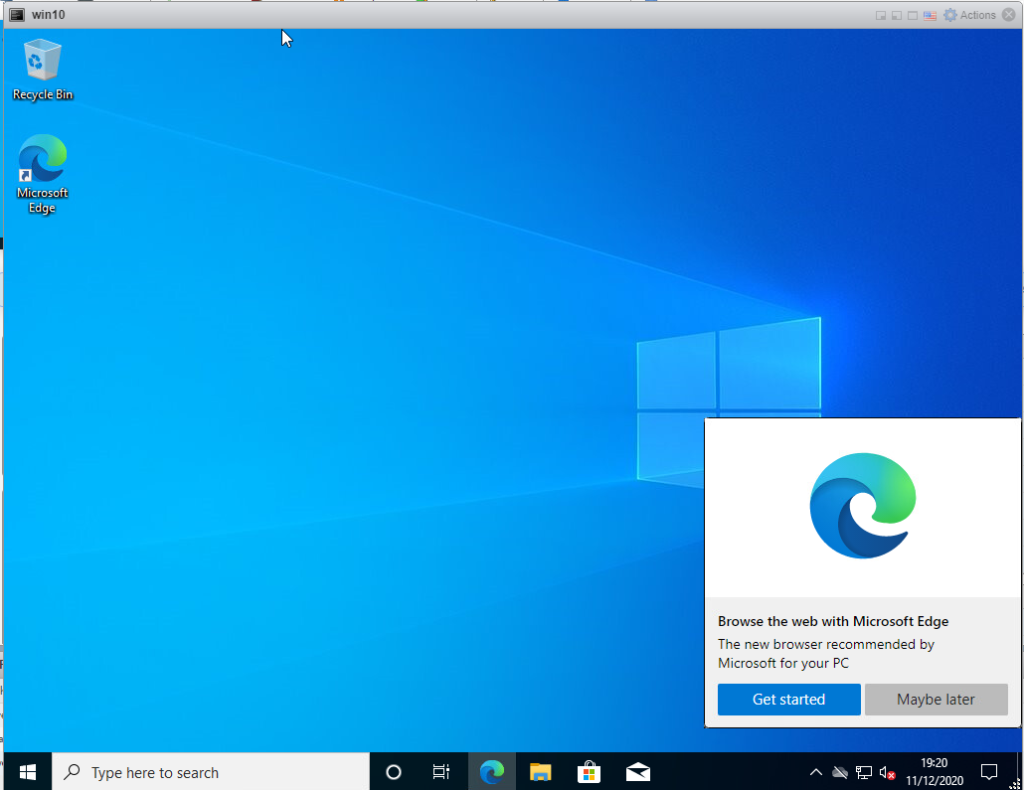
After what feels like forever windows will actually finish booting. Click Yes to allow the PC to be discoverable or No for it not to be

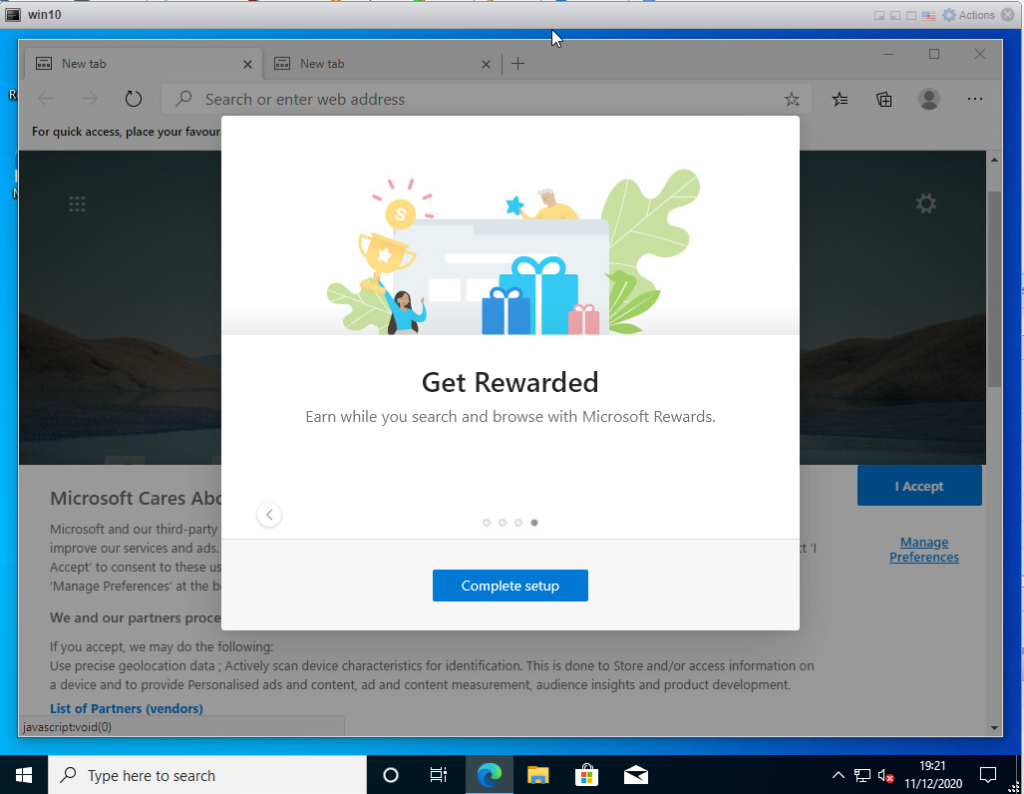
Click on Get started to start configuring Edge or Maybe later to not do it now.
Click complete setup
Click Continue without Signing-in
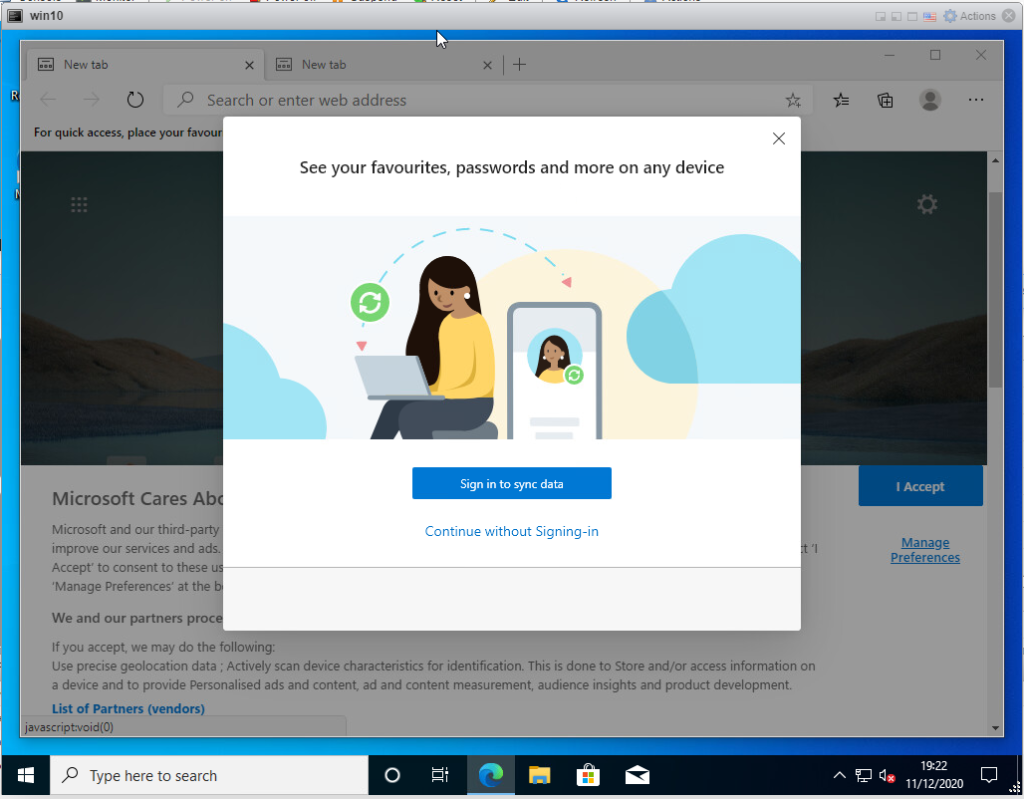
Edge setup is now complete
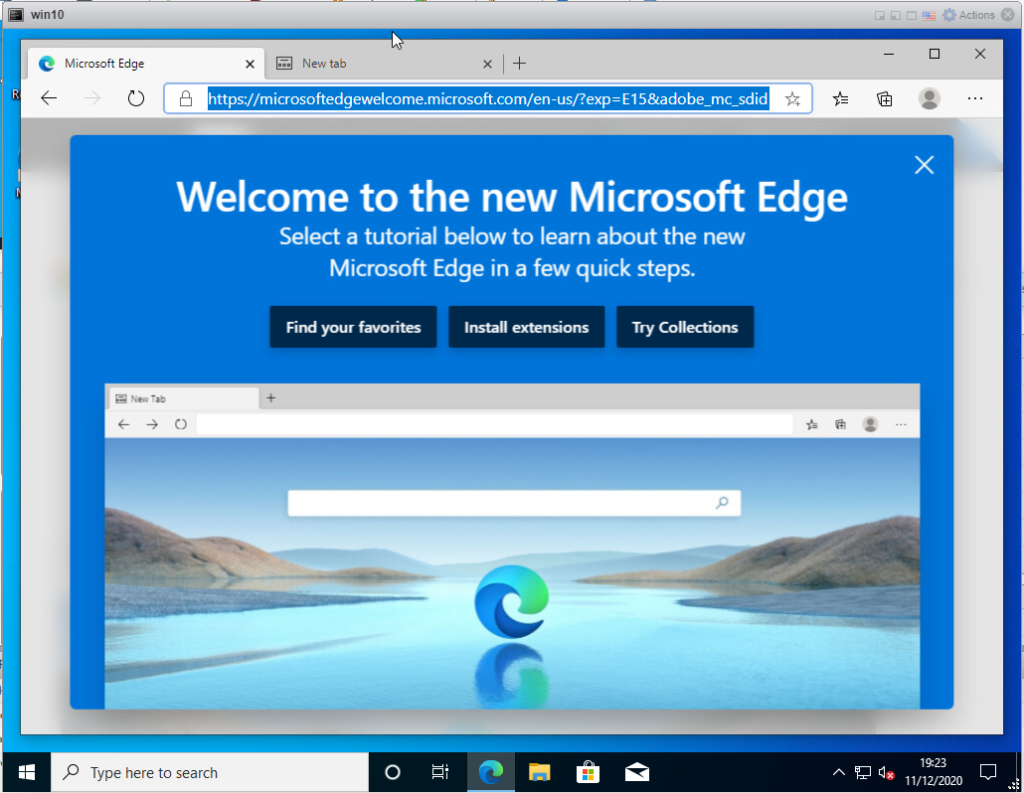
Windows is now Installed and ready to use.
It is now highly advisable to run Windows updates as there are bound to be a bunch of missing updates which is never a good idea.
Instructions of how to Install Windows Updates can be found HERE.
For more Windows 10 posts take a look at our Windows 10 Section of the site.
