Zentyal Sever 7.0 Development Edition is the latest version of Zentyal Development Server (released 27/01/2021). The server is a linux replacement of Windows Small Business Server and the Development edition is the free version of Zentyal Server 7.0 aimed at organizations with in house Linux experience as it offers no support. For more details check out the Zentyal Website.
To download the ISO to install Zentyal 7.0 Development Edition check out our previous POST.
Once the ISO is downloaded and the installation media is created boot the machine off of the installation media.
Installing Zentyal 7.0 Server Development Edition.
When the installation media boots it will land on the screen below. Select the desired installation language and click enter:

Select Install Zentyal 7.0-development (delete all disks). This will delete all disks but this is not an issue as we are doing a fresh install.

Choose the desired language and click enter.

Select the correct Region and hit enter.

Find the correct Keyboard layout and press enter.

Press enter again to select the correct keyboard layout.

The installation will then load additional components:

Once it is finished it will bring up the following screen:

Change the Hostname to the desired name and then press the tab button to select the Continue option and then enter to move to the next step:

Add a username for the Administrator user, and then tab and enter to move to the next screen:

Type a password for the user then tab (twice) and enter.

Type the password again and then tab (twice) and then enter to move to the next screen.

If the chosen time zone is correct press enter to move on.

If it is not correct select <No> and hit enter.

You will then be able to select the correct timezone.
Once the correct time zone is selected The installation will start:

Wait for the installation to finish. Once finished press enter to continue.

The machine will reboot and start booting Zentyal 7.0:

Wait for the server to boot. This could take between 10-15 minutes so just be patient.
Once it has booted you will see the foloowing screen:

Click on Advanced and then Accept the Risk and Continue:

This will bring up the login page:

Log in using the user and password that were created during setup and click on Enter.

Click on Don’t save as you dont want to save the admin password for security reasons:

You are now at the Initial Setup screen.

Initial Setup of Zentyal 7.0:
To start the Initial Setup click on Continue.

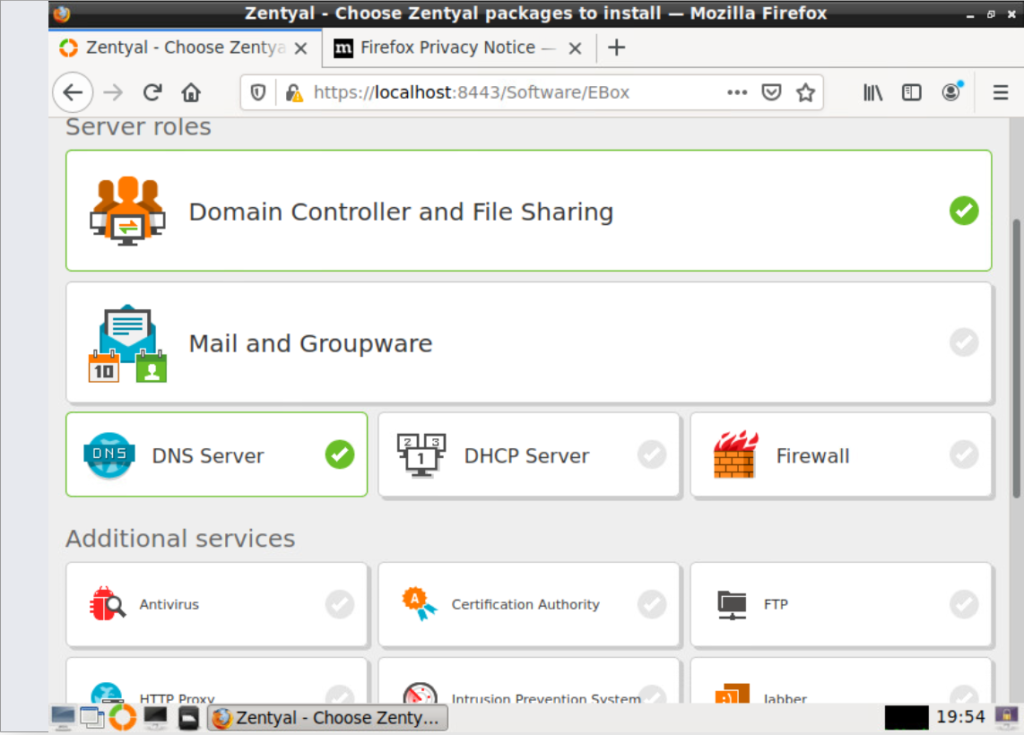
Choose the required packages from the list. As this install is a DC I am just going to choose Domain controller and File Sharing and DNS Server only:
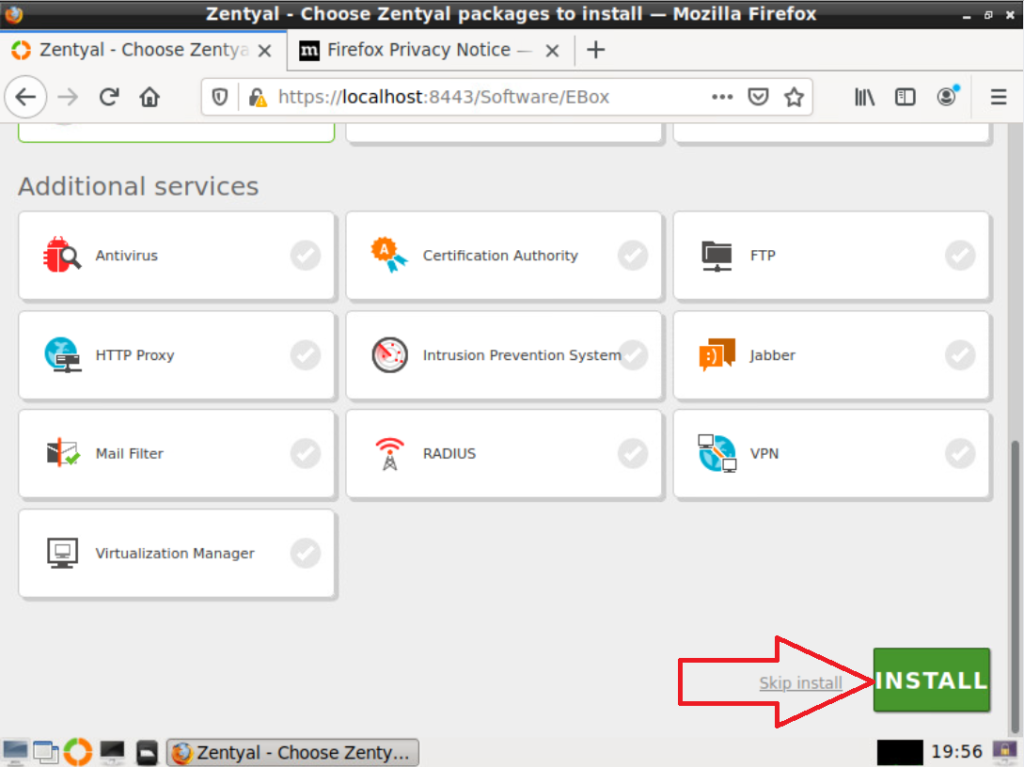
Scroll down to the bottom of the screen and click Install to install the selected packages:
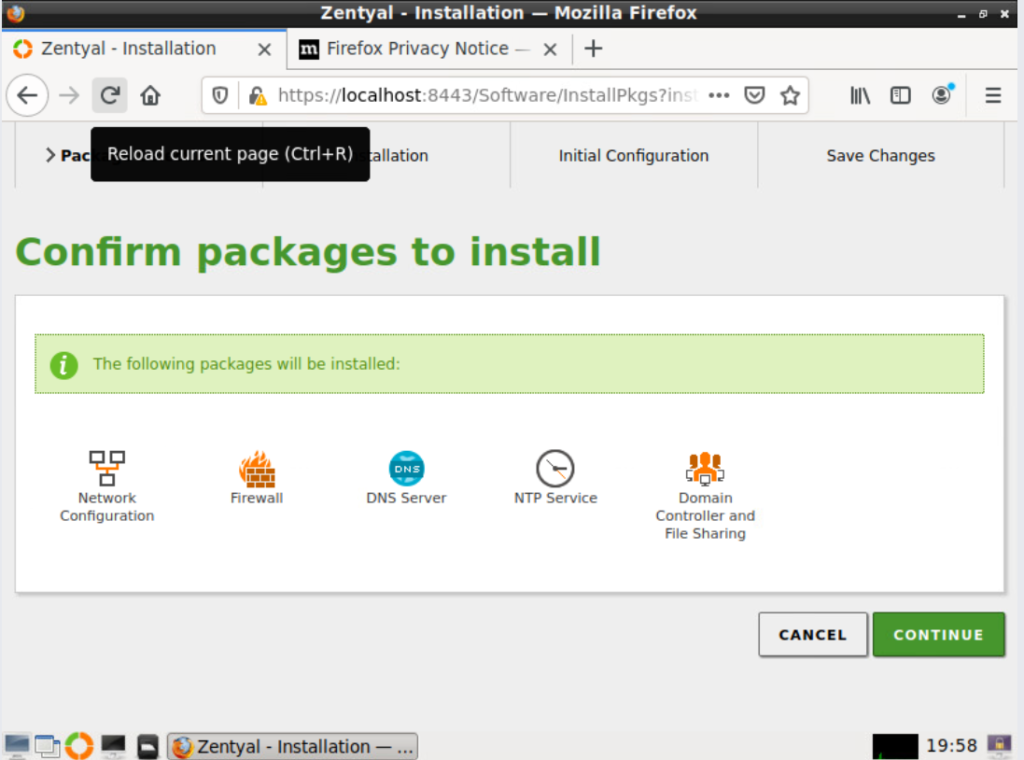
Click on the CONTINUE button to Start the installation of the packages.
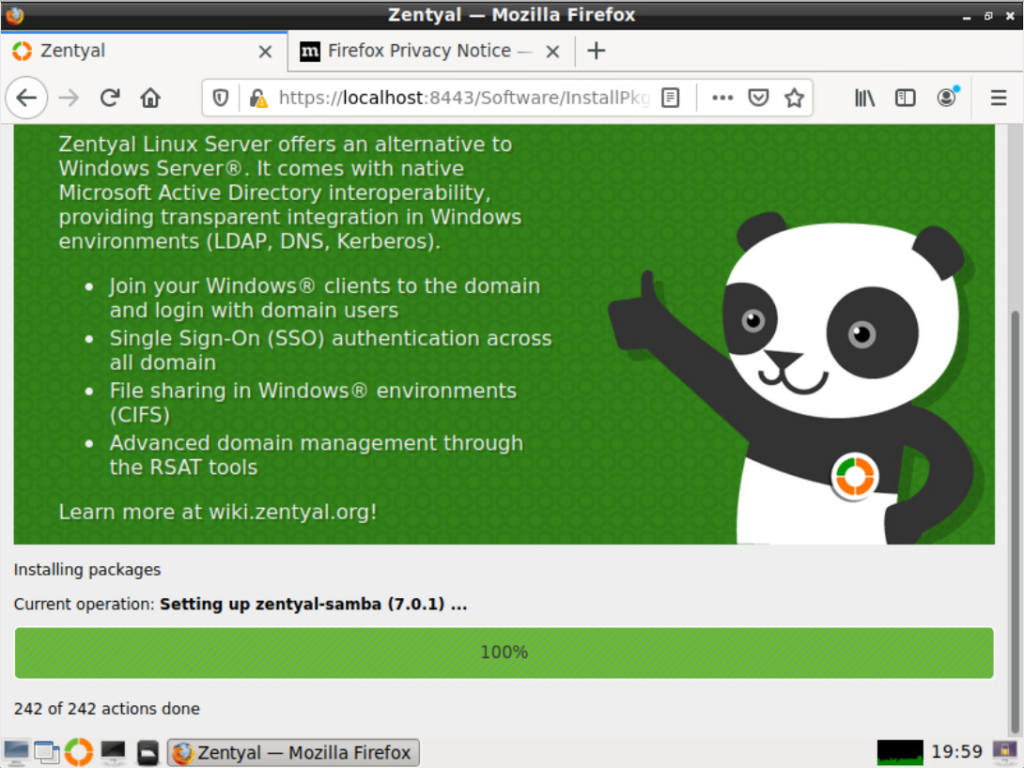
Now wait for the package installation to finish:
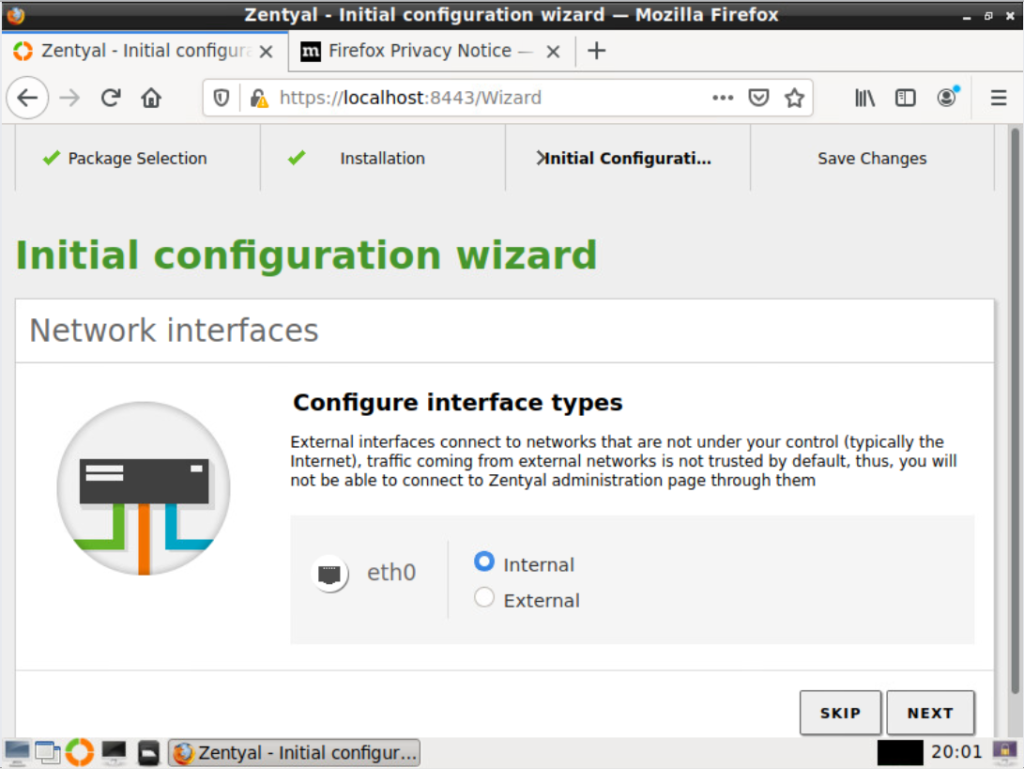
Next select the eth0 type Internal for a DC installation and external if you are installing a firewall. Click next to go to the next screen.
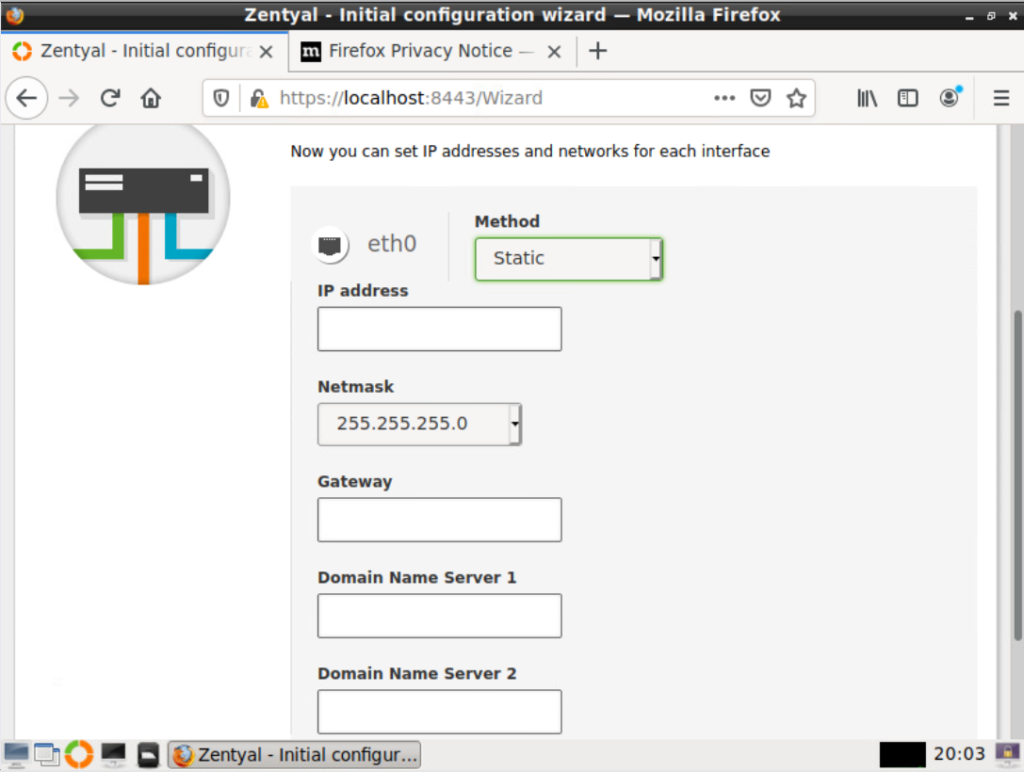
Select the network config for eth0. If you want to use dhcp to give the server an IP address (which I do ) click next. If you want to add a fixed IP select Static and add the correct IP details:
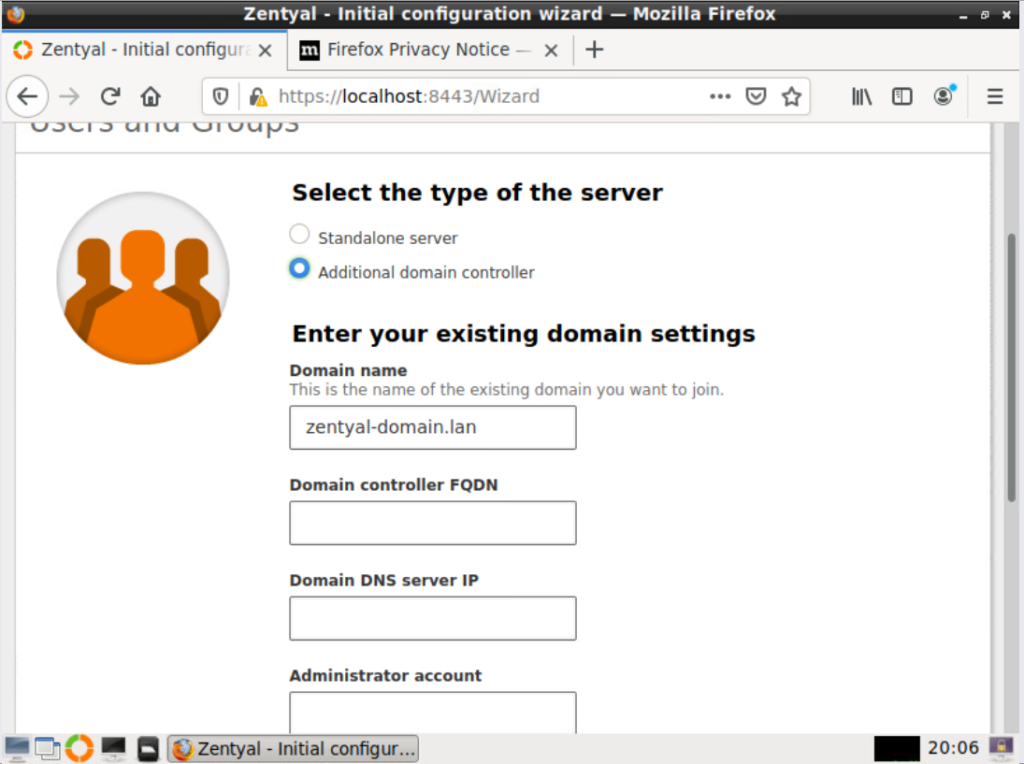
Select the server type. To create a new domain select Standalone server and add the domain name in the Host domain name field. If you already have a domain configured select Additional domain controller and then add the domain details.
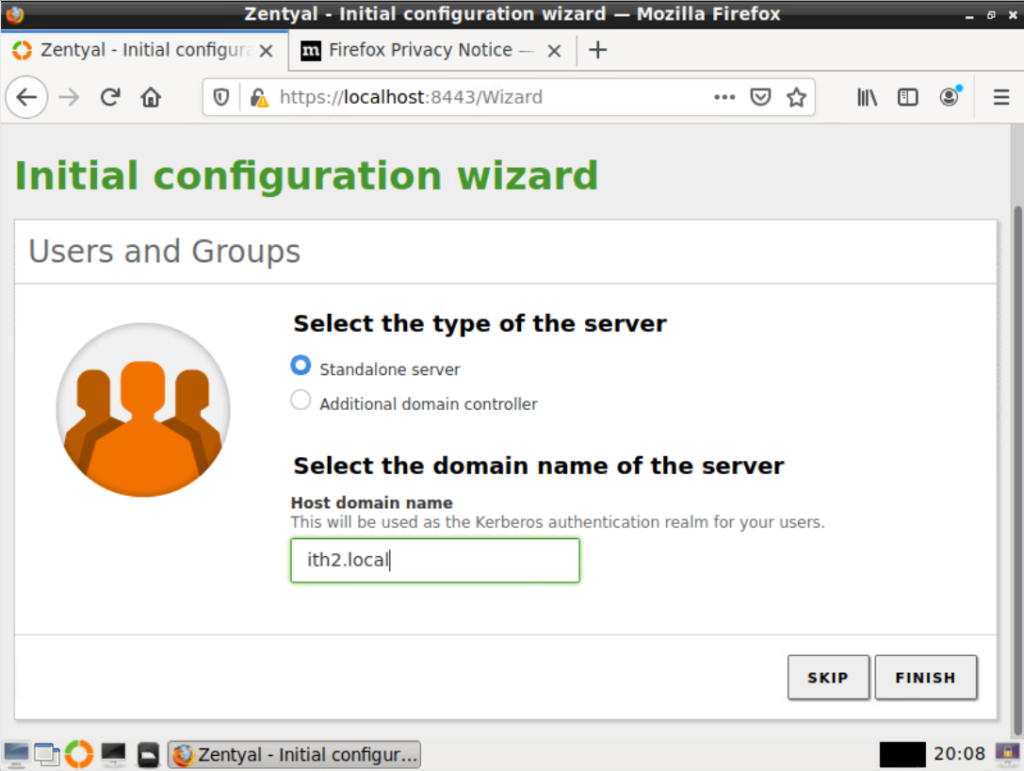
As stated before I want to install a new Domain DC so I chose Standalone server and added my new domain (ith2.local) to the Host domain Field and then clicked Finish:
I then had to click on OK to kick off the installation:
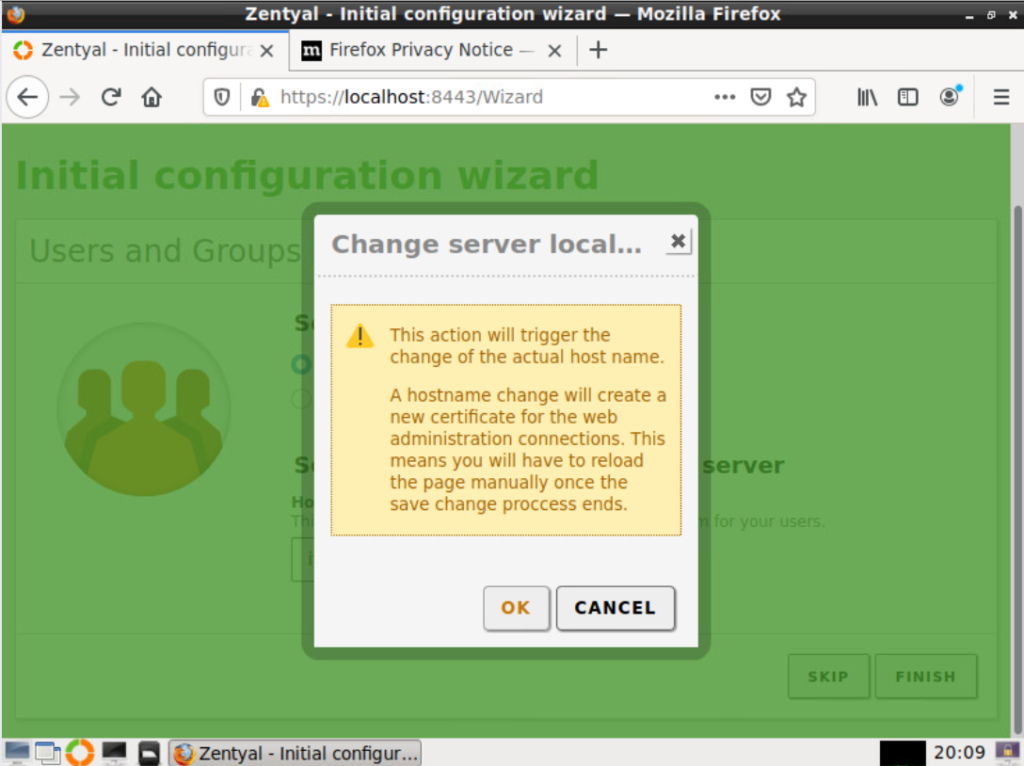
The server was then configured:
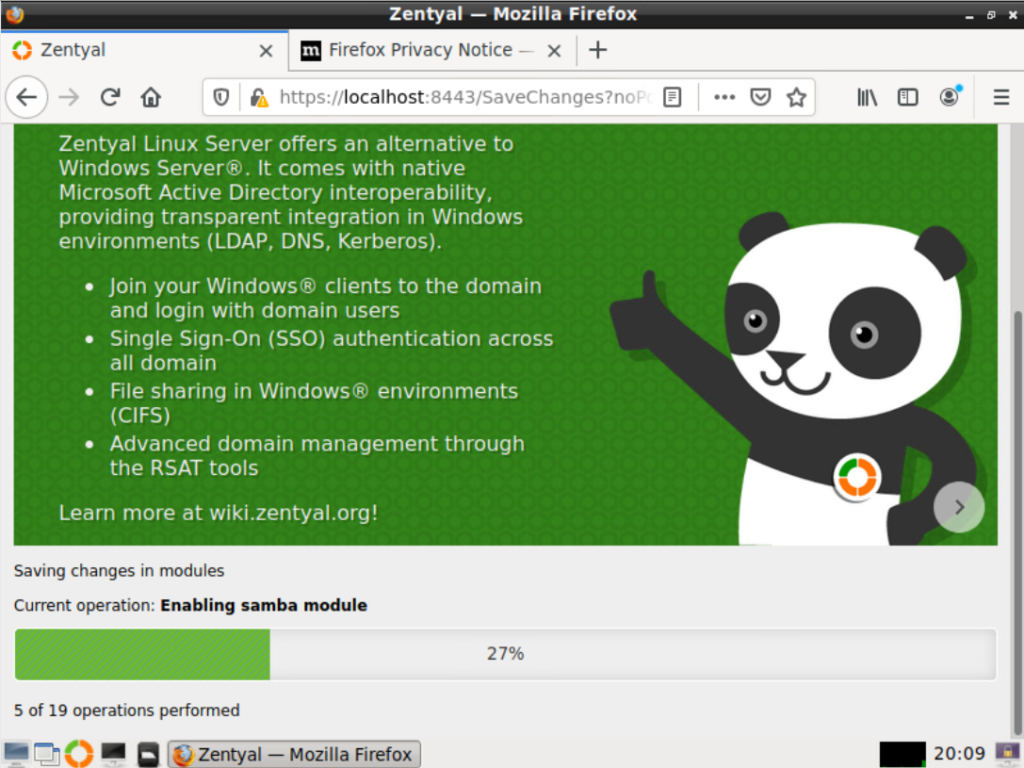
After 5-10 minutes
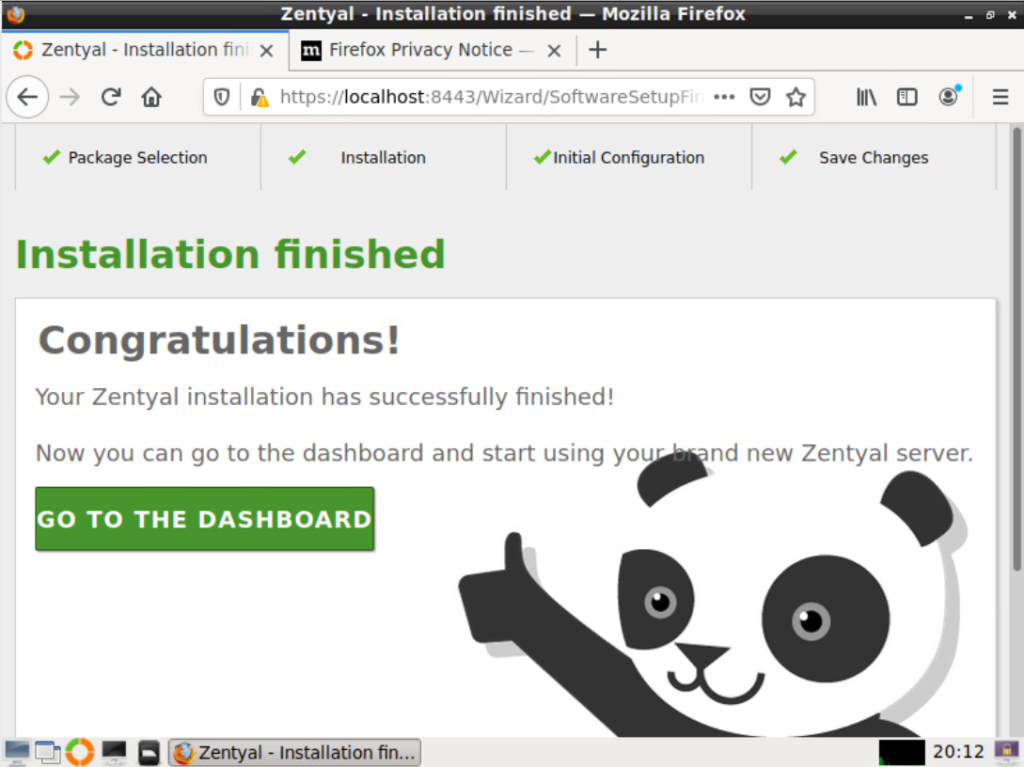
The Congratulations screen was then shown so I clicked on GO TO THE DASHBOARD close the Initial setup window.
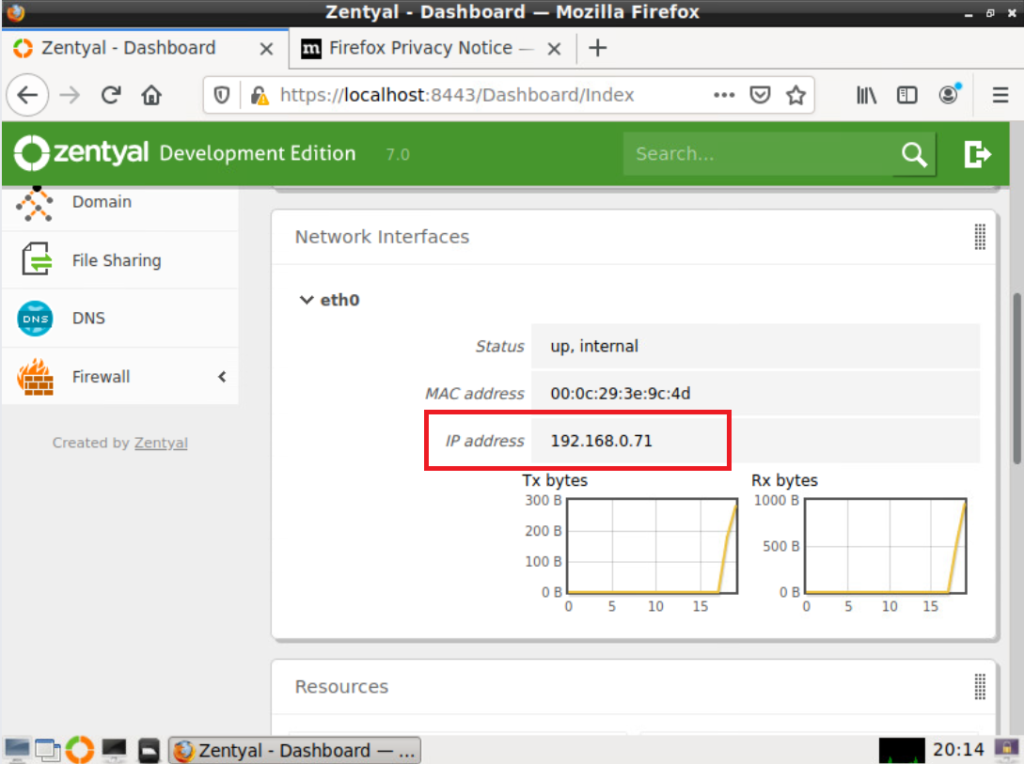
From the dashboard I found the ip address of the server so that I could connect to the server via the web gui:
Connecting to the Zentyal 7.0 Web Gui:
The Zentyal server has a web gui console that can be used to administer the server without having to use the local console which is much more convenient and the resolution of the web gui is much better than the local console. To connect to the web console put the following link in a browser:
https://ip_address:8443
So in my case the address was https://192.168.0.71:8443
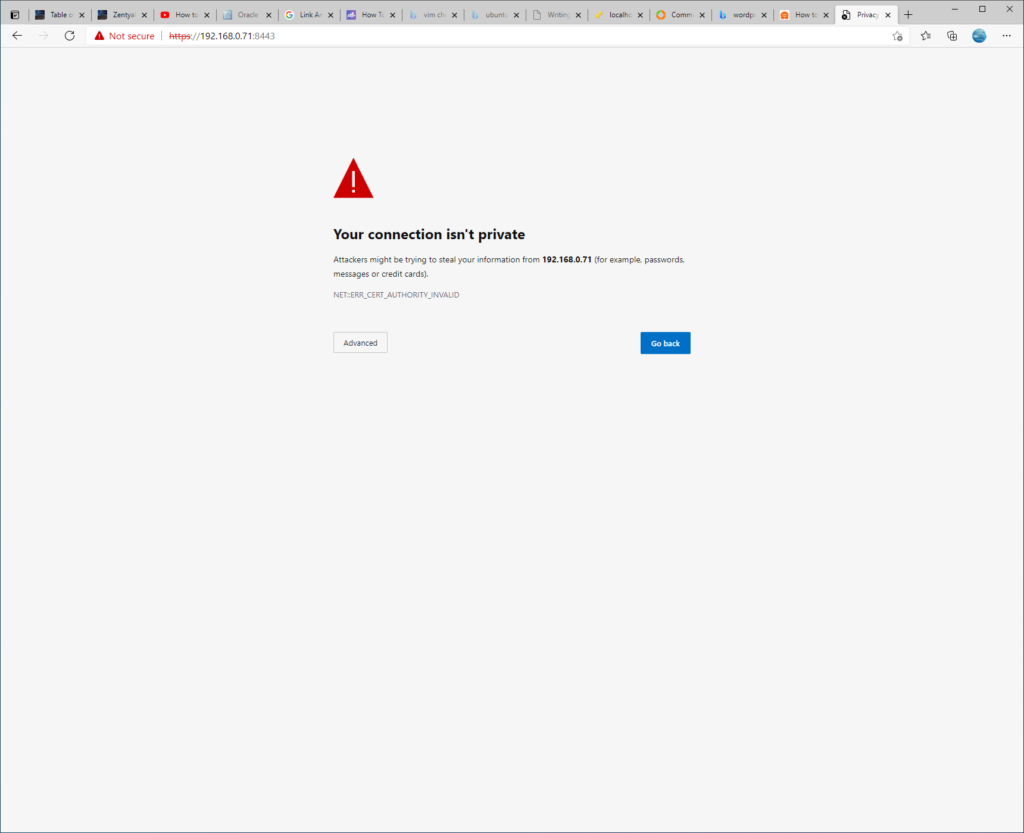
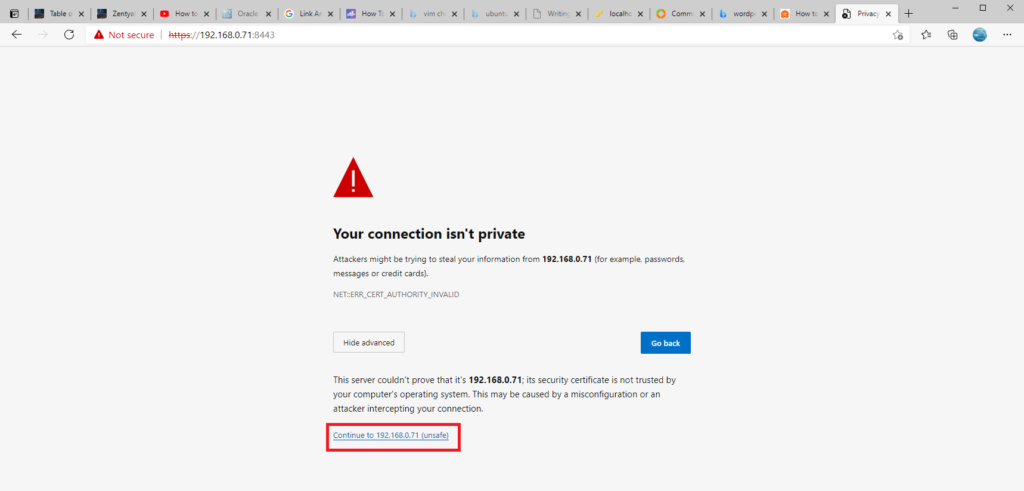
Click on Advanced and then Continue to server ip (unsafe):
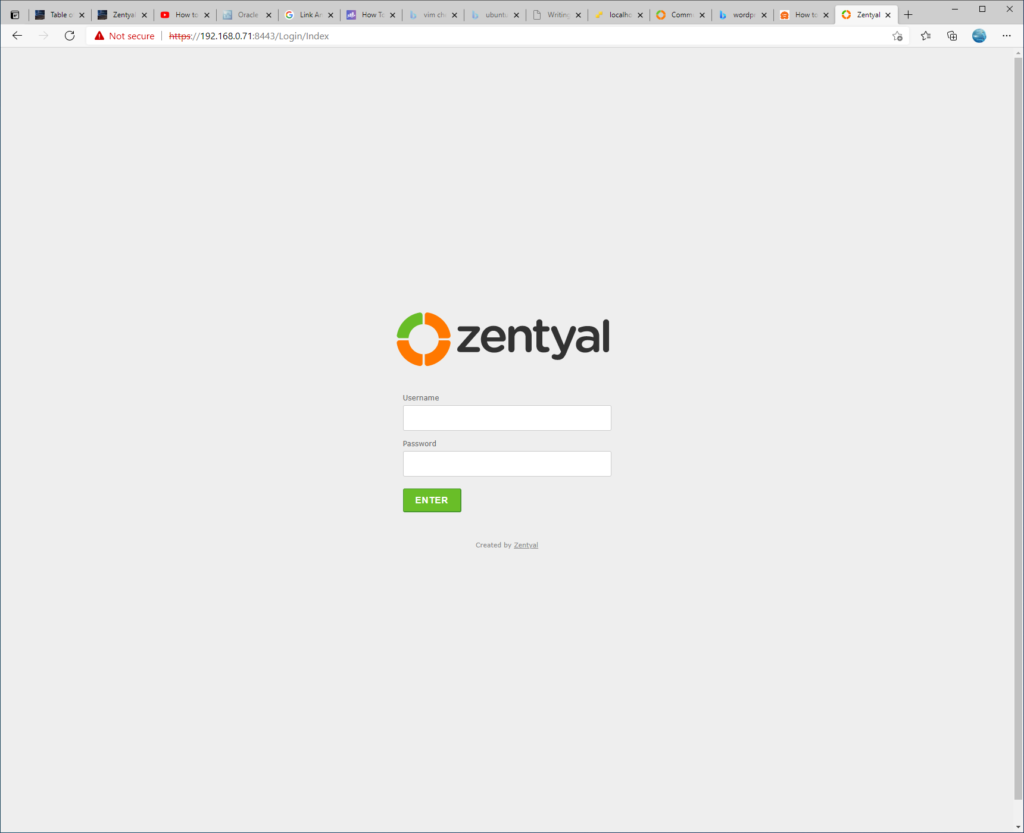
The login page will be displayed in all its glory:
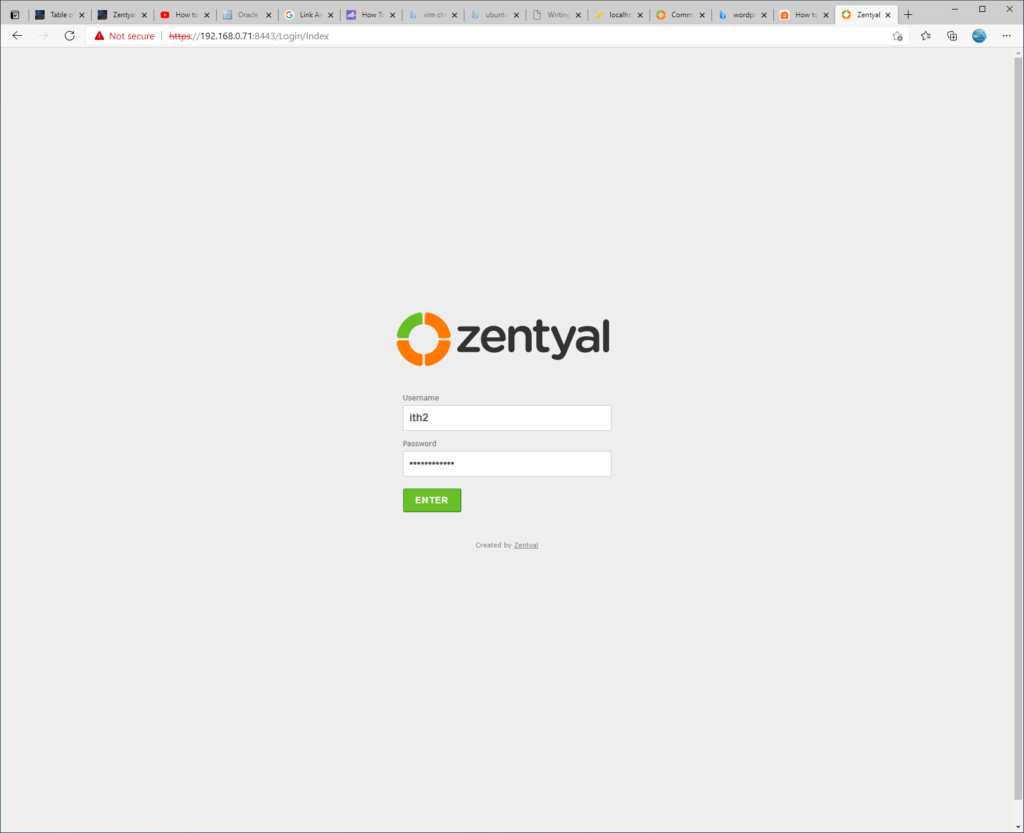
Log in with the user and password created during setup and click on ENTER:
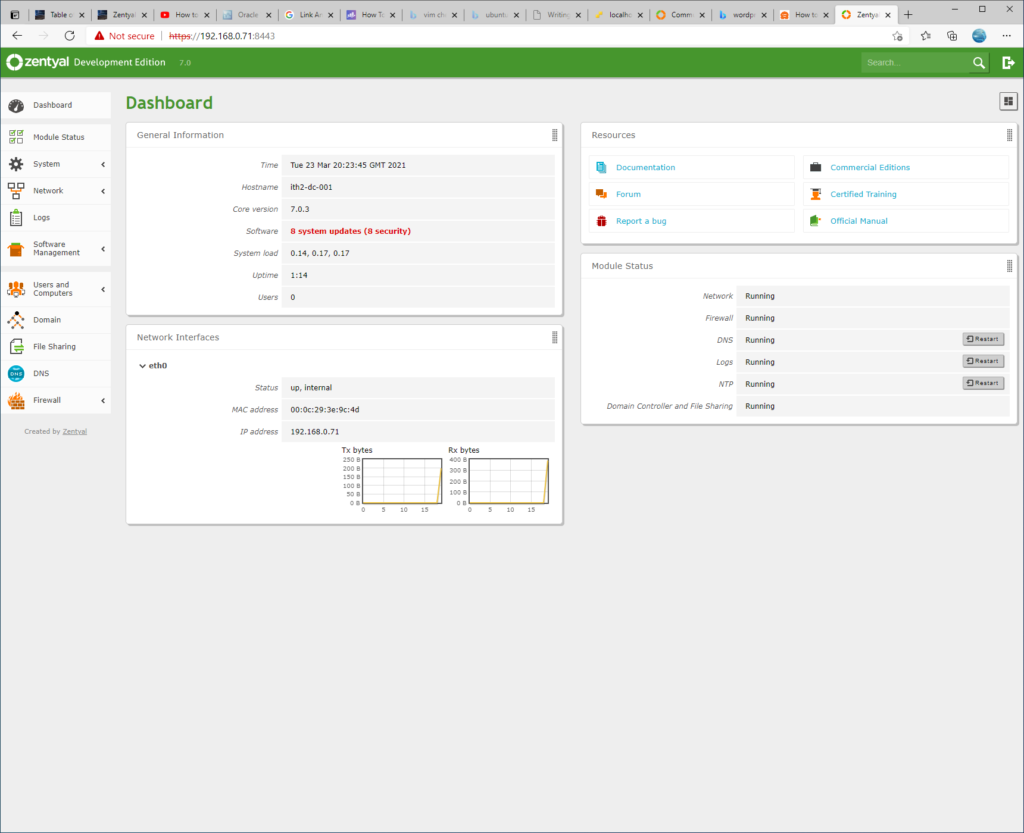
You will be taken to the dashboard:
Update the system.
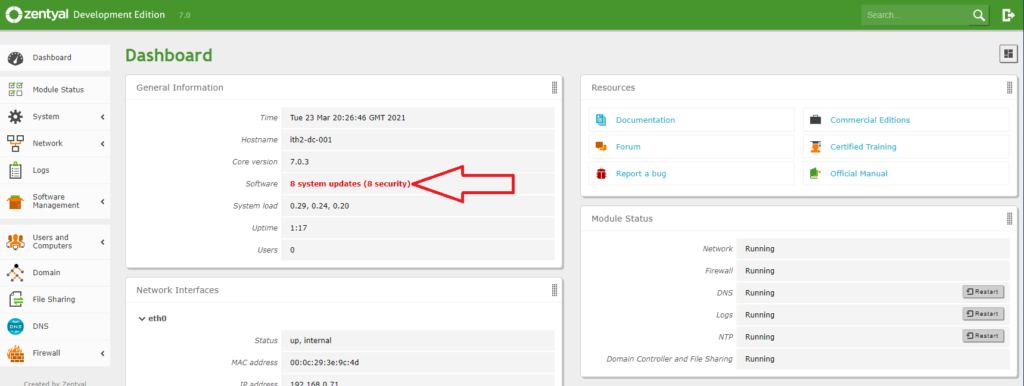
The first thing that you may notice is that the system software is out of date:
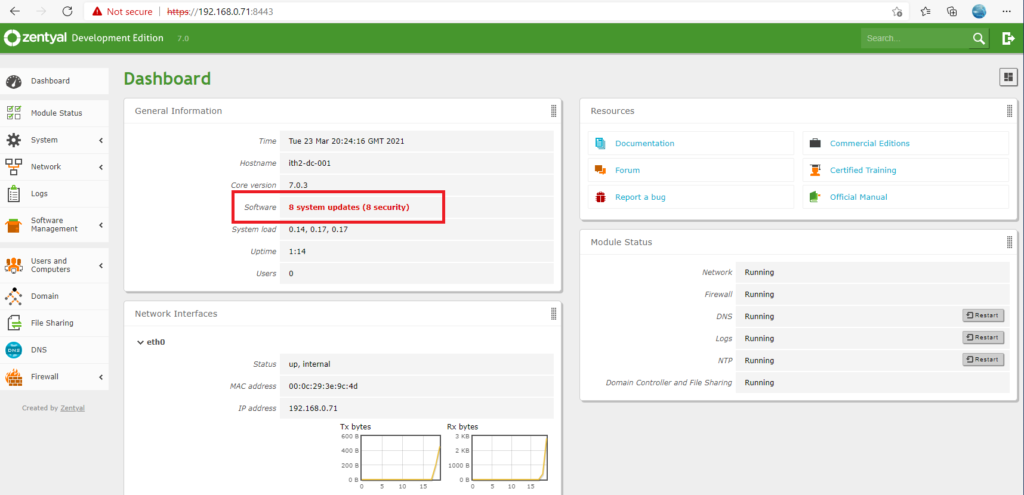
It is a good idea to update the server before doing any more confutation. To do this click on the red system updates warning to the right of Software:
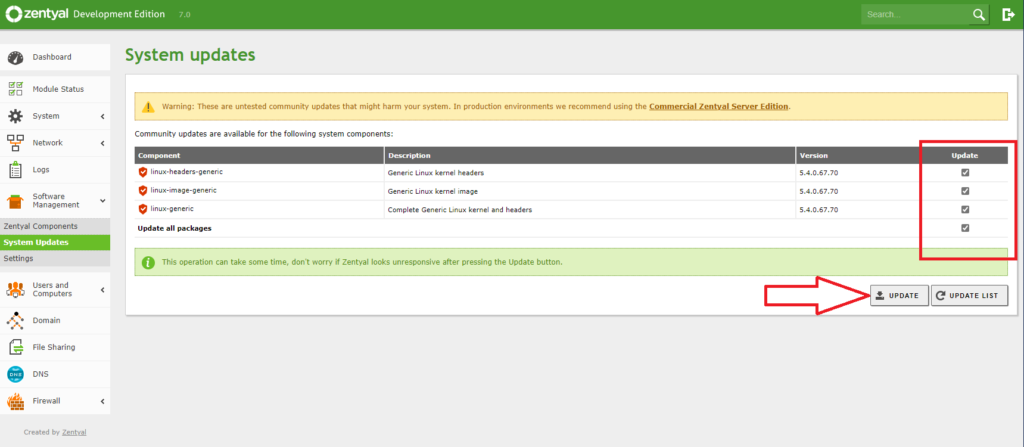
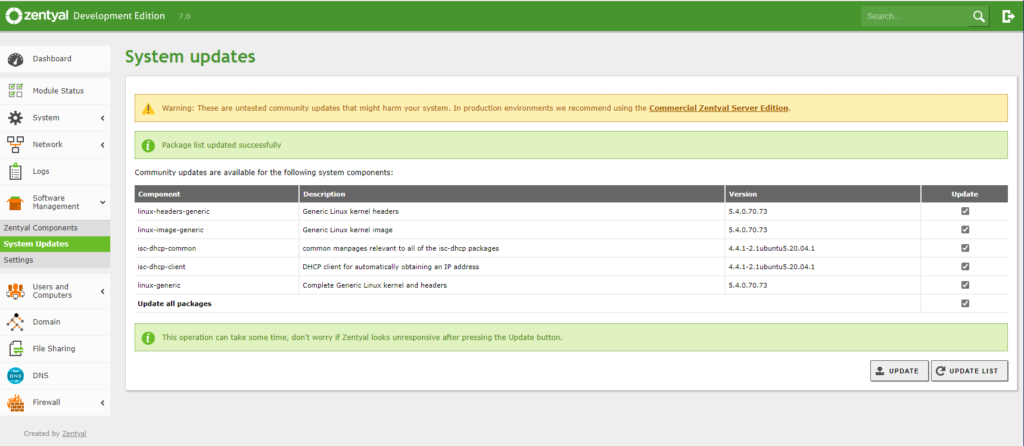
Select the updates to be installed by ticking the boxes in the update column:
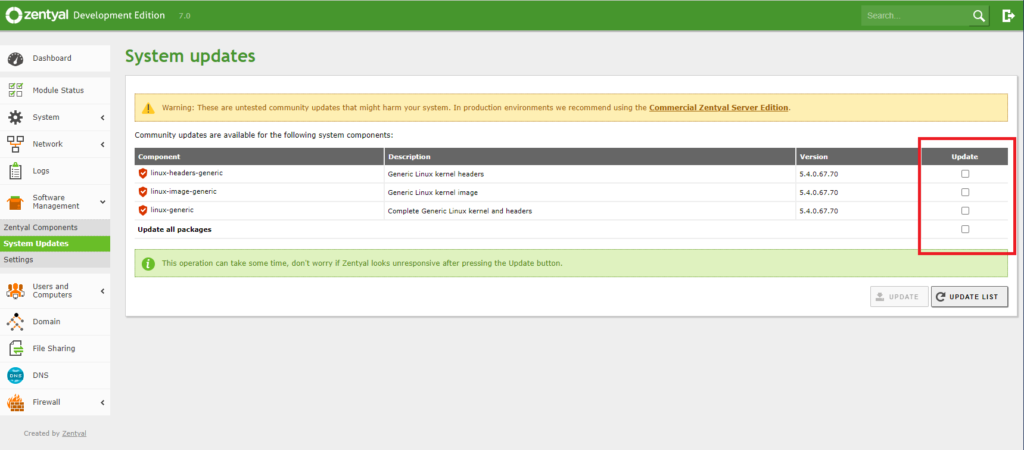
Once you have selected the updates to install click on UPDATE to run the updates:
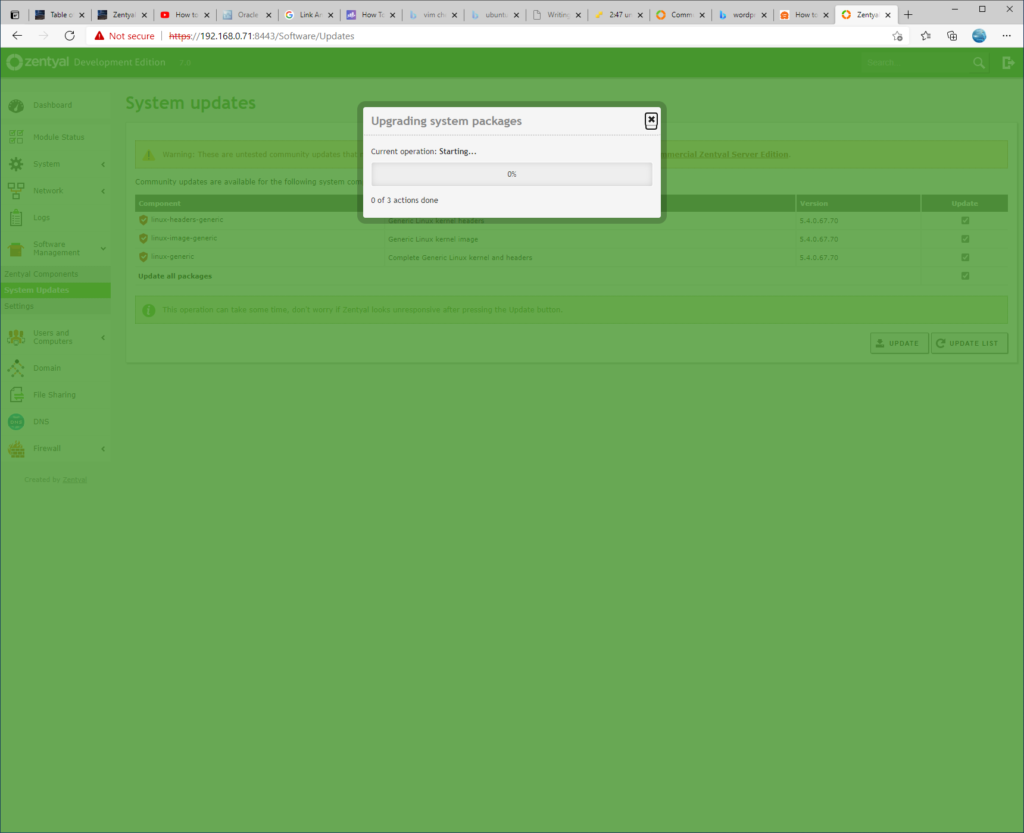
The software updates will now be installed:
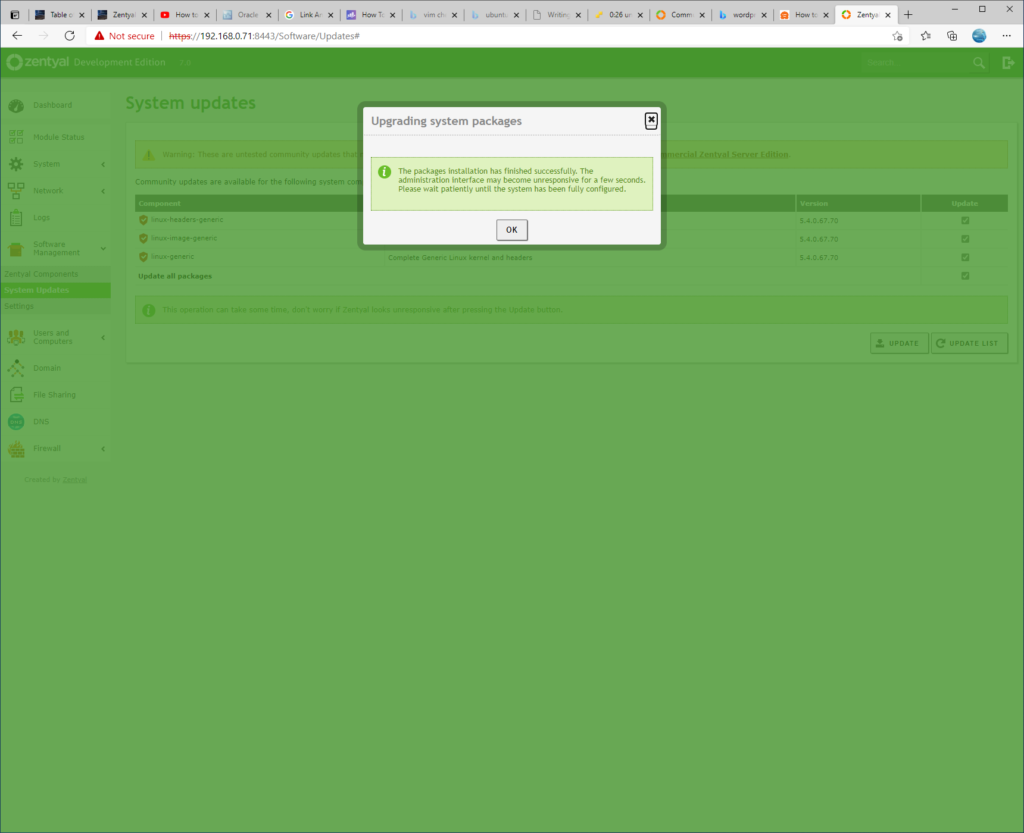
Wait for them to finish and then click OK to finish the updates.
Check that there are no more updates to install by clicking UPDATE list:
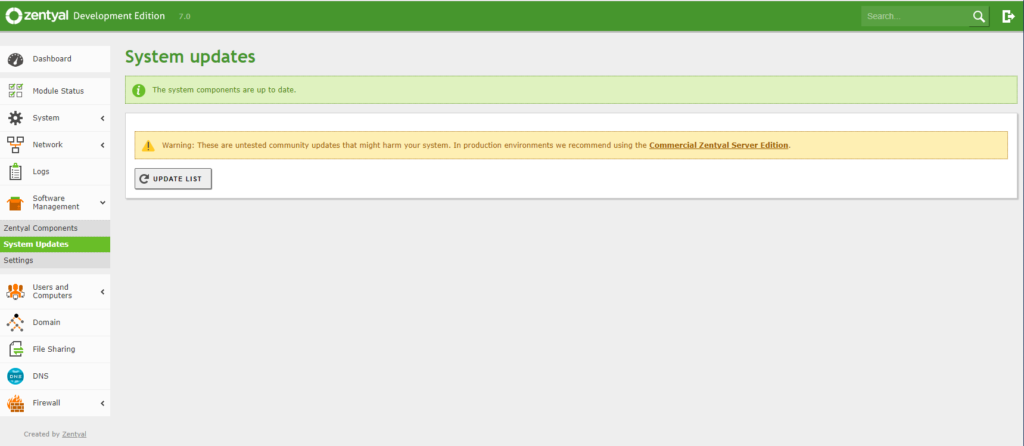
In my case the wizard found a bunch more updates:
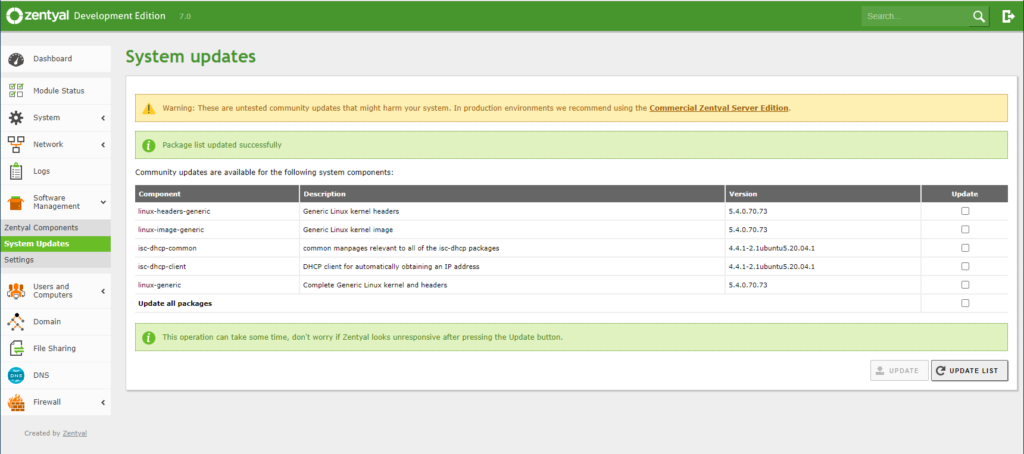
So I again selected them and clicked on UPDATE again to install them:
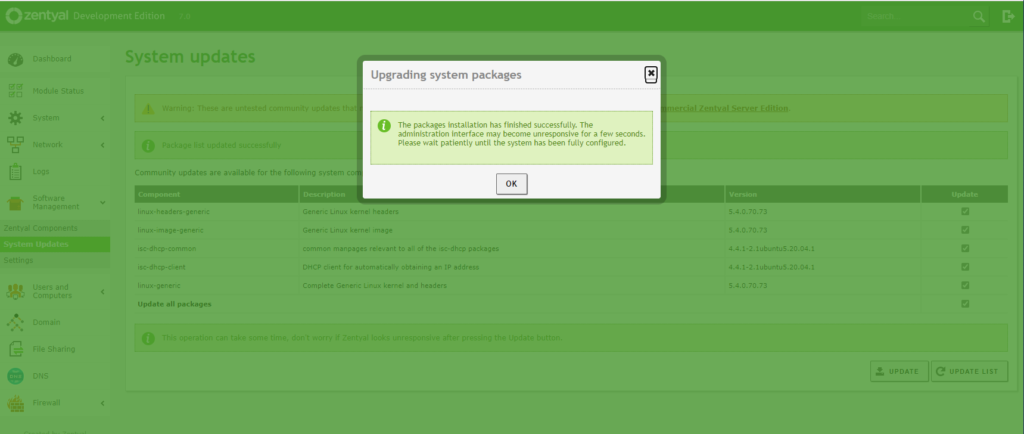
I had to then wait again for the updates to install:

Once finished OK was clicked again:
I then clicked UPDATE LIST again to see if there were any more updates:

There were no more updates found so I went back to the dashboard by clicking Dashboard on the left hand menu:

From the dashboard I could see that there were no more updates but the system needed a reboot to finish installing the updates installed previously:
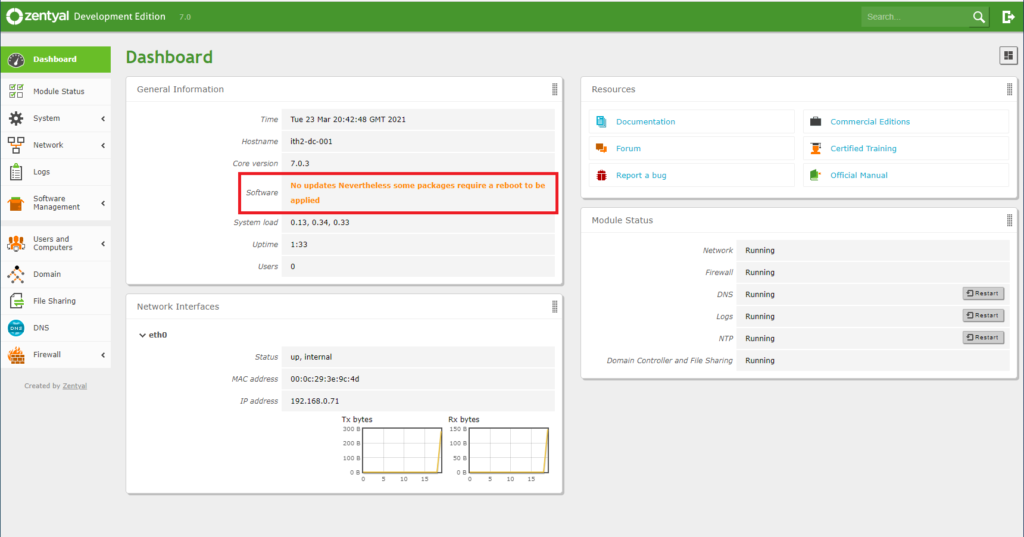
So I clicked on the system menu option and then Halt/Reboot:
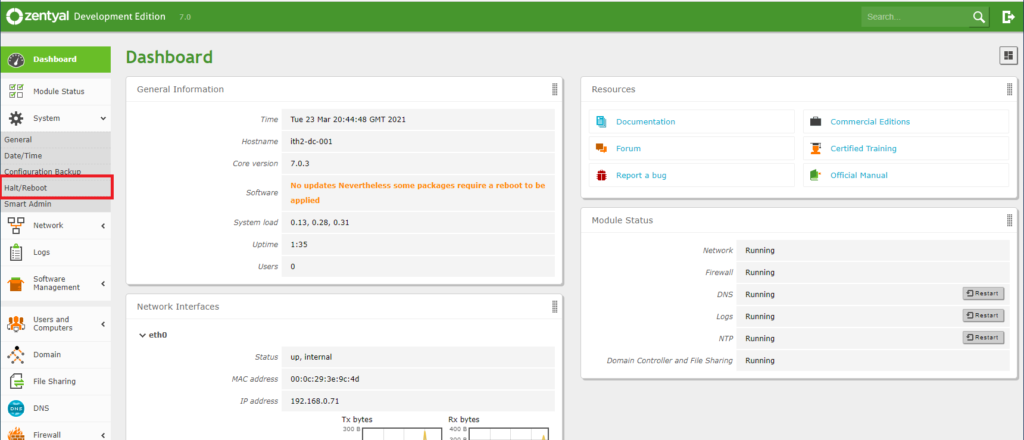
I then clicked REBOOT to reboot the server:

I then waited for the system to reboot:

After a few minutes I went to https://ipaddress:8443 and was back at the Your connection isn’t private screen so I clicked on Advanced and Continue to IP Address (unsafe) as I did before and was taken to the login screen again:
When I logged in I found that there were no more updates:
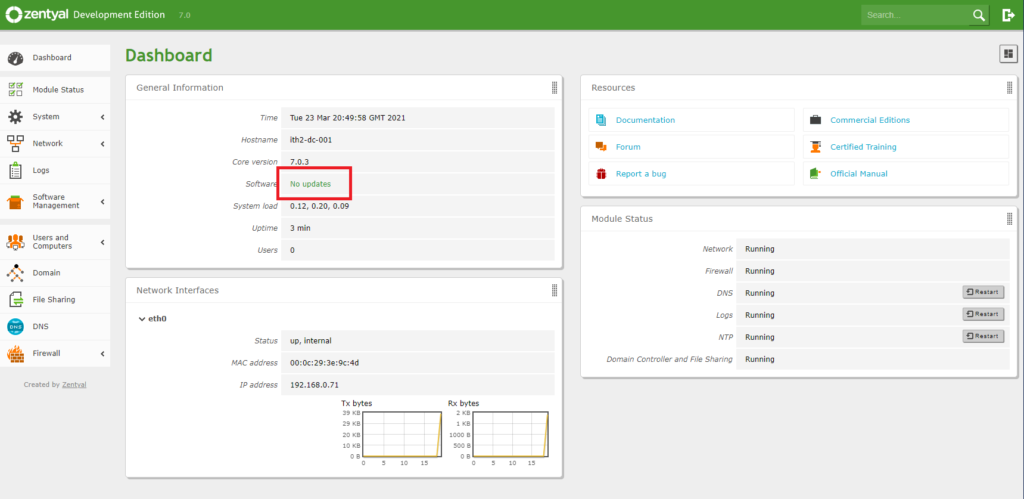
The server is now configured as a Domain controller and File Server.
For more Zentyal 7.0 articles take a look at our Zentyal Category.
